

Tabular Data Extraction node
SaaS · 5.10Available on SaaS with FlowX.AI 5.10. This feature is live on managed (SaaS) deployments now. Self-hosted deployments will receive it with the next LTS release family.
- Use Test File — toggles where the file comes from. OFF: provide File Path, the download path of a file available at run time (for example, produced by a previous node or a file upload); supports
${}expressions. ON: select an uploaded test file — useful while building and testing the workflow - Sheet (Excel only) — the sheet name to extract from; leave empty to use the first sheet
- Response Key — where the node writes its output; the extracted rows are stored under
<responseKey>.data
id, name, and role and response key rows:
The node outputs data, not a file — its result cannot be passed to the file-manipulation nodes (Combine Files, Split File). To extract structured data from unstructured documents such as PDFs or images, use the Extract Data from File AI node instead.
error object is returned on the same key. An empty file returns an empty data array.
Data Parse: XML and JSON support
SaaS · 5.13Available on SaaS with FlowX.AI 5.13. This feature is live on managed (SaaS) deployments now. Self-hosted deployments will receive it with the next LTS release family.
- Accepted files: CSV, XLS, XLSX, and XLSM spreadsheets, plus XML and JSON files. Test file uploads are still capped at 15 MB. Uploaded XML and JSON test files are listed with the Structured Data type.
- Sheet: applies to Excel files only (
.xls,.xlsx,.xlsm) and is ignored for CSV, XML, and JSON. - Output: always under
<responseKey>.data. Spreadsheets return rows as described above. XML and JSON files return an object tree. - Size and depth limits: XML and JSON files are parsed up to 5 MB. XML nested deeper than 64 levels is rejected.
- The root element is unwrapped:
dataholds its content, not an object keyed by the root name. - An element with only text becomes a string. An empty element becomes an empty string.
- Attributes become keys. When an element has both attributes and text, the text is stored under
value. - Sibling elements with the same name become an array. A single occurrence stays an object, so plan for both shapes when the count can vary.
- Namespaces are dropped and only local names are kept. All values are strings.
- Document type definitions (DTDs) and external entities are not processed.
customers:
.xml or .json) on the stored file. Malformed XML or JSON, a file over the size limit, or XML nested too deeply makes the node run fail with an error message.
Generate Tabular File node
SaaS · 6.0Available on SaaS with FlowX.AI 6.0. This feature is live on managed (SaaS) deployments now. Self-hosted deployments will receive it with the next LTS release family.
- File name: the name of the generated file, up to 255 characters; supports
${}expressions (for example,${reportDate}). The extension is added from Format, so a typed.csv,.xlsx, or.xlsextension is replaced. The characters\ / : * ? " < > |are replaced with_. - Document Tag (optional): the tag stored on the generated document; supports
${}expressions. When left empty, the file name without its extension is used. - Format:
CSV(default) orXLSX. - Row format: the shape of each row in Data.
- Arrays (default): each row is a list of values, such as
["FP-1001", "Closed"]. The first row is the header row, and each following row is written in the same column order. - Objects: each row is an object, such as
{"invoice": "FP-1001", "status": "Closed"}. The keys become the column headers, in the order they first appear. A missing key leaves the cell empty.
- Arrays (default): each row is a list of values, such as
- Data: a single workflow variable that holds the rows, such as
${data}or${dbResult.sheets}. The variable must resolve to an array; inline JSON is not accepted. - Response Key: where the node writes the generated file’s metadata.
${employees} variable set to:
CSV, File name set to team-export, and response key export, the node writes a CSV file with the columns id, name, and role, and returns:
rowCount counts data rows only, never the header row, and fileSize is in bytes. The generated file also appears in the Document tab of the run’s console log.
How values are written:
- CSV files are UTF-8 encoded with a byte order mark, so spreadsheet apps read non-ASCII characters correctly. XLSX files have a single sheet named
Sheet1, and numbers and booleans keep their type. - Text that starts with
=,+,-,@, a tab, or a carriage return is written as text, never as a formula. - In Arrays mode, a row shorter than the header row is padded with empty cells, and extra values become extra columns with an empty header.
- Rows with no values are left out. An empty array still produces a file, with
rowCountset to0.
Template Filling node
SaaS · 5.10Available on SaaS with FlowX.AI 5.10. This feature is live on managed (SaaS) deployments now. Self-hosted deployments will receive it with the next LTS release family.
- Template — select a document template defined in your project’s Document templates; Open template jumps to the template definition
- Language — enabled once a template is selected, and defaults to the template’s first available language
- Template Variables — click Configure Variables to fill the template’s data-model variables with values from the workflow; changing the template resets the language and variables
- Input Mapping — on SaaS (5.13), new nodes map workflow data onto the template’s input parameters in the data mapper (Configure mapping on the Template Input card) instead of Template Variables. Nodes created earlier show an Enable data mapping toggle: on uses the data mapper, off keeps Template Variables
- Folder — optional folder for the generated file; supports
${}expressions (e.g.,${client.id}) - Document Tag — the tag under which the generated document is stored (e.g.,
ContractTemplate) - Document format — PDF (default) or DOCX
error object is returned on the same key.
To map a Script node’s output into the template, fix a node that shows no mapping options, or build the download URL from downloadPath, see Fill a document template from a workflow and download it.
Managing document templates
Learn how to create and manage the document templates this node fills
Send Notification node
SaaS · 5.12Available on SaaS with FlowX.AI 5.12. This feature is live on managed (SaaS) deployments now. Self-hosted deployments will receive it with the next LTS release family.
- Template — the notification template to send, from your project’s notification templates; Open notification template jumps to its definition. Language unlocks once a template is picked. Variables fills the template’s data-model variables from workflow data, the same mapping as the Template Filling node.
- Recipients — To (required), Cc and Bcc. Each takes a recipient address, a JSON array of addresses, or a
${}expression resolving to either. - Email options — all optional: Subject override (leave empty to use the template subject), Sender name and Sender email, Attachments (one file path or
${}key per line), and Custom headers, which must be a JSON object or a${}expression that resolves to one.
When does a Send Notification node take its failure exit?
A Send Notification node has a success exit and a failure exit. It takes the success exit only when the Notifications plugin accepts the message with a2xx response. Everything else takes the failure exit:
- A configuration problem caught before sending, such as no template or language, an empty To after
${}expressions resolve, an attachment given as a URL instead of a file path, or custom headers that aren’t valid JSON - The Notifications plugin rejecting the message
- An authorization error (
401or403) - The plugin being unreachable, timing out, or answering with a
5xx
Workflow is missing outgoing sequences. It doesn’t fall through to the success exit.
On both exits the node writes its result under its response key: sent, hasError, errorType, errorMessage, template (name and ID), language, recipients (to, cc, and bcc counts), and metadata.statusCode. errorType is VALIDATION (caught before sending), DELIVERY (rejected by the plugin), AUTH, or TRANSPORT. metadata is absent for VALIDATION and TRANSPORT, because no status code reached the node.
Managing notification templates
Learn how to create and manage the notification templates this node sends
Combine Files node
SaaS · 5.10Available on SaaS with FlowX.AI 5.10. This feature is live on managed (SaaS) deployments now. Self-hosted deployments will receive it with the next LTS release family.
- Files — add two or more source files, each by path (or a test file). Set the order and choose which pages to include per file: All pages or a custom page range.
- Folder — optional folder for the combined file; supports
${}expressions. - Document Tag — the tag under which the combined file is stored.
Split File node
SaaS · 5.10Available on SaaS with FlowX.AI 5.10. This feature is live on managed (SaaS) deployments now. Self-hosted deployments will receive it with the next LTS release family.
- Source file — the PDF to split, by path (or a test file).
- Output files — define each output by its pages using a range grammar such as
1-3,5, or a${}expression that resolves to one at runtime. Each output can set its own Folder and Document Tag.
Context Retrieval node
Retrieves relevant data from Knowledge Bases or conversation memory using semantic and keyword search, without calling an LLM, and passes the chunks to downstream nodes. Available under Data Operations in the workflow node palette. Configuration:- Source — choose between Knowledge Base or Memory (Memory is available only in chat-driven workflows)
- Knowledge Base — select a Knowledge Base to search (when source is Knowledge Base)
- User Query — the search query, supports process variable expressions (e.g.,
${userMessage}) - Search Type — Hybrid (default), Semantic, or Keywords
- Max Number of Chunks — how many chunks to return (1-10, default: 5)
- Min Relevance Score — minimum relevance threshold (0-100%, default: 70%)
- Metadata Filters — filter chunks by metadata properties using the query builder: typed operators per key type and AND/OR grouping
- Use advance metadata filters — toggle to enable expression-based filtering for complex logic
- Use Re-rank — toggle to re-rank retrieved chunks before returning
- Feeding context into a downstream Custom Agent or Text Generation node
- Building multi-step RAG pipelines with custom processing between retrieval and generation
- Retrieving relevant documentation chunks for further analysis
Context Retrieval Documentation
Learn how to configure Context Retrieval nodes, search types, and output format
Using Knowledge Base in Workflows
Learn how to configure Context Retrieval and Custom Agent nodes with Knowledge Bases
Custom Agent node
Enables AI agents to perform intelligent, autonomous tasks using Model Context Protocol (MCP) tools within your workflow. Custom Agent nodes apply ReAct (Reasoning and Acting) to decide which tools to use and execute multi-step operations. Key capabilities:- Access external systems through MCP servers
- Execute complex, multi-step operations autonomously
- Make intelligent decisions based on available tools
- Return structured responses for downstream processing
- Customer support automation with CRM integration
- Data analysis across multiple systems
- Dynamic integration orchestration
- Autonomous problem-solving workflows
Custom Agent Node Documentation
Learn how to configure Custom Agent nodes, write effective prompts, and monitor AI agent execution
Intent Classification Agent node
Classifies user messages using an LLM and automatically routes the workflow to the matching intent branch — combining AI classification and conditional branching in a single node. Works like a Condition (Fork) node, but uses natural language intent descriptions instead of code expressions. Key capabilities:- Define up to 10 intents as plain-text descriptions
- Automatic “If No Intent Matches” fallback branch
- Optional conversation memory for context-aware classification
- Optional rationale output explaining the classification decision
- Chatbot message routing
- Email triage and classification
- Customer support ticket categorization
Intent Classification Agent Documentation
Learn how to configure intents, output format, and routing behavior
AI Nodes
AI nodes enable intelligent processing of text, documents, images, and data directly within your Integration Designer workflows.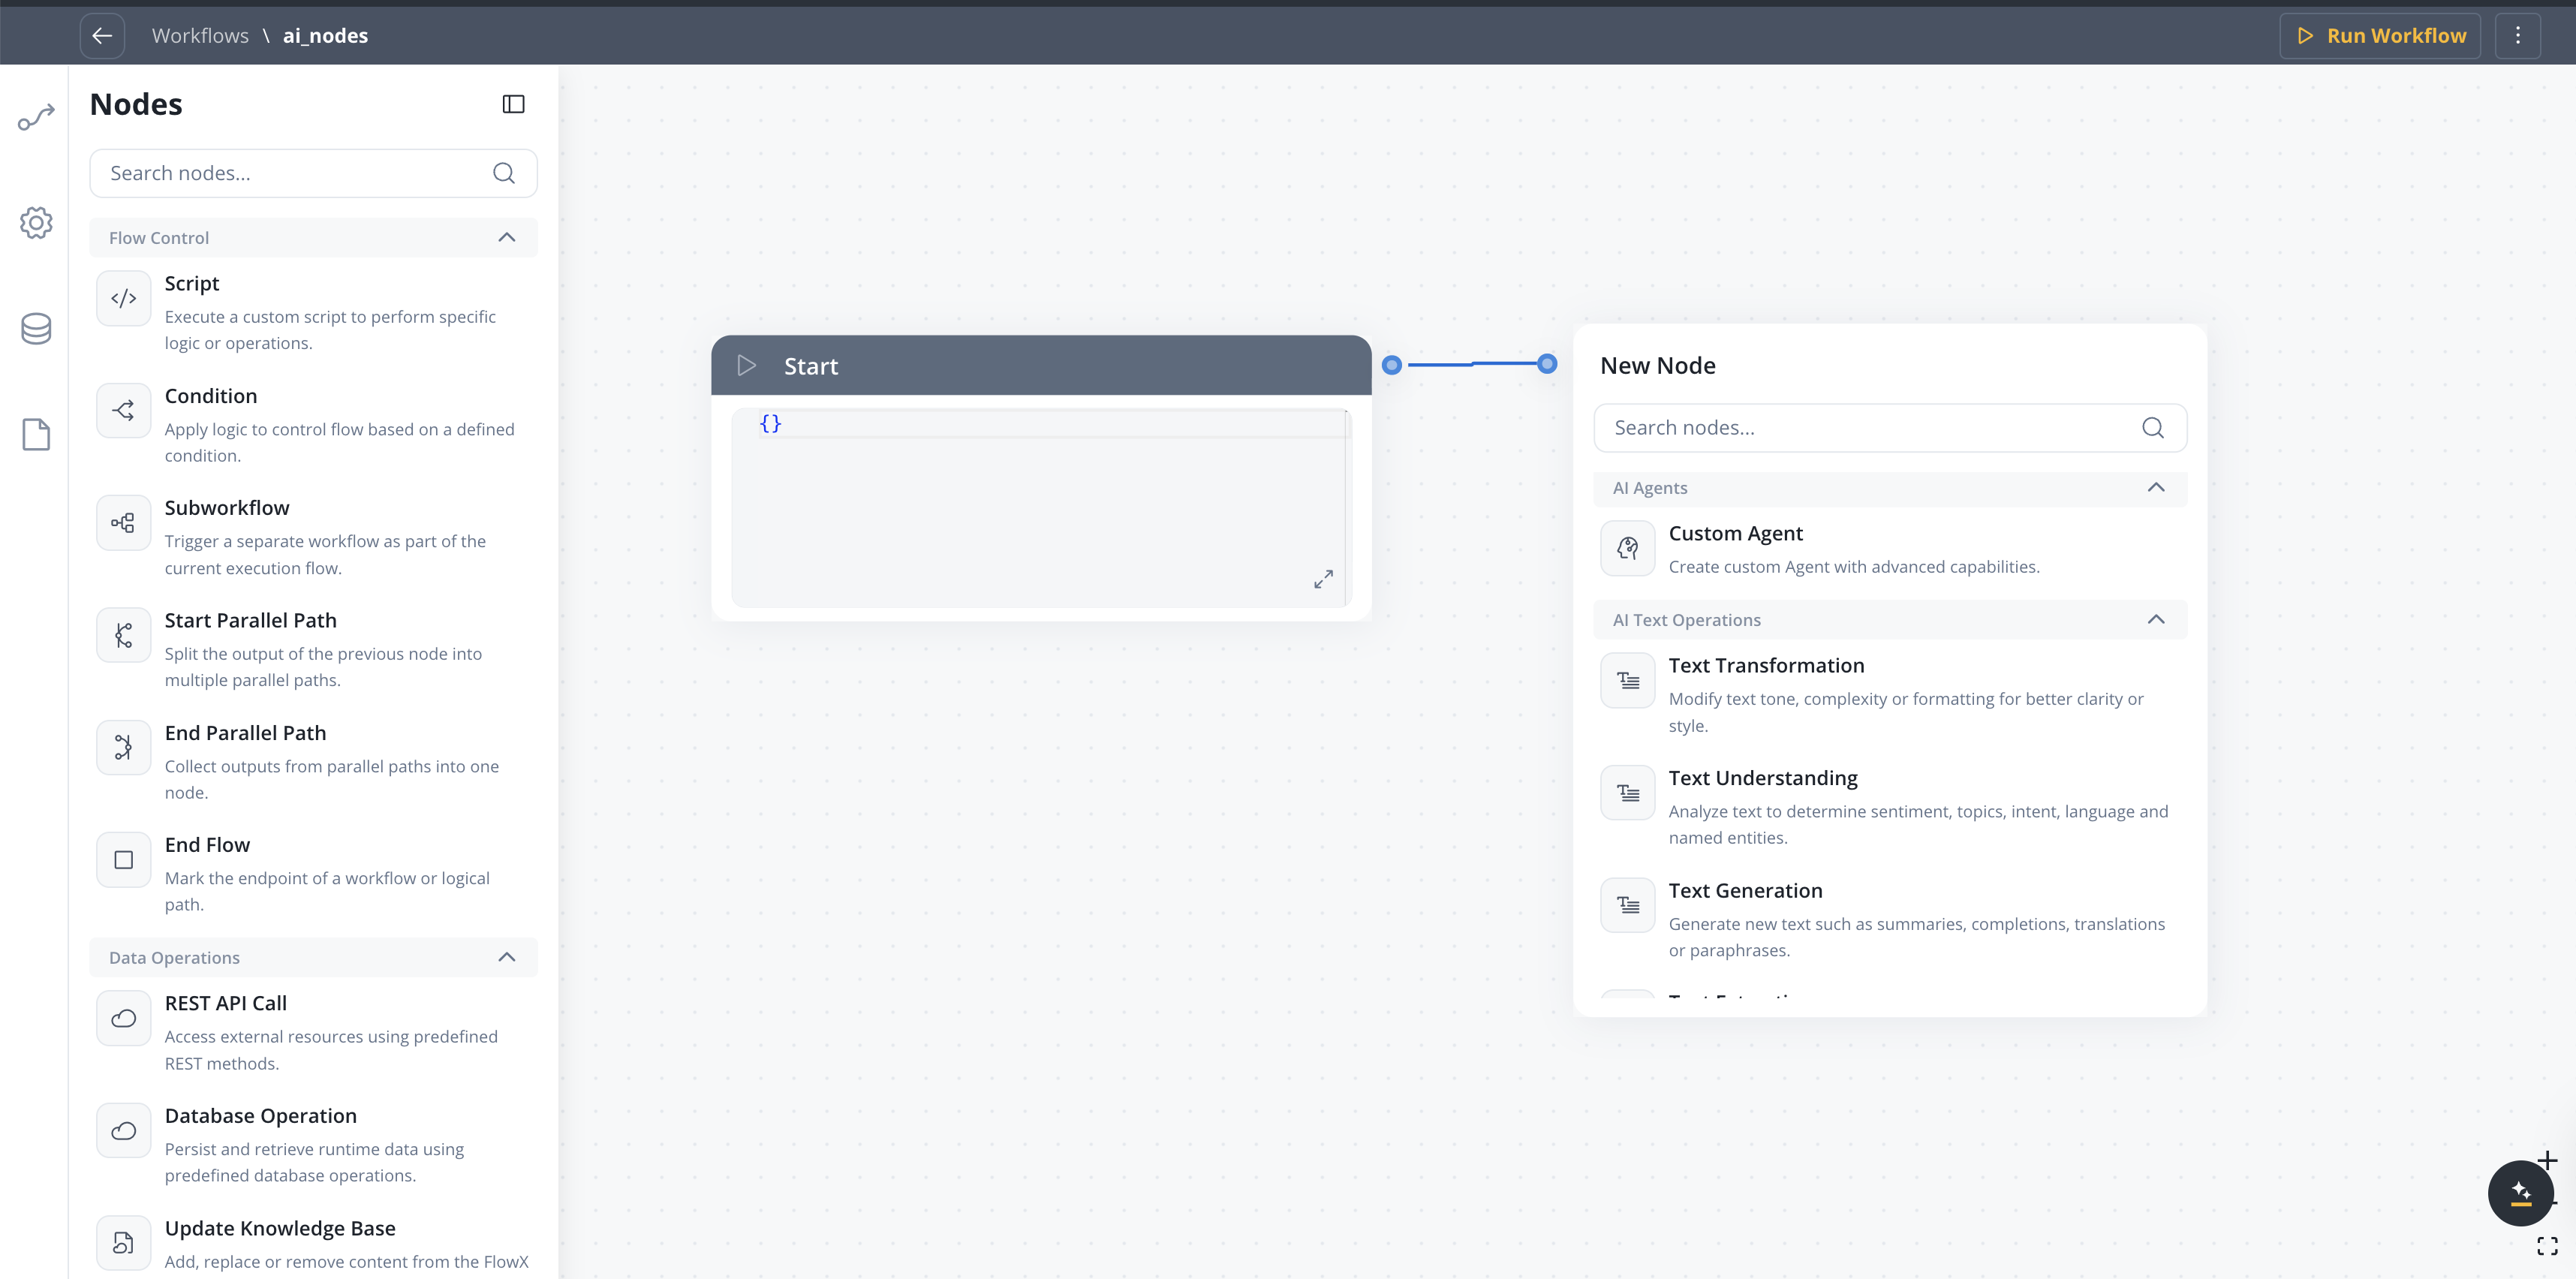
AI Text Operations
AI Document Operations
AI Image Operations
AI Data Operations
AI Node Types
Learn more about AI node types and configuration options