

Overview
Proxy connections let you route data source traffic through an intermediary proxy server. Instead of configuring proxy settings on each data source individually, you create reusable proxy connection resources in Integration Designer and attach them to one or more data sources. This is useful in environments where outbound traffic must pass through a corporate proxy, or when you need to route API calls through a specific gateway for security or compliance reasons.Key features
HTTP and HTTPS
Support for both HTTP and HTTPS proxy protocols
Basic authentication
Optional user and password authentication for proxy servers that require credentials
Test connectivity
Validate proxy configuration before saving with the built-in test function
Reusable across data sources
Create a proxy once and attach it to multiple RESTful System data sources
Managing proxy connections
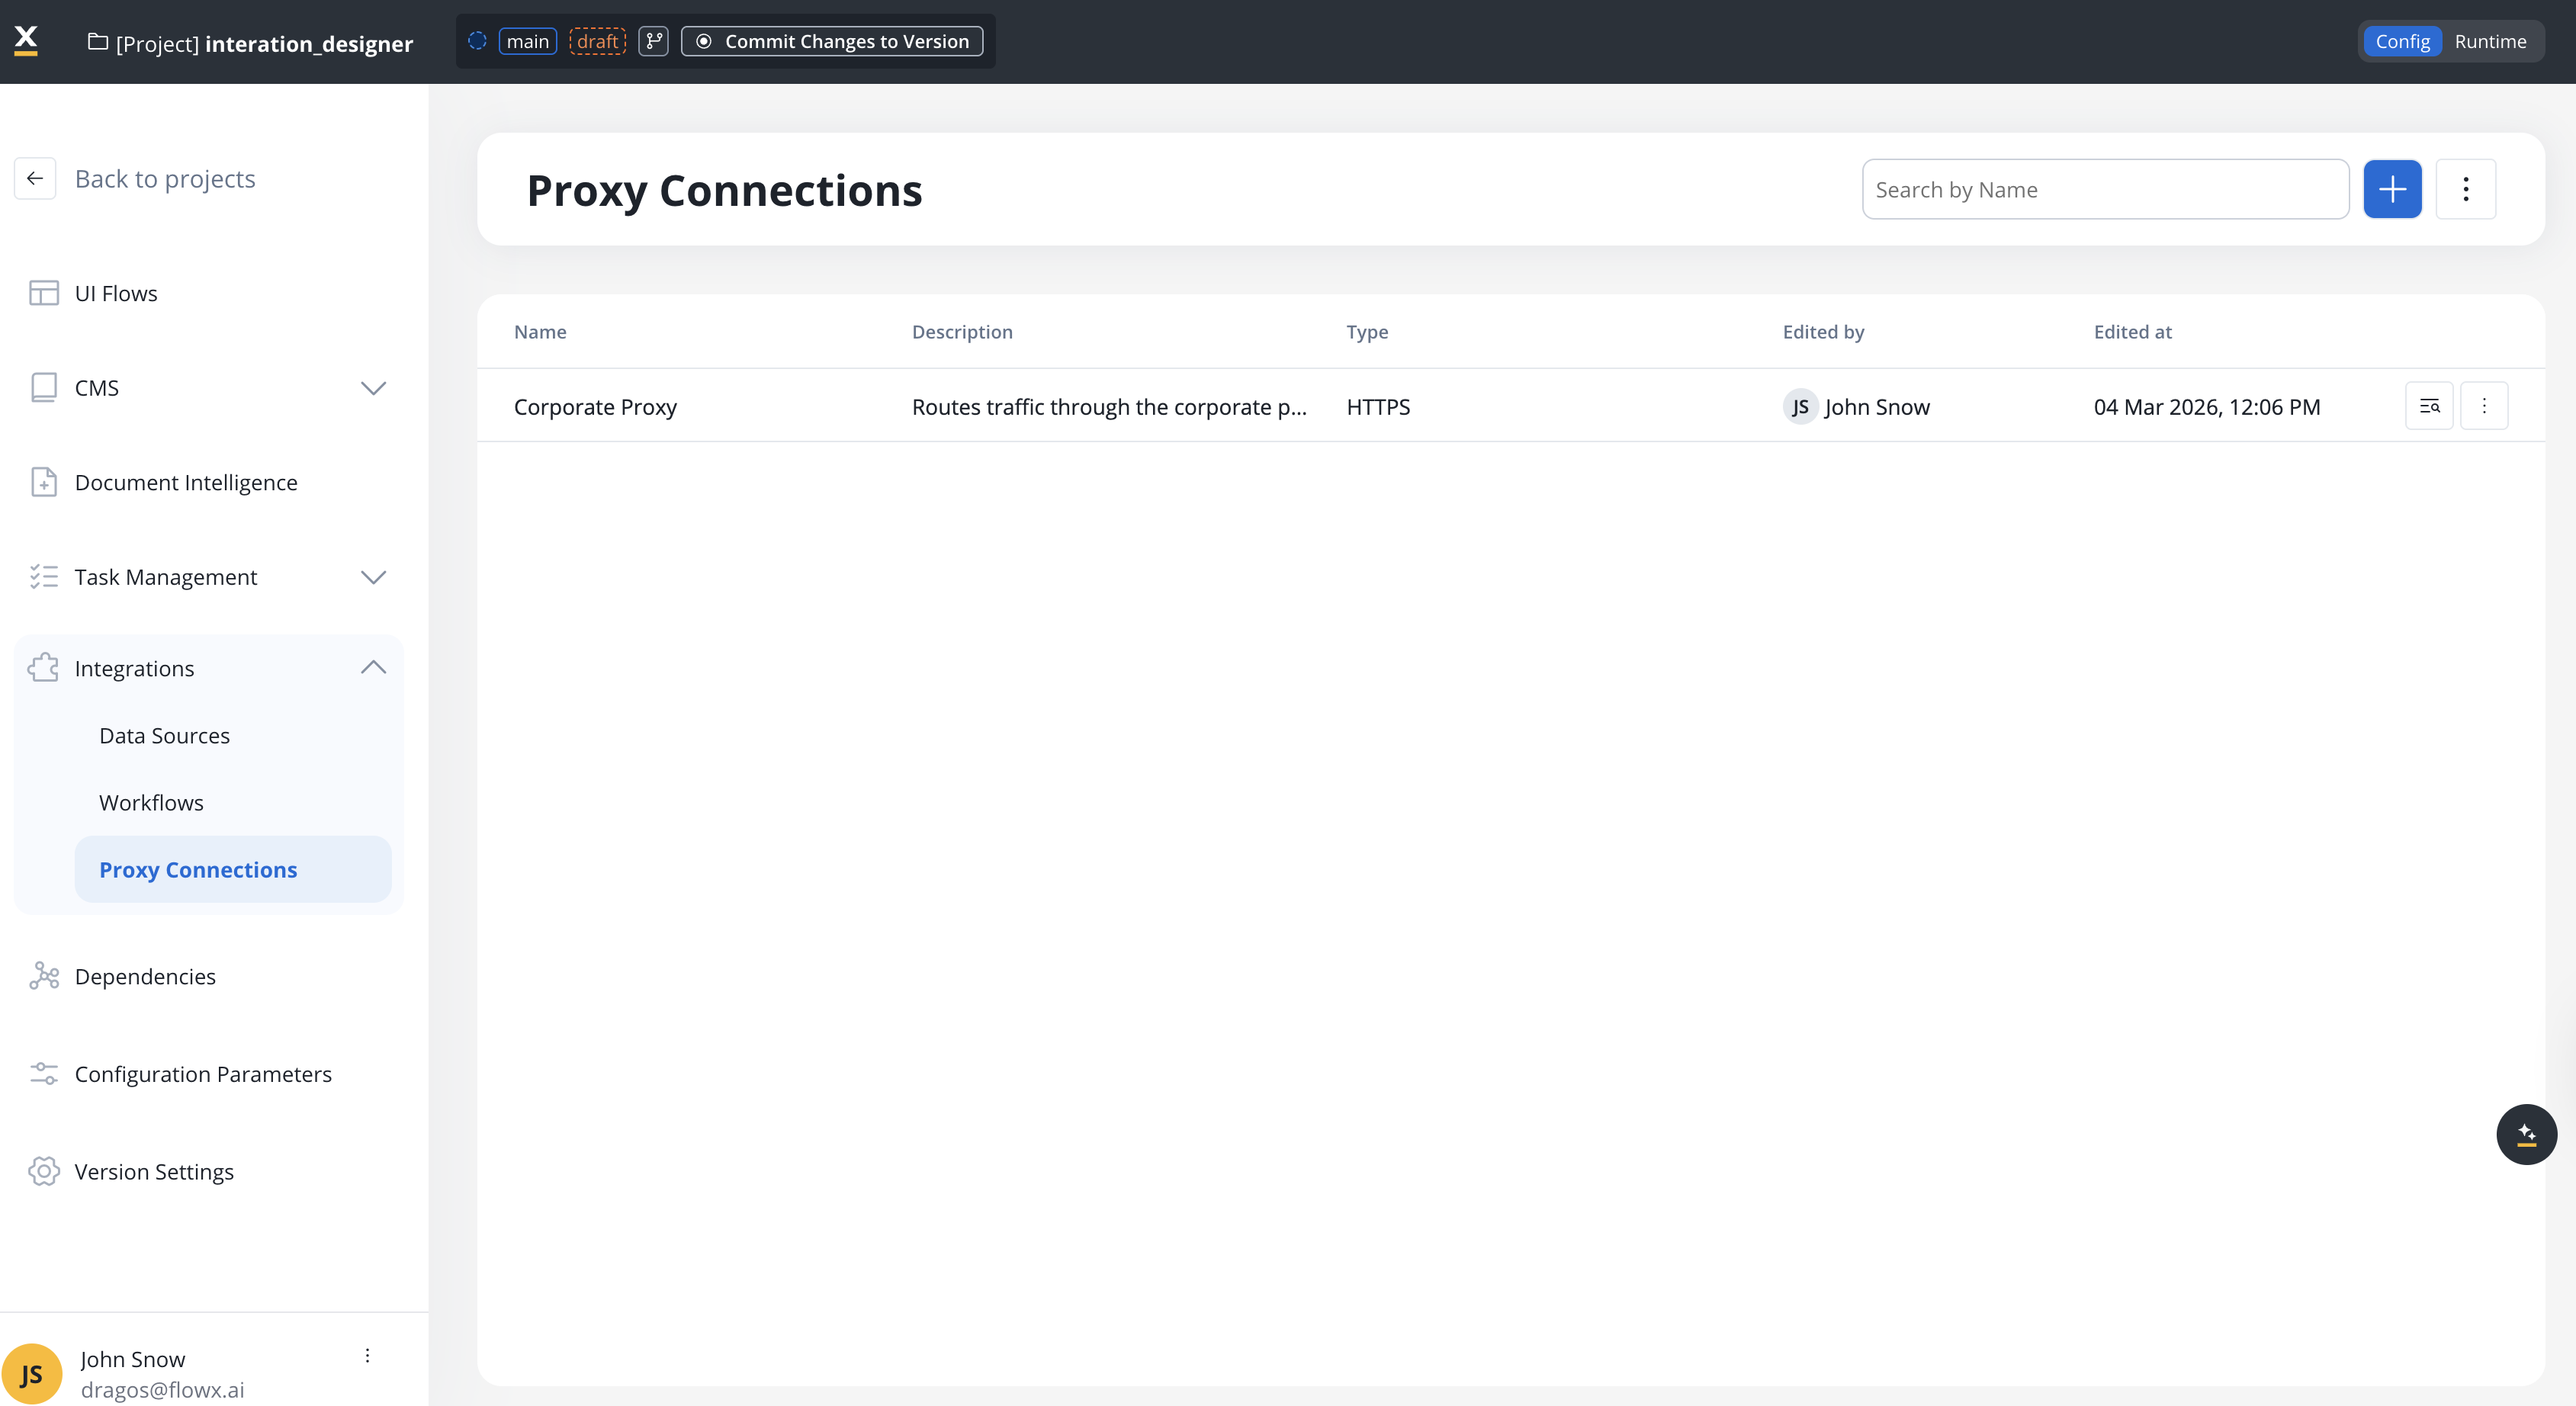
Proxy connections are managed from the Proxy Connections section in Integration Designer. To access the proxy list:1
Open your project
Open FlowX Designer and navigate to your project.
2
Expand Integrations
In the left sidebar, expand Integrations.
3
Open Proxy Connections
Click Proxy Connections.
Adding a proxy connection
1
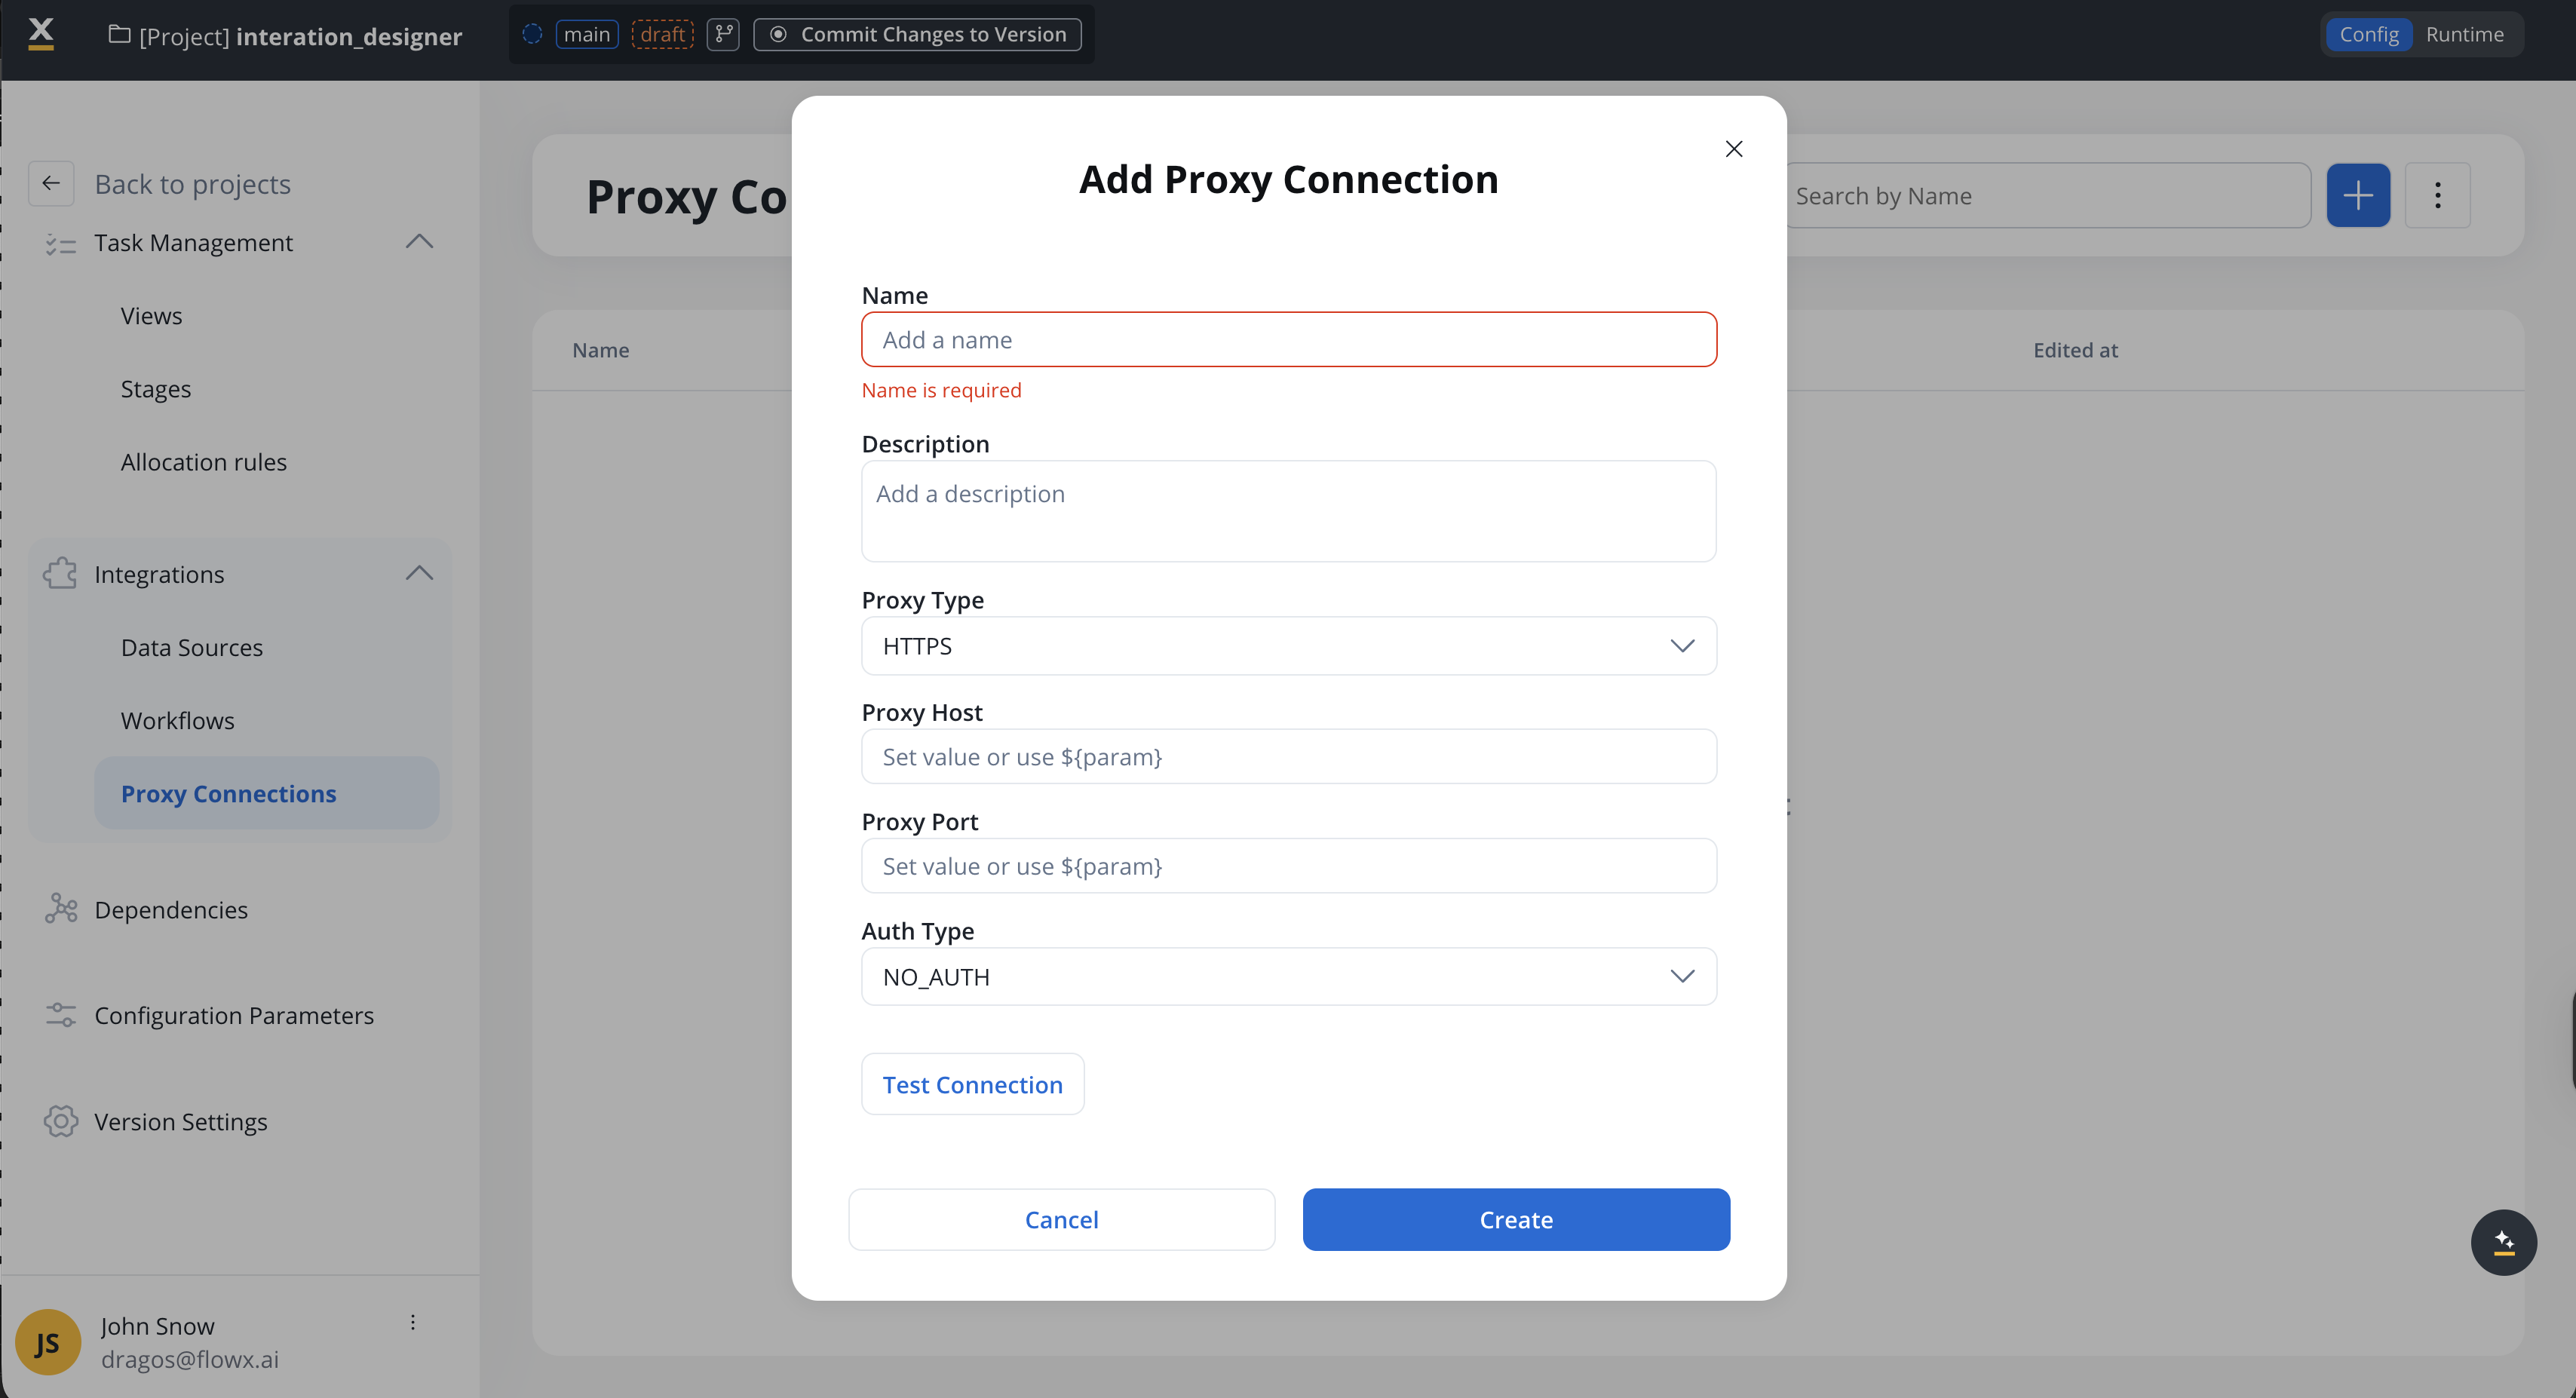
Open the proxy creation form
From the Proxy Connections list, click the + button at the top of the page.
2
Configure basic information
3
Set auth type
Select an Auth Type from the dropdown:
- NO_AUTH
- BASIC
No authentication required. The proxy accepts connections without credentials.
4
Test the proxy connection
Click Test Connection to validate the configuration. The system attempts to connect through the proxy and reports success or failure.
If the test succeeds, the proxy is ready to use. If it fails, verify the host, port, and credentials.
5
Create the proxy
Click Create to save the proxy connection. It is now available for use with data sources.
Using proxies with data sources
Proxy connections can be attached to RESTful System data sources. When a proxy is attached, all API calls made through that data source are routed through the proxy server.Attaching a proxy to a data source
1
Open a RESTful System data source
Navigate to the data source configuration in Integration Designer. This works for both new and existing RESTful System data sources.
2
Turn on proxy routing
Toggle Connect through Proxy to ON. A new dropdown field appears.
3
Select a proxy connection
Choose a proxy from the Select Proxy Connection dropdown. The list shows all available proxy connections in the current project.If no proxies exist, the dropdown shows a Create option that takes you to the proxy creation form.
4
Save the data source
Save the data source configuration. All subsequent API calls through this data source will be routed through the selected proxy.
Example: route a CRM integration through a corporate proxy
In this scenario, your organization requires all outbound API traffic to pass through a corporate proxy server before reaching external services. You have a RESTful System data source that connects to a CRM API and need to route its traffic through the proxy.1
Create the proxy connection
Go to Integrations → Proxy Connections and click +. Configure: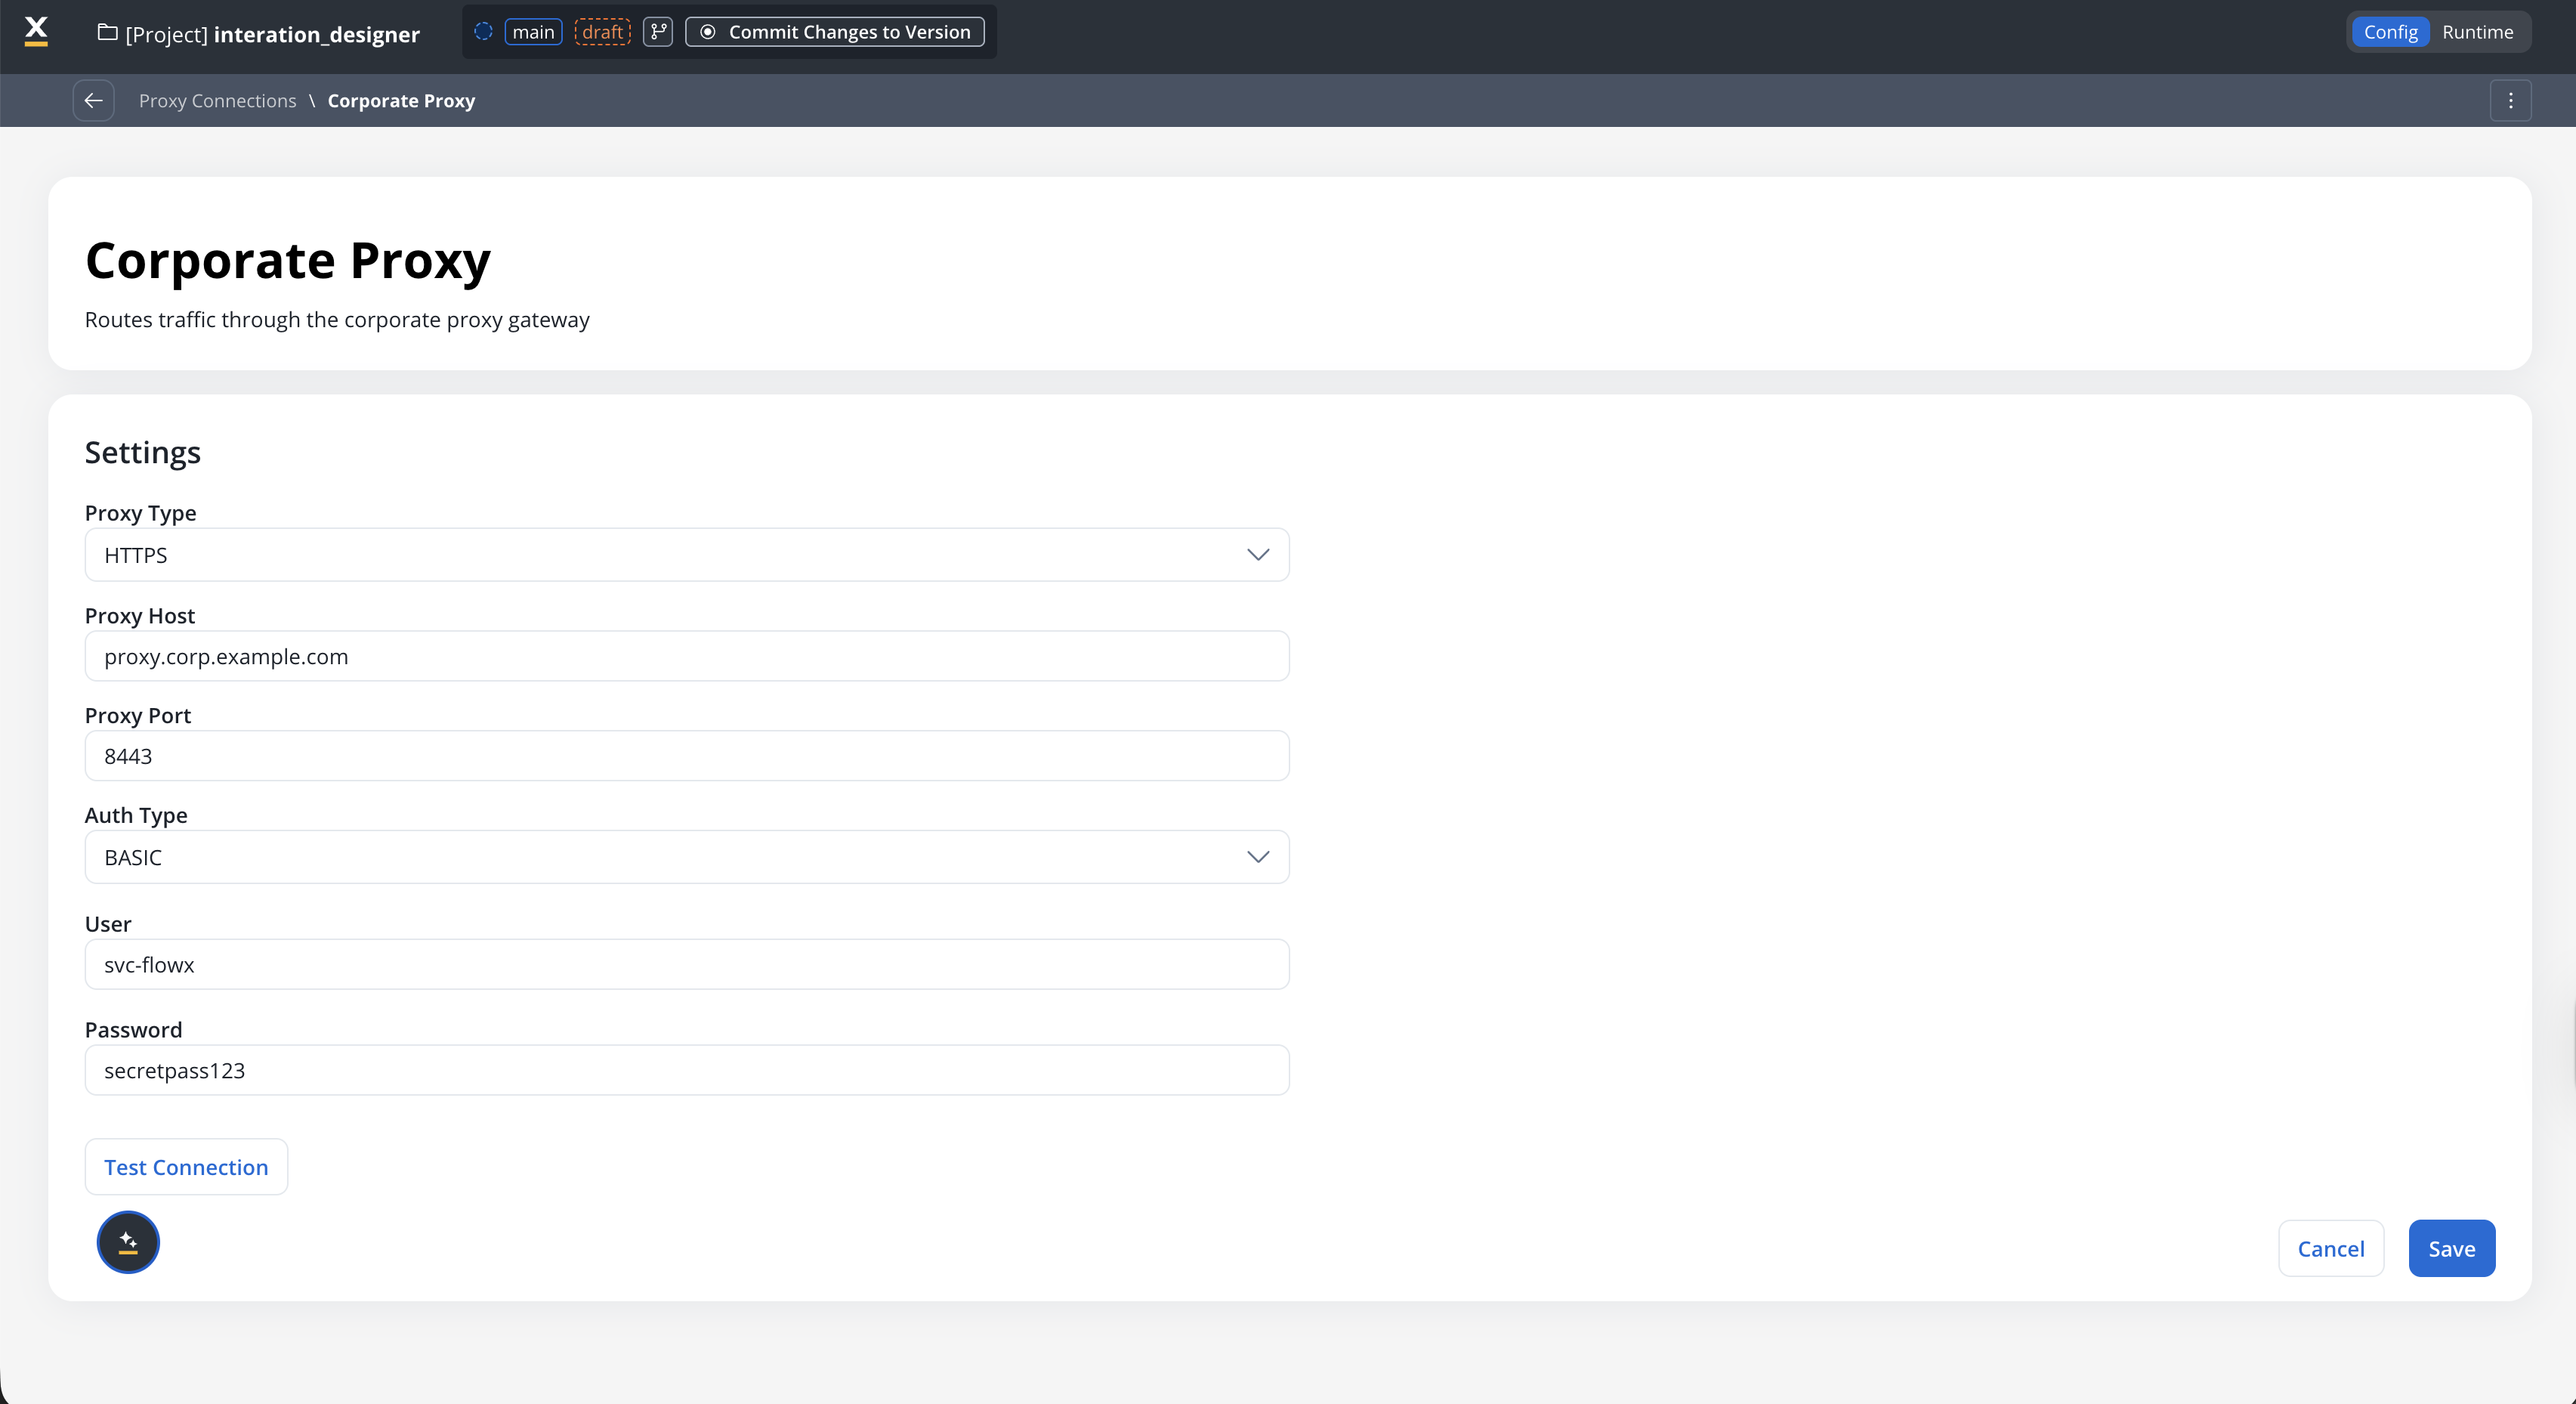
Click Test Connection to verify, then click Create.
2
Attach the proxy to a data source
Go to Integrations → Data Sources and open your CRM data source (RESTful System type).Toggle Connect through Proxy to ON and select Corporate Proxy from the dropdown. Save the data source.
3
Verify in runtime
Run a workflow that uses the CRM data source. In the runtime console, the cURL preview now reflects the proxy:
Proxy in cURL commands
When a proxy is active on a RESTful System data source, the cURL command preview in the runtime console reflects the proxy configuration. Without proxy:Configuration reference
Limitations
The following proxy types and authentication methods are not supported in this release:Related resources
Integration Designer
Data sources and workflow integrations
MCP Integration
MCP server connections with separate proxy support