

Workflow, process, or UI Flow: which one do I use?
Use a workflow to call external systems and transform data, a process to run a multi-step business journey that keeps state, and a UI Flow to show screens that don’t need a process behind them. A workflow is not a BPMN process: it is a separate resource built here, in the Integration Designer. The three are often combined, for example a process or a UI Flow starts a workflow to fetch data and uses the result.
A quick test: if a step waits for a person or must remember data between steps, use a process. If it only fetches, sends, or transforms data, use a workflow. If it only shows screens and starts other resources, use a UI Flow.
To start a workflow from a process, use the Start Integration Workflow action. To start one from a UI Flow, see When to use Start Workflow vs Start Process. For the UI Flow side of the choice, see When to use UI Flows.
For a worked example that connects all three, see Combine UI Flows, processes, and workflows.
Creating a workflow
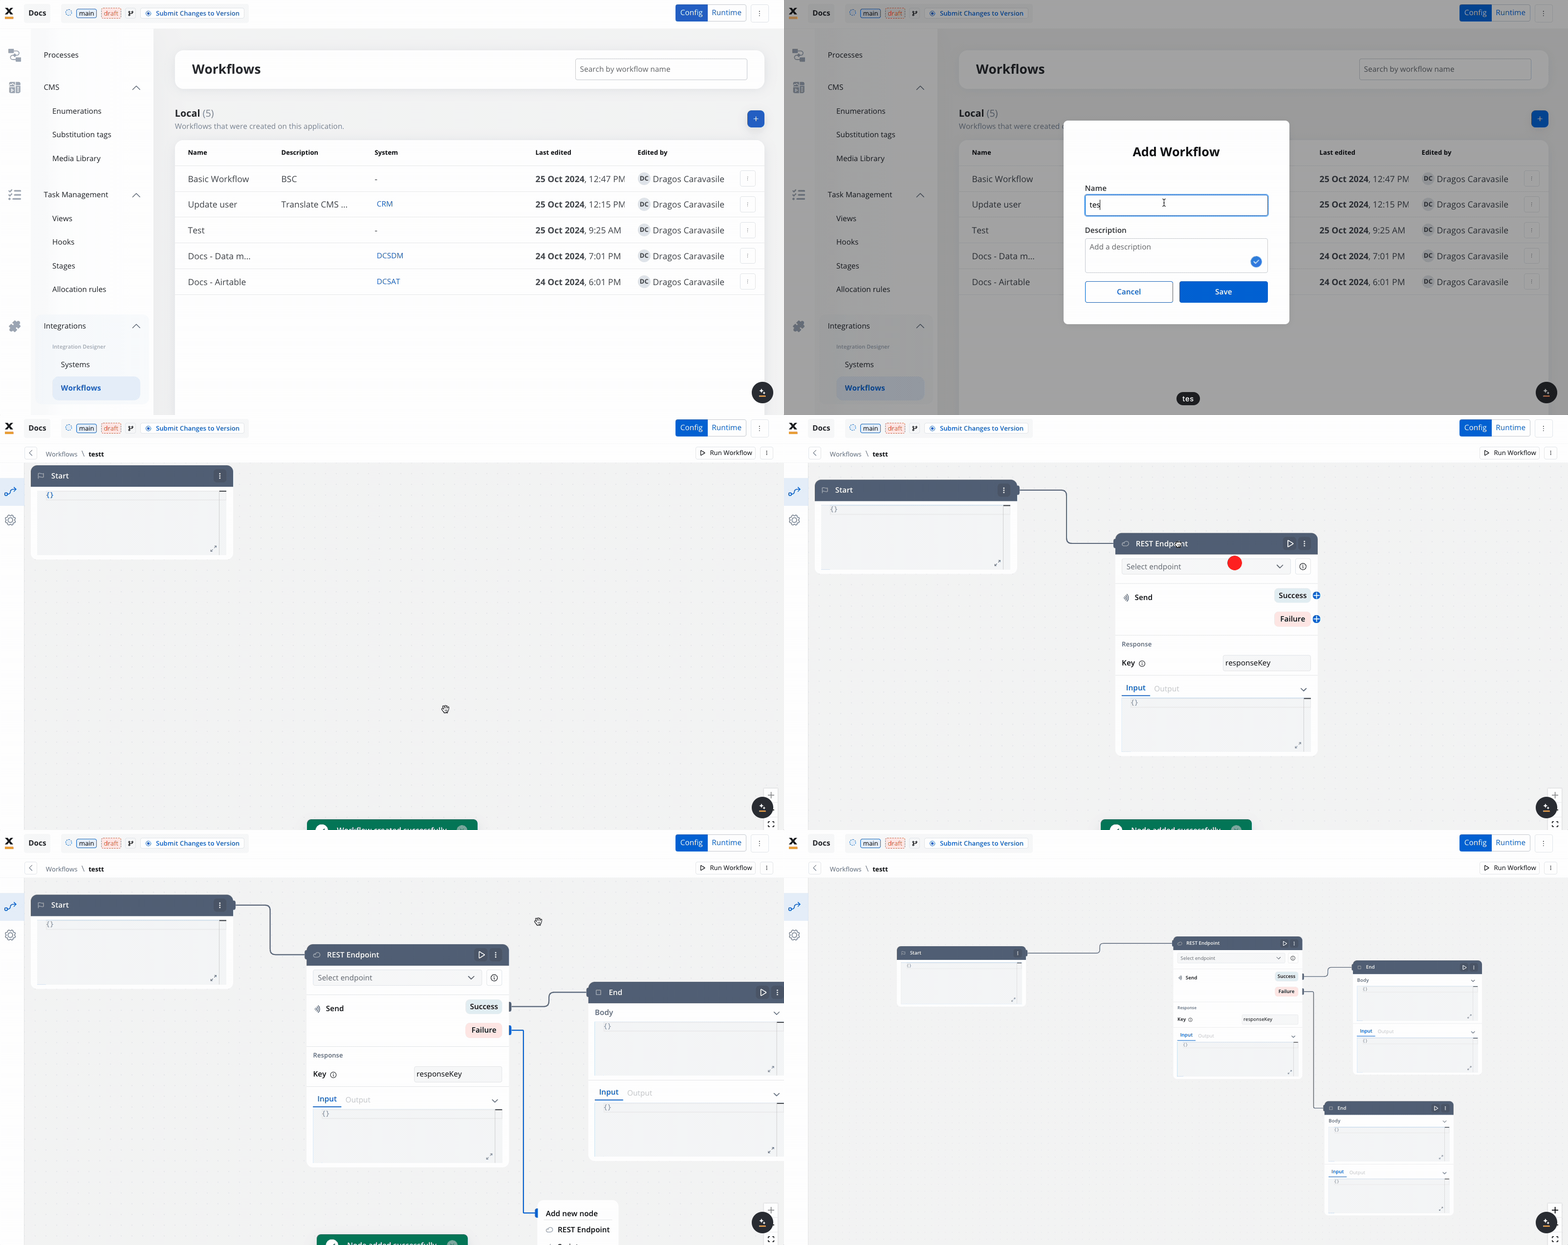
- Navigate to Workflow Designer:
- In FlowX.AI Designer to Projects -> Your application -> Integrations -> Workflows.
- Create a New Workflow, provide a name and description, and save it.
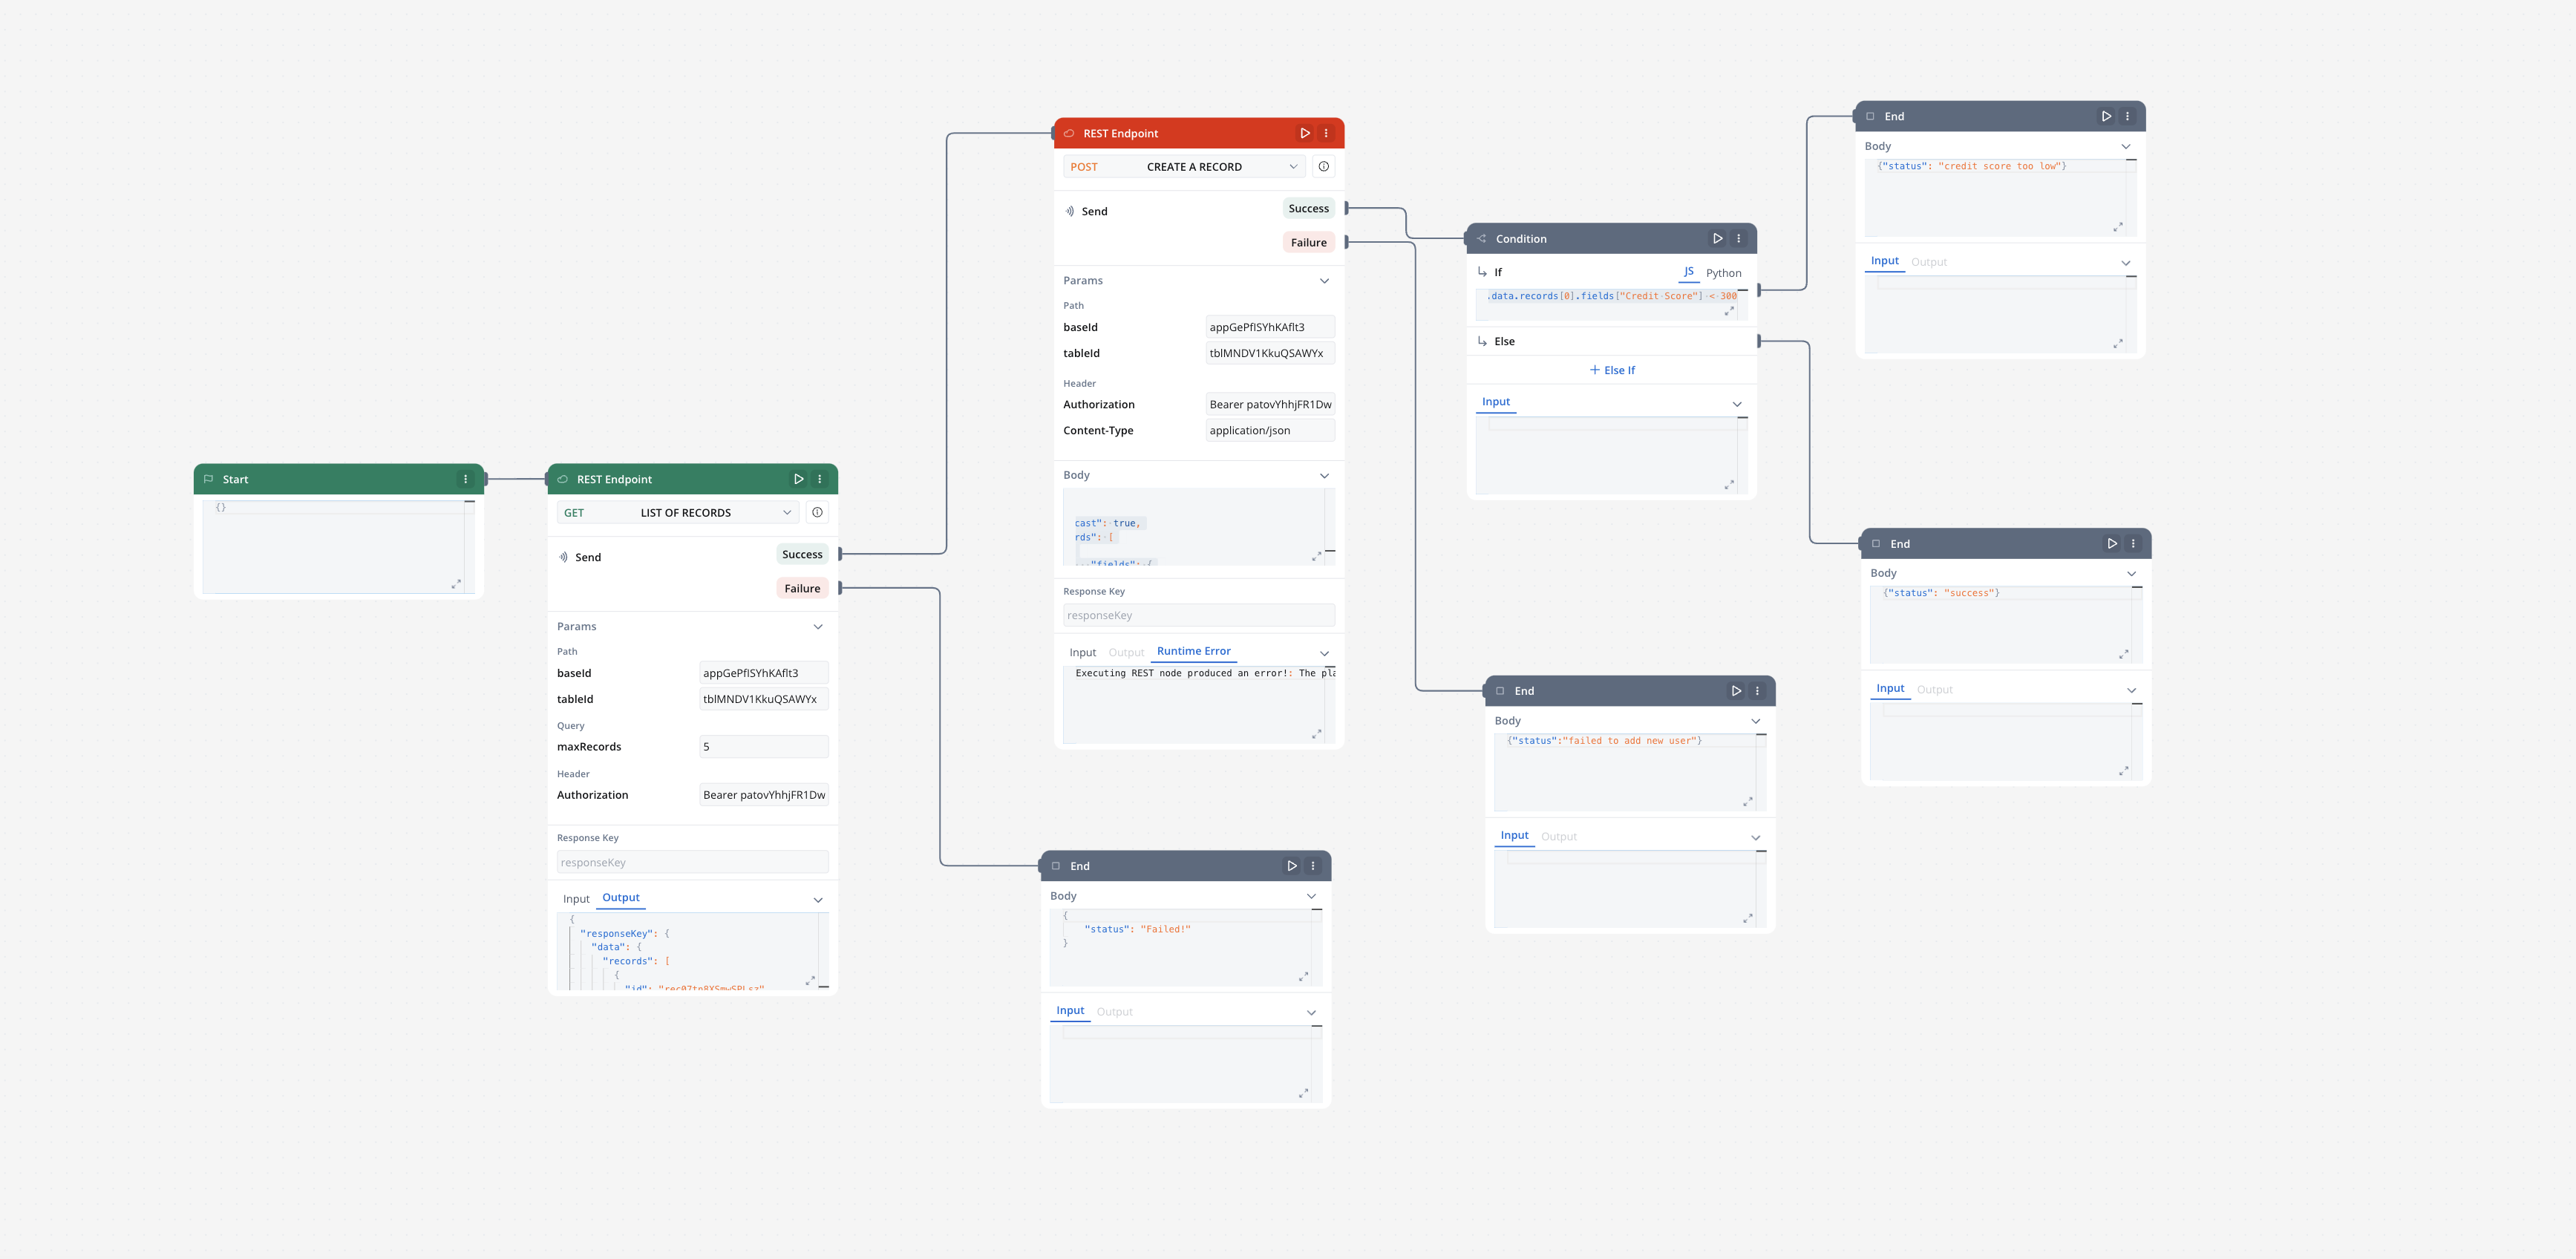
- Start to design your workflow by adding nodes to represent the steps of your workflow:
- Start Node: Defines where the workflow begins and also defines the input parameter for subsequent nodes.
- REST API Call nodes: Add REST API calls for fetching or sending data.
- FlowX Database nodes: Read and write data to FlowX Database collections.
- Custom Agent nodes: Enable AI agents to use MCP tools for intelligent task automation.
- Intent Classification Agent nodes: Classify user messages using AI and route the workflow to the matching intent branch.
- Context Retrieval nodes: Perform RAG searches against Knowledge Bases to retrieve relevant chunks without calling an LLM.
- Start Parallel and End Parallel nodes: Run several branches of the workflow at the same time and merge their results when all branches finish.
- Fork nodes (conditions): Add conditional logic for decision-making.
- Data mapping nodes (scripts): Write custom scripts in JavaScript or Python.
- Subworkflow nodes: Invoke other workflows as reusable components.
- Navigate in UI Flow nodes: Navigate users to specific UI Flow screens from chat-driven workflows, passing dynamic parameters.
- Web Page Extractor nodes: Crawl web pages, follow links up to a configurable depth, and extract content for use in workflows or Knowledge Bases.
- End Nodes: Capture output data as the completed workflow result, ensuring the process concludes with all required information.
- Update Knowledge Base: Update the Knowledge Base with the results of the workflow.
How do I auto-arrange the workflow canvas?
SaaS · 6.0Available on SaaS with FlowX.AI 6.0. This feature is live on managed (SaaS) deployments now. Self-hosted deployments will receive it with the next LTS release family.
1
Open the layout preview
Click Auto-arrange. The canvas shows the proposed layout, and the Layout preview bar says how many nodes move. While the preview is open, the canvas is read-only.
2
Compare the layouts
Switch between Show current and Show preview to compare the existing layout with the proposed one.
3
Apply or cancel
Click Apply (or press Enter) to save the new node positions, or Cancel (or press Escape) to keep the current layout.
- Auto-arrange always arranges the whole workflow, not a selection.
- There is no undo after you apply a layout, so compare the two layouts first.
- If the workflow changes after the preview is built, Apply becomes Refresh preview.
- The button is unavailable when the workflow is read-only, for example when you don’t have edit rights or while a running instance is shown on the canvas.
Workflow nodes overview
Workflow nodes are the building blocks of your integration logic. Each node type serves a specific function, allowing you to design, automate, and orchestrate complex processes visually.
Each node’s configuration is described in the node reference pages: control flow and integration nodes and data, document, and AI nodes.
Workflow data models
Workflow Data Models bring structured data management to Integration Designer workflows, enabling you to define input and output parameters at the workflow level, similar to Process Data Models.Key benefits
Automatic Input Management
Input parameters automatically pre-fill the Start Node from the data model—no manual JSON editing
Consistent Data Lineage
Ensure data consistency across processes and workflows with structured data models
Type Safety
Define data types and validation rules at the workflow level for runtime safety
Better Integration
Map data bidirectionally between processes and workflows using data mappers
Quick start
1
Define Data Model
Create entities and attributes for your workflow data structure
2
Configure Input Parameters
Select which attributes will be workflow input parameters
3
Automatic Pre-fill
Start Node is automatically populated with structured data from your data model
4
Map to Processes
Use data mappers to pass data between processes and workflows
Complete Workflow Data Models Guide
Learn how to create workflow data models, configure input/output parameters, and integrate with processes
Referencing workflow data in node configurations
Node configuration fields (file paths, messages, request payloads) reference workflow data with${...} expressions:
To use one element of an array, extract it with a Script node first, then reference the extracted value with dot navigation:
${firstFile.filePath}.
This applies to every array, including the uploadedFiles array that chat file uploads deliver to a chat-driven workflow.
Running and stopping workflows
You can run a workflow directly from the editor to test and debug it, and stop it while it is running.- Run Workflow: Click Run Workflow in the workflow editor toolbar to start a new workflow instance. You can provide start data in JSON format before running.
- Stop Run: While a workflow instance is running, the button changes to Stop Run. Click it to cancel the instance. All in-progress and scheduled nodes are marked as cancelled.