

Available on SaaS with FlowX.AI 5.11. This feature is live on managed (SaaS) deployments now. Self-hosted deployments will receive it with the next LTS release family.
Overview
Process instance migration moves running instances from the build they started on to a different build of the same process, so a fix or change made in a newer build applies to instances that are already in flight. It is an operational corrective action, alongside updating process variables - you use it to fix forward without asking end users to restart. You can migrate:- A single instance - from its contextual menu on the Process instances page.
- Instances in bulk - a chosen set of instances on a source build, from the Corrective Actions page.
Eligibility
Only instances that are still running can be migrated:
| UI Flow sessions | UI Flow sessions are not migrated (see Limitations). |
Prerequisites
Migrating process instances is a workspace-level Operations action. The acting user needs the Operations permission in the workspace. The built-inoperations_editor
(workspace_operations_editor) role grants it, and workspace_admin includes it by default.
For the full permission breakdown, see the
Roles and permissions matrix and
Workspaces access rights.
Corrective actions role
SaaS · 5.13Available on SaaS with FlowX.AI 5.13. This feature is live on managed (SaaS) deployments now. Self-hosted deployments will receive it with the next LTS release family.
workspace_admin includes the permission, and organization admins have it through their workspace
admin access. See the
Workspace corrective actions editor permission matrix.
Migrate a single instance
1
Open the process instance menu
Go to Runtime → Active Process → Process instances, then open the contextual menu
(three dots) on the instance you want to migrate and select Migrate.
2
Choose the target build
Select the target build to migrate the instance to. Builds are listed newest first
(descending by build creation date).
3
Map unmatched nodes
On the Migration page, review how the instance’s active node maps into the target build.
If the active node does not exist in the target build, the token is repositioned per the
node mapping rules.
4
Start the migration
Confirm to run the migration. When it completes, the instance runs on the target build and
its previously active tokens are marked Migrated (see After migration).
Migrate instances in bulk
Bulk migration moves every eligible instance on a source build to a target build in one action.1
Open Bulk Migration
Go to Runtime → Runtime Control → Corrective Actions, open the menu (three dots, top
right) and select Bulk Migration.
2
Configure the migration
In the Migrate Instances modal, choose the Source Build and the Target Build.
Both lists are ordered newest first (descending by build creation date). Then, under
Which instances do you want to move?, pick a selection mode and fill in its fields; see
Choosing which instances to move. Click Continue.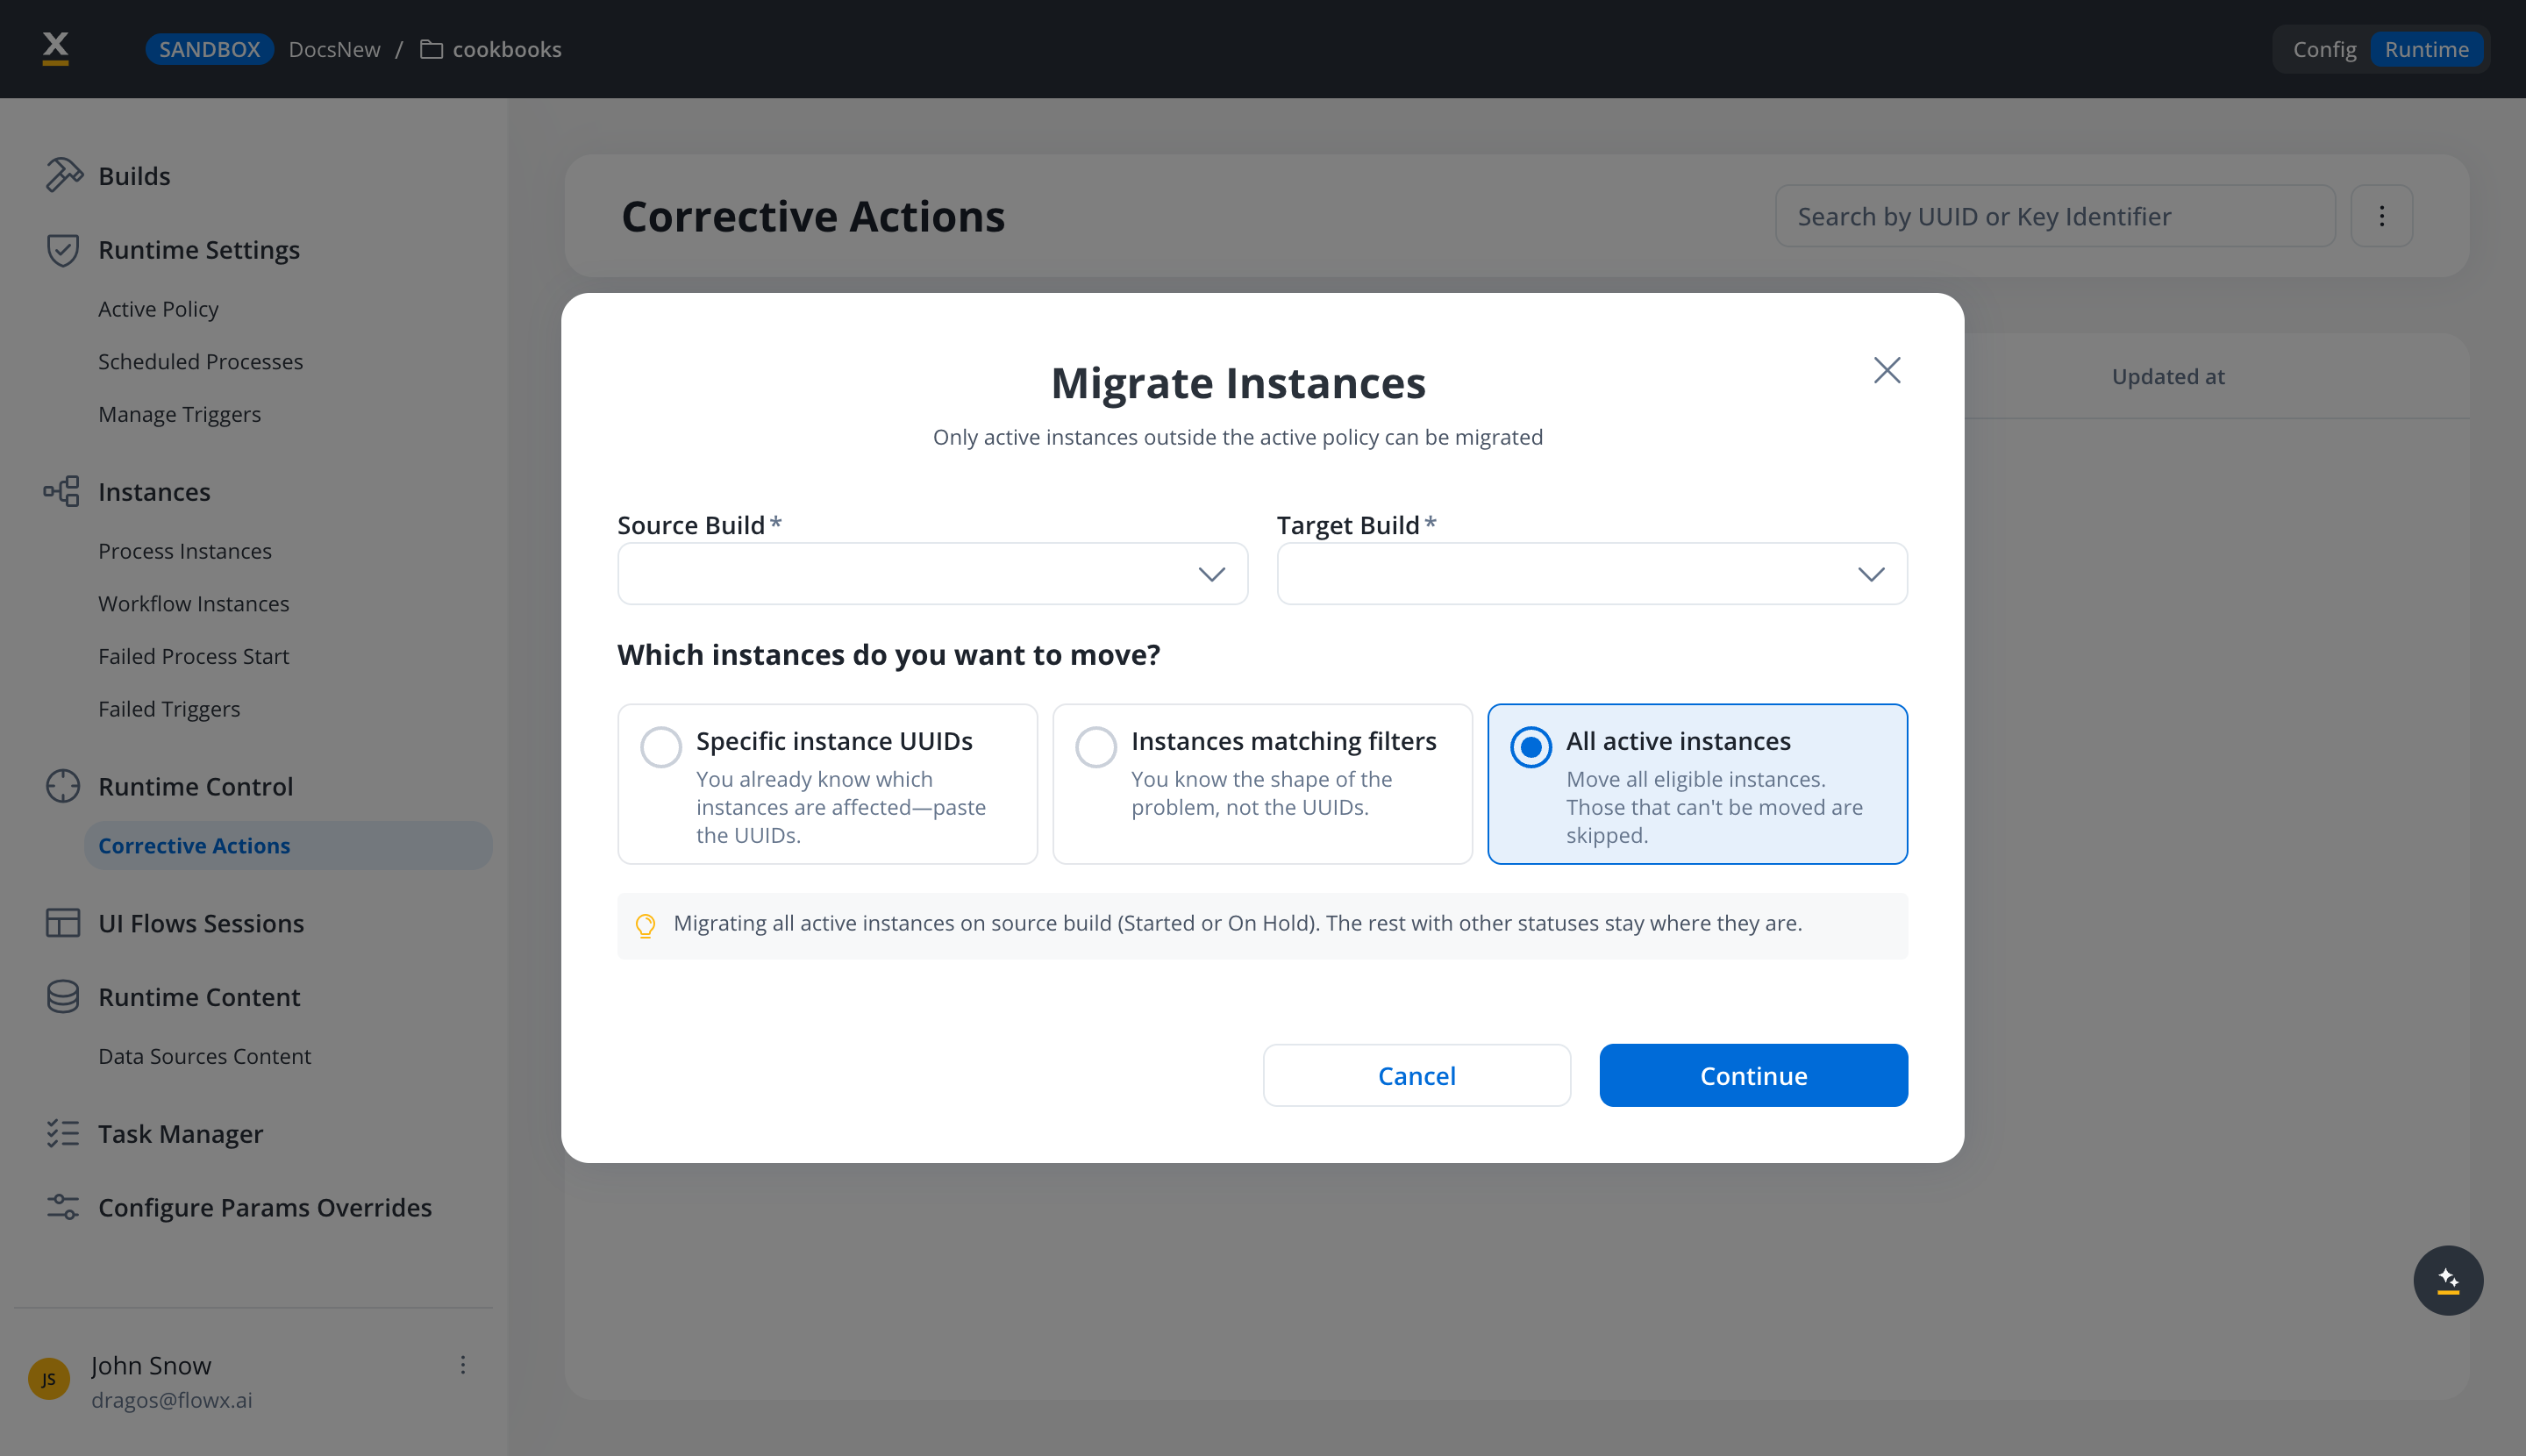
3
Review the Migration page
The Migration page shows the number of running instances eligible for migration
(instances in STARTED or ON HOLD status), the source and target builds (read-only), and the
node mapping section.
4
Map unmatched nodes
Resolve any active nodes that do not exist in the target build, per the
node mapping rules.
5
Start the migration
Click Start to run the bulk migration.
Choosing which instances to move
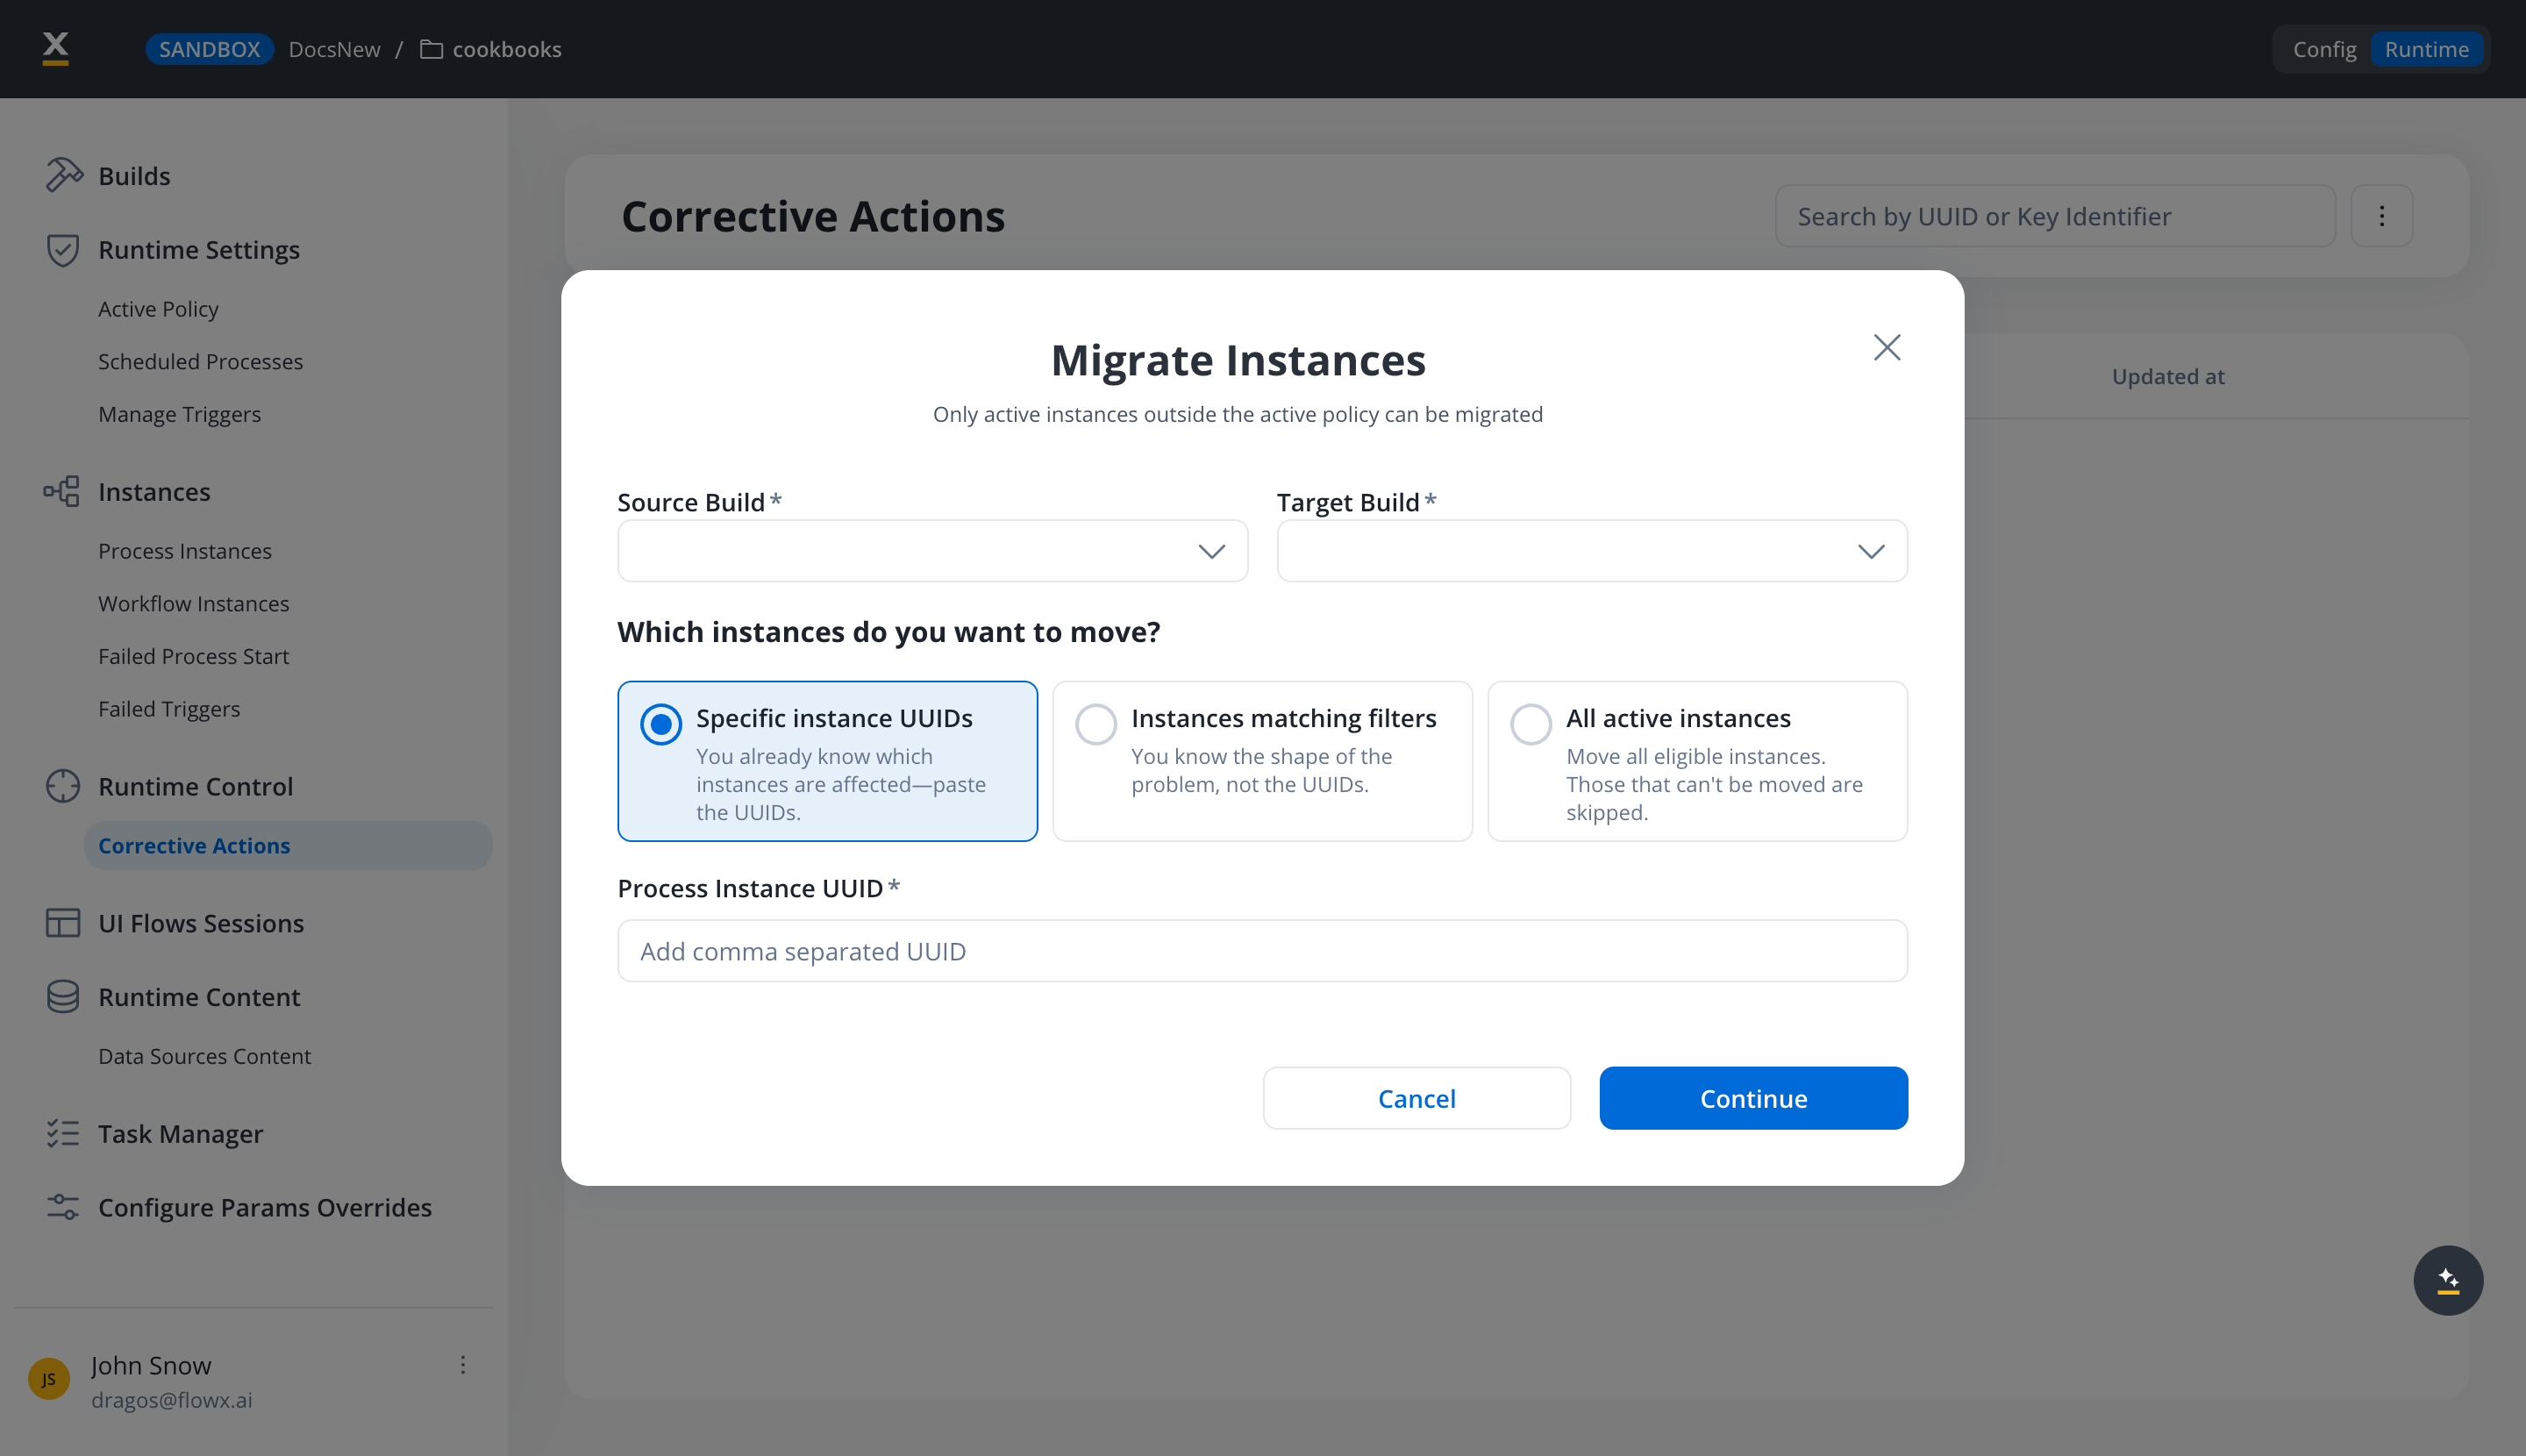
SaaS · 5.12Available on SaaS with FlowX.AI 5.12. This feature is live on managed (SaaS) deployments now. Self-hosted deployments will receive it with the next LTS release family.
Specific instance UUIDs shows a Process Instance UUID field taking comma-separated UUIDs, up to 100 in one run. More than that is rejected rather than truncated.
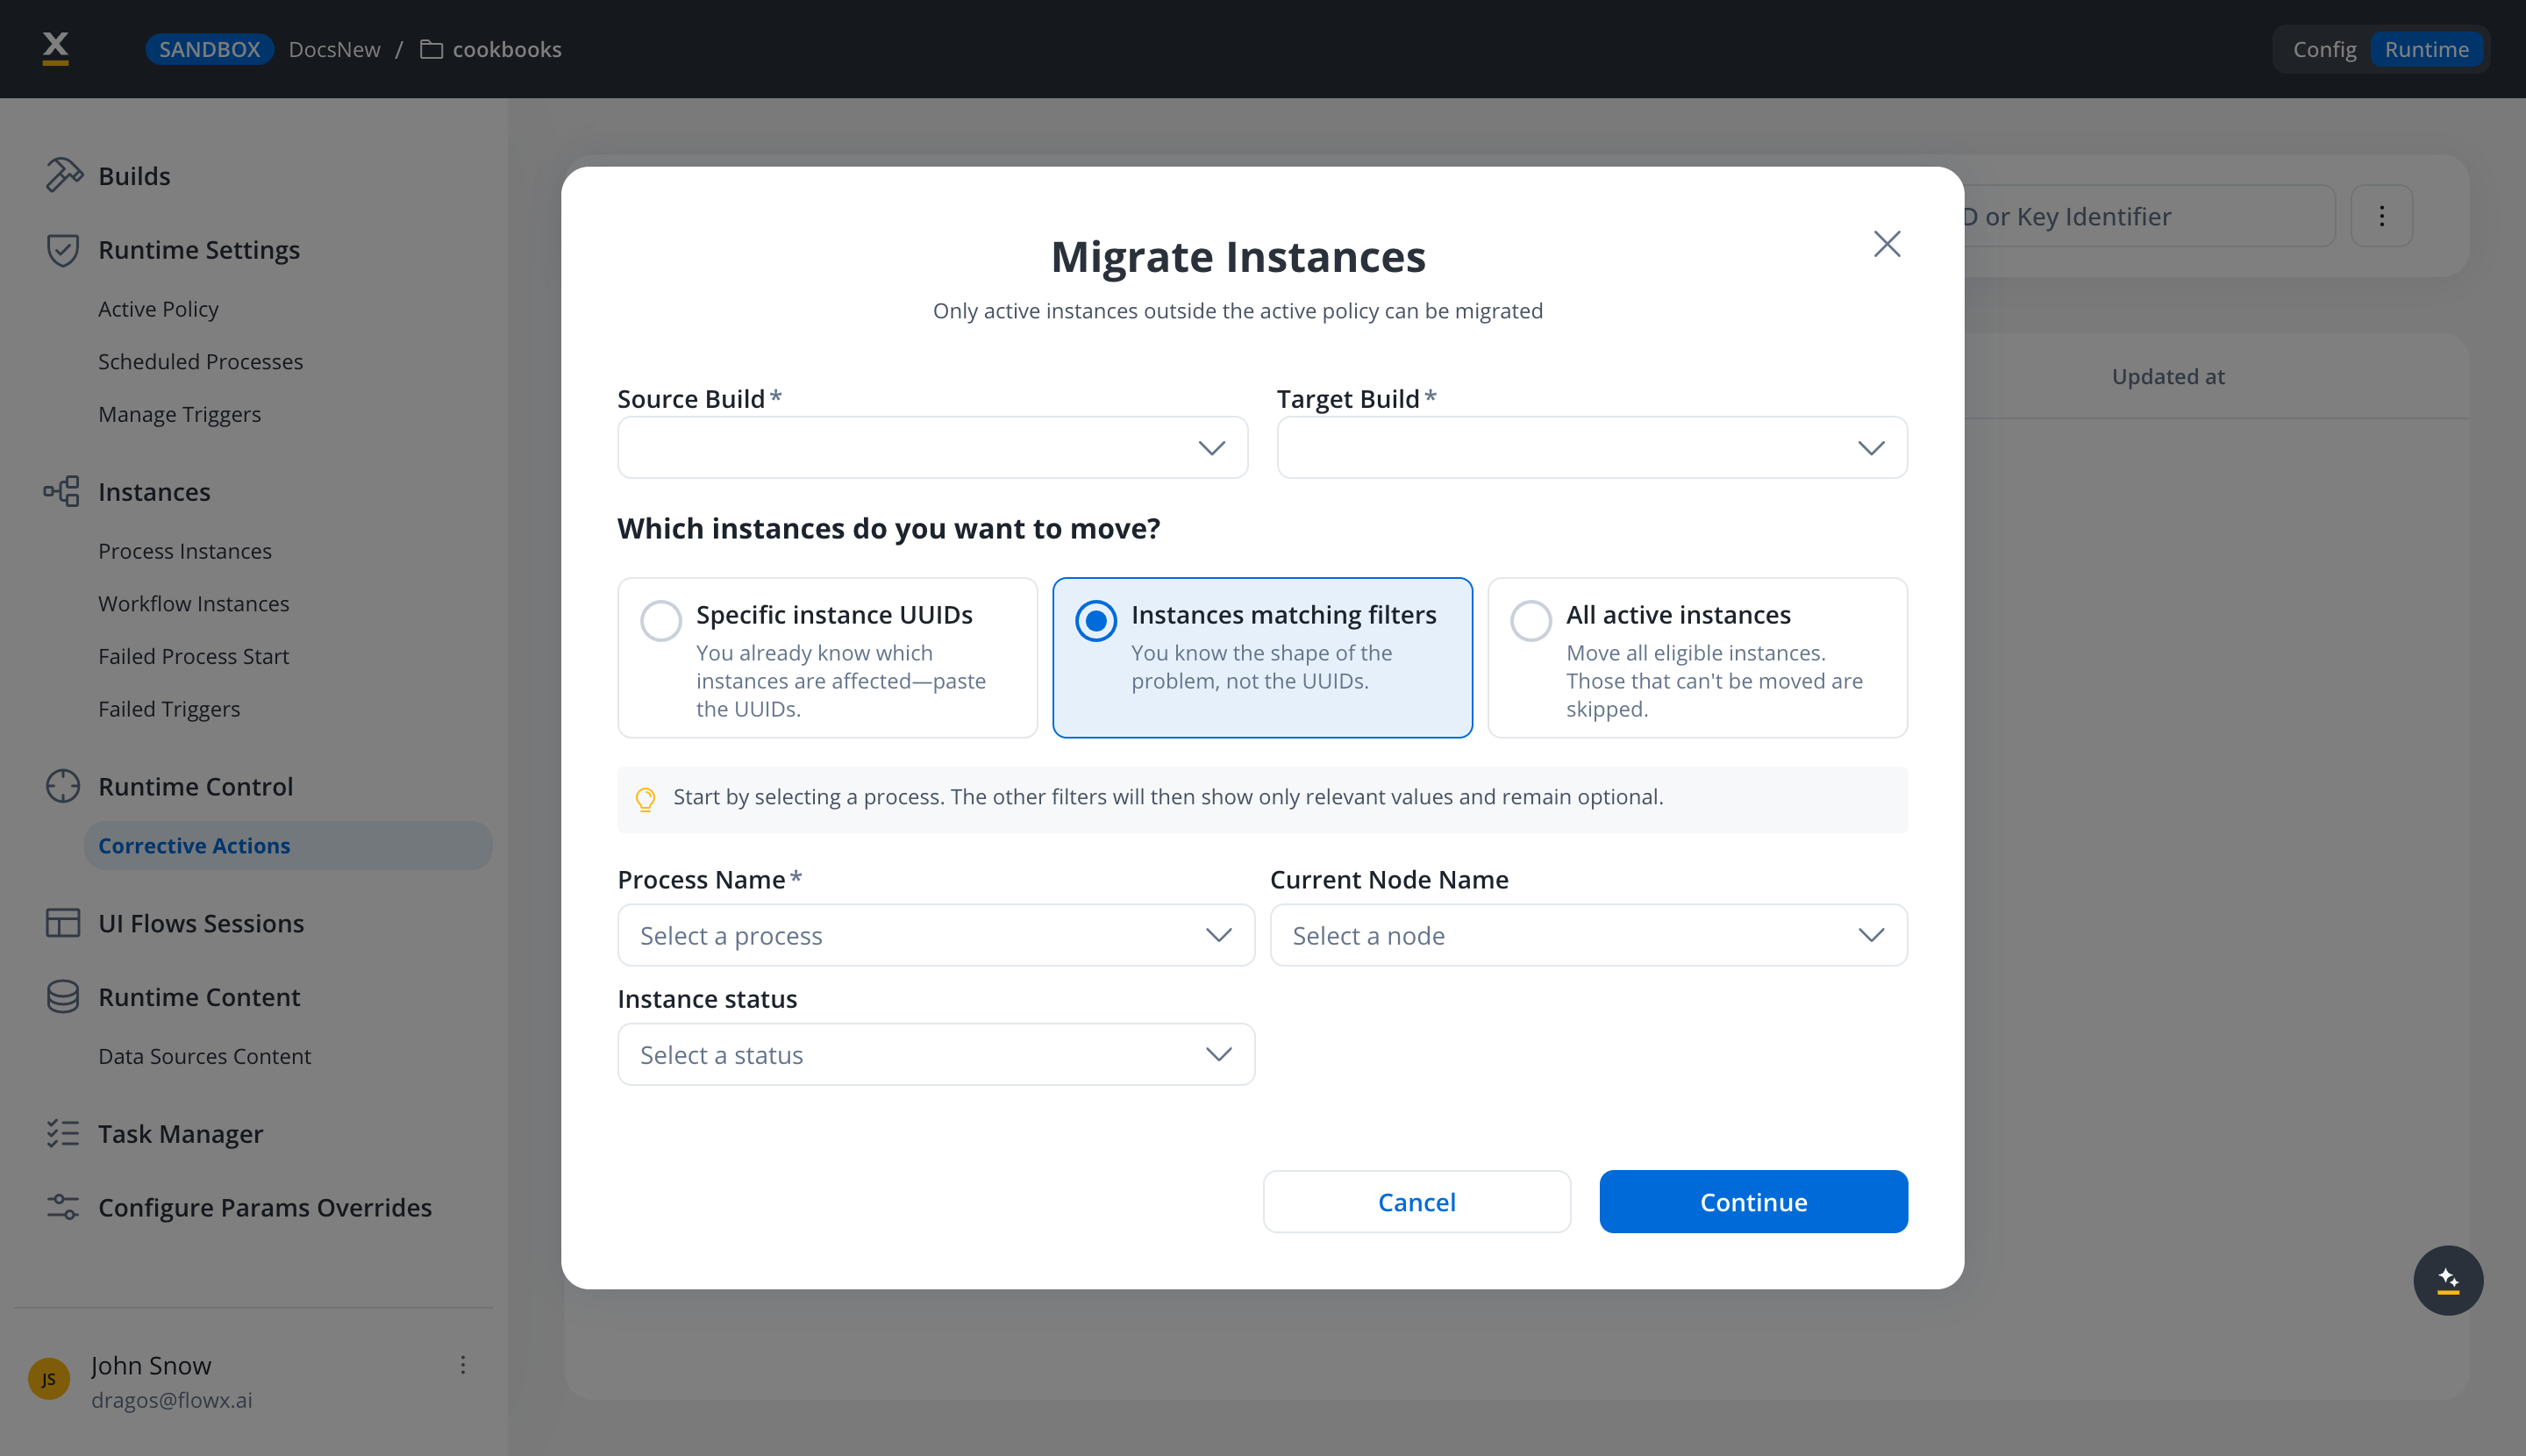
Node mapping (when a node is missing)
When an active token sits on a node that does not exist in the target build, the token is repositioned to the previously visited node. Specific node types have additional effects:After migration
On the Process instance page of a migrated instance:- Tokens that were active on the source build are shown with the Migrated status.
- Tokens created after migration are shown with their current status.
- Nodes on the canvas are color-coded based on the newly created and active tokens.
Audit trail
SaaS · 5.12Available on SaaS with FlowX.AI 5.12. This feature is live on managed (SaaS) deployments now. Self-hosted deployments will receive it with the next LTS release family.
- One entry for the run itself, with the Bulk Migrate Process Instances subject and the Migrate event. The entry records success, or an error with the number of instances that failed to migrate.
- One Migrate entry per migrated instance, with the Process Instance subject and the instance identifier. A root instance and its subprocesses are audited individually, all with the same outcome: the tree migrates, and rolls back on failure, as a single unit.
Limitations
Related resources
Process instance
Monitor instance status, tokens, and canvas color coding.
Update process variables
The other in-flight corrective action for running instances.
Roles and permissions matrix
The Operations permission that governs migration.