What is a project?
A project in FlowX.AI is an organized workspace that groups all the resources required to implement a business solution. It’s not just a collection of processes - it’s a comprehensive container that manages the entire lifecycle of your application. A project in FlowX.AI is an organized workspace that groups all the resources required to implement a business solution. It’s not just a collection of processes - it’s a comprehensive container that manages the entire lifecycle of your application.Centralized Management
Manage all resources, processes, and dependencies in one place, reducing context-switching
Version Control
Track changes with robust versioning for processes, resources, and configurations
Multi-Environment Deployment
Deploy consistent builds across development, QA, and production environments
Resource Organization
Ensure clarity with structured resources and reduce configuration errors
Project lifecycle
In FlowX.AI, a project follows a well-defined lifecycle from creation to deployment:
This documentation covers the first two steps of creating and configuring a new project.
Creating a project
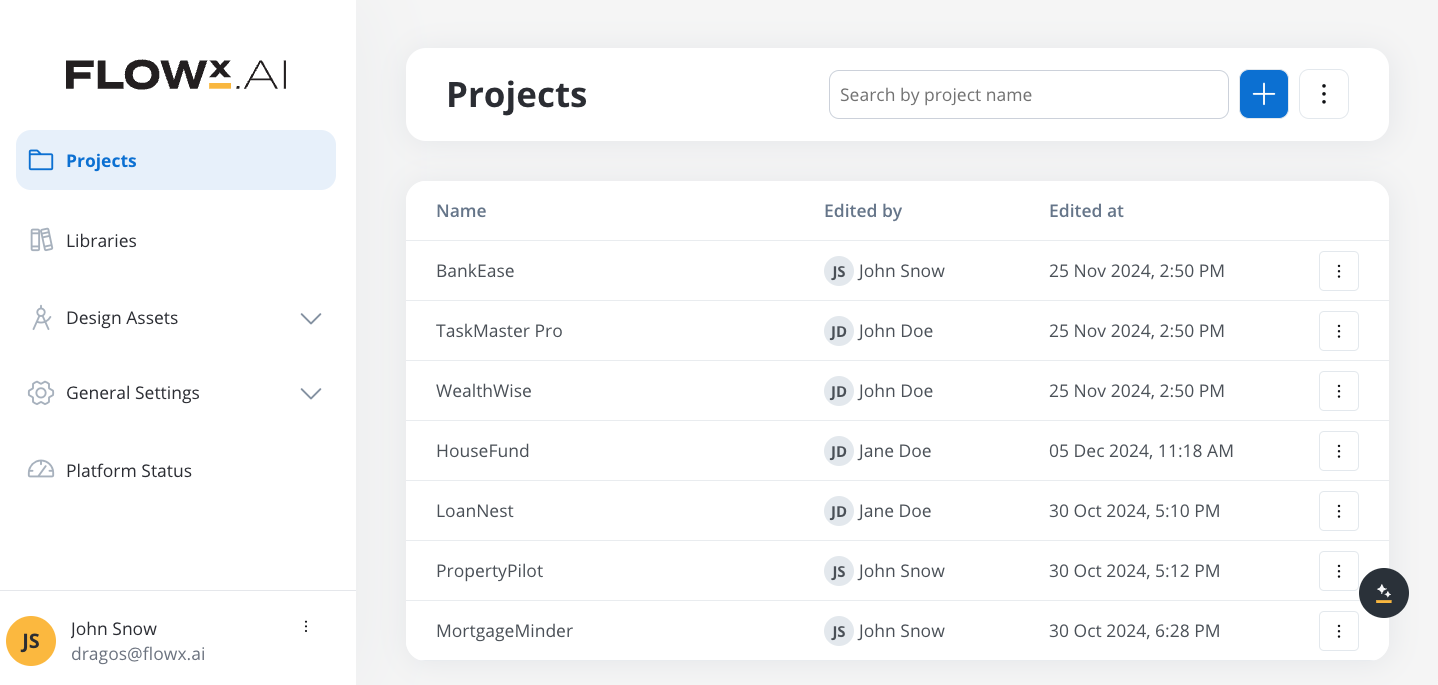
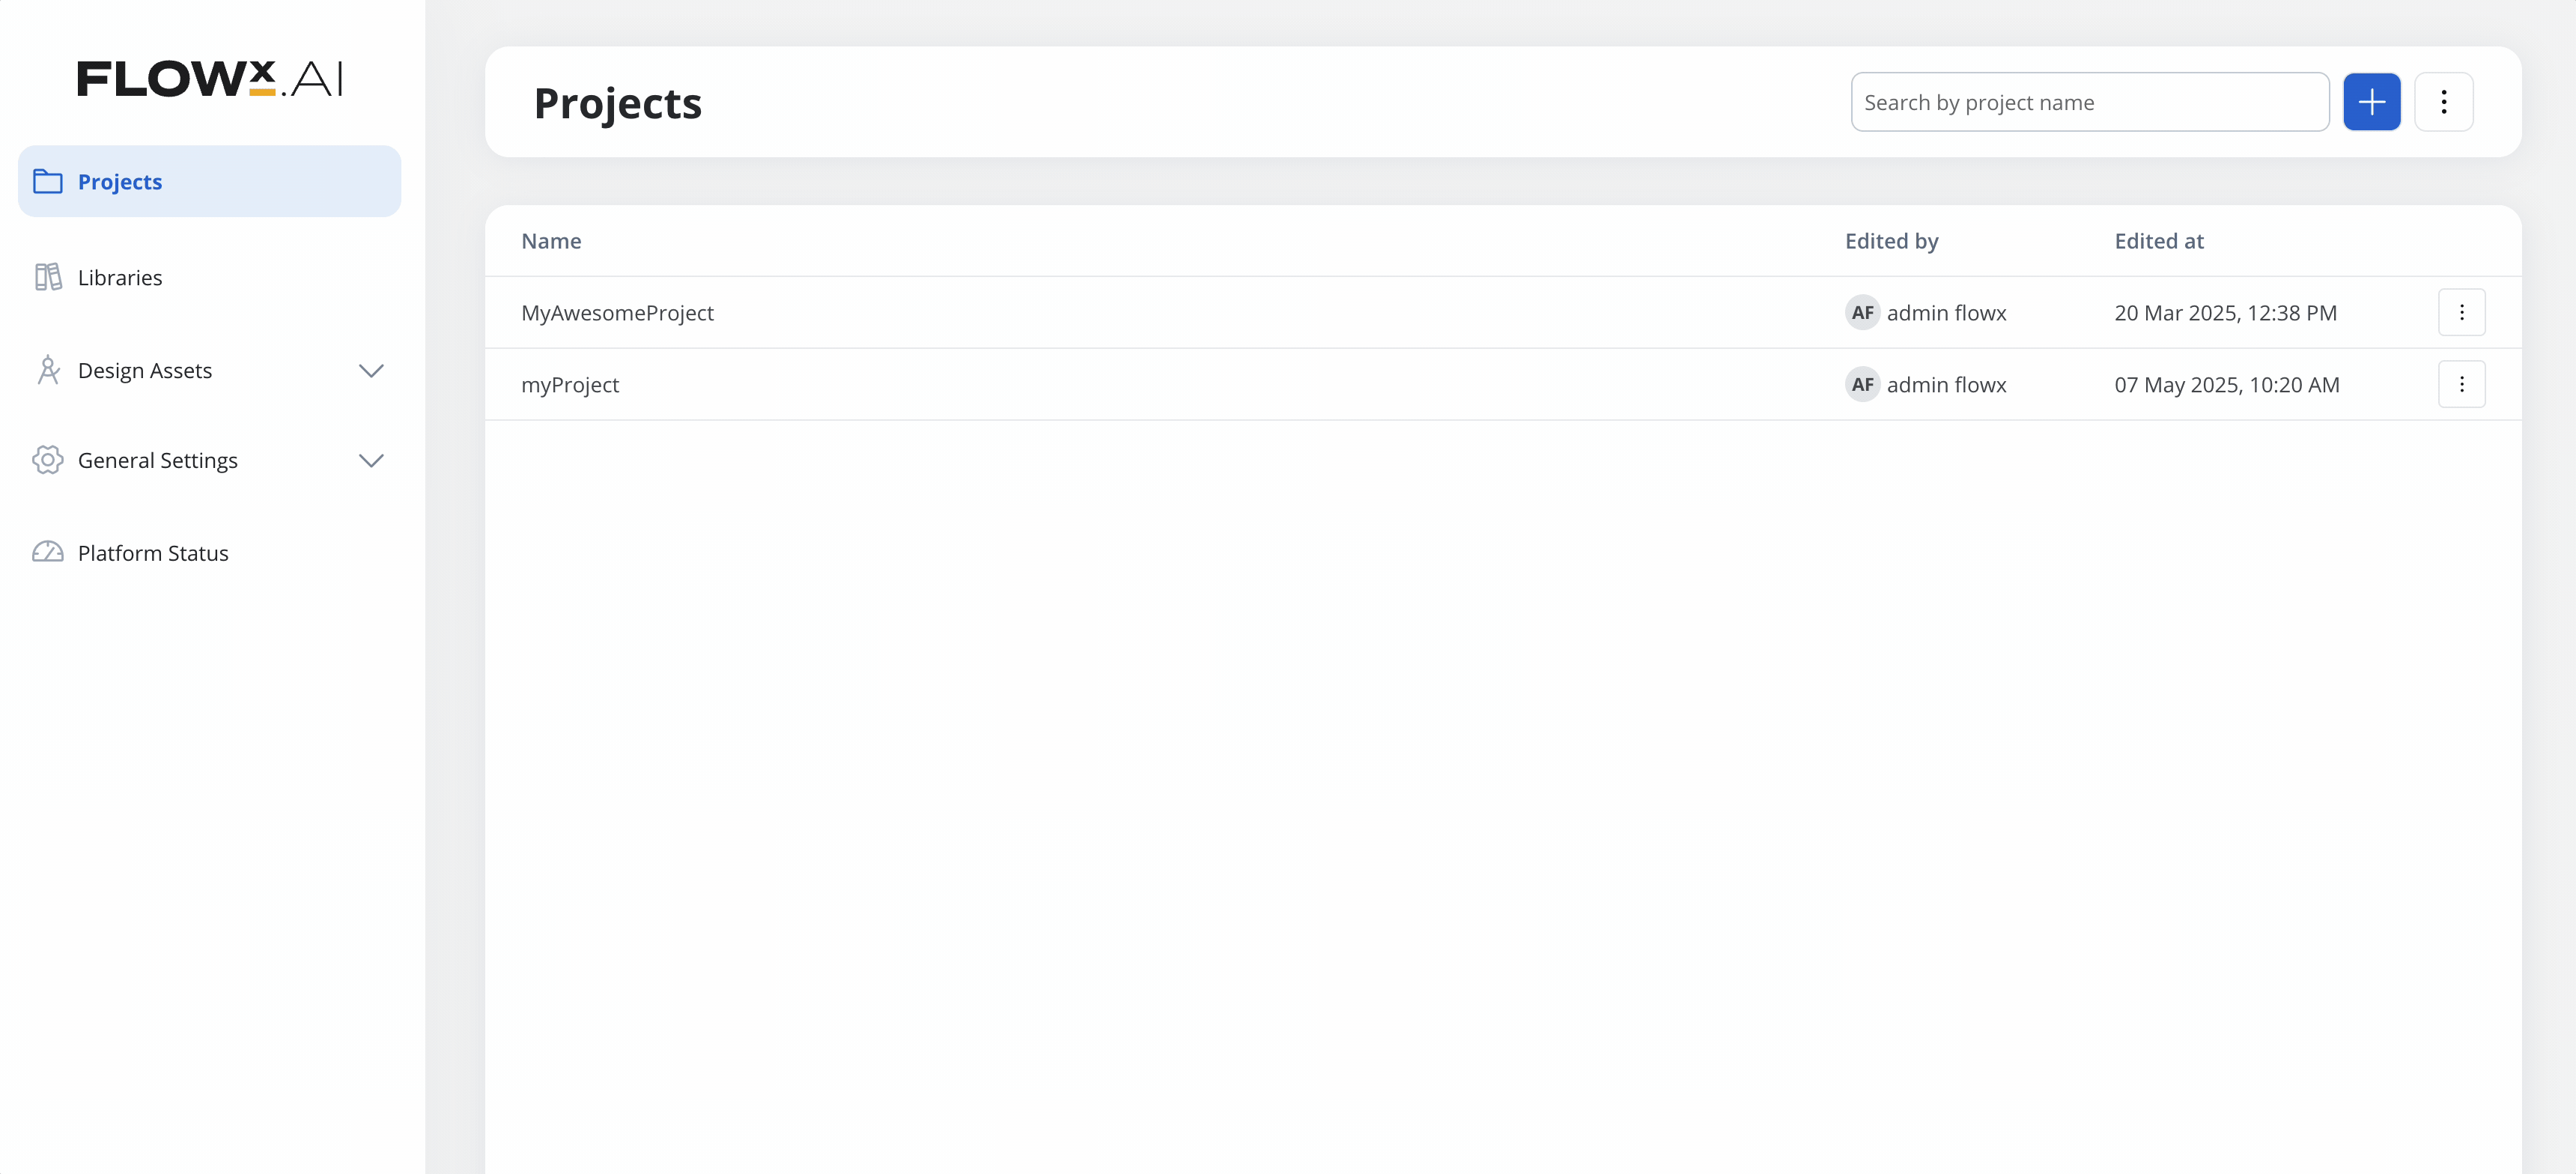
Access the Projects Section
Log in to FlowX.AI Designer and navigate to the Projects section from the main navigation.
You’ll need appropriate permissions to create new projects. If you don’t see the Projects section, contact your FlowX administrator.
Define Project Properties
Configure the basic properties for your project:
- Project Name: Enter a descriptive name that clearly identifies your business solution
- Platform Type: Select the platform you want to use for your project:
- Omnichannel
- Web only
- Mobile only
Configure Project Settings
Set up additional parameters that define how your project will function: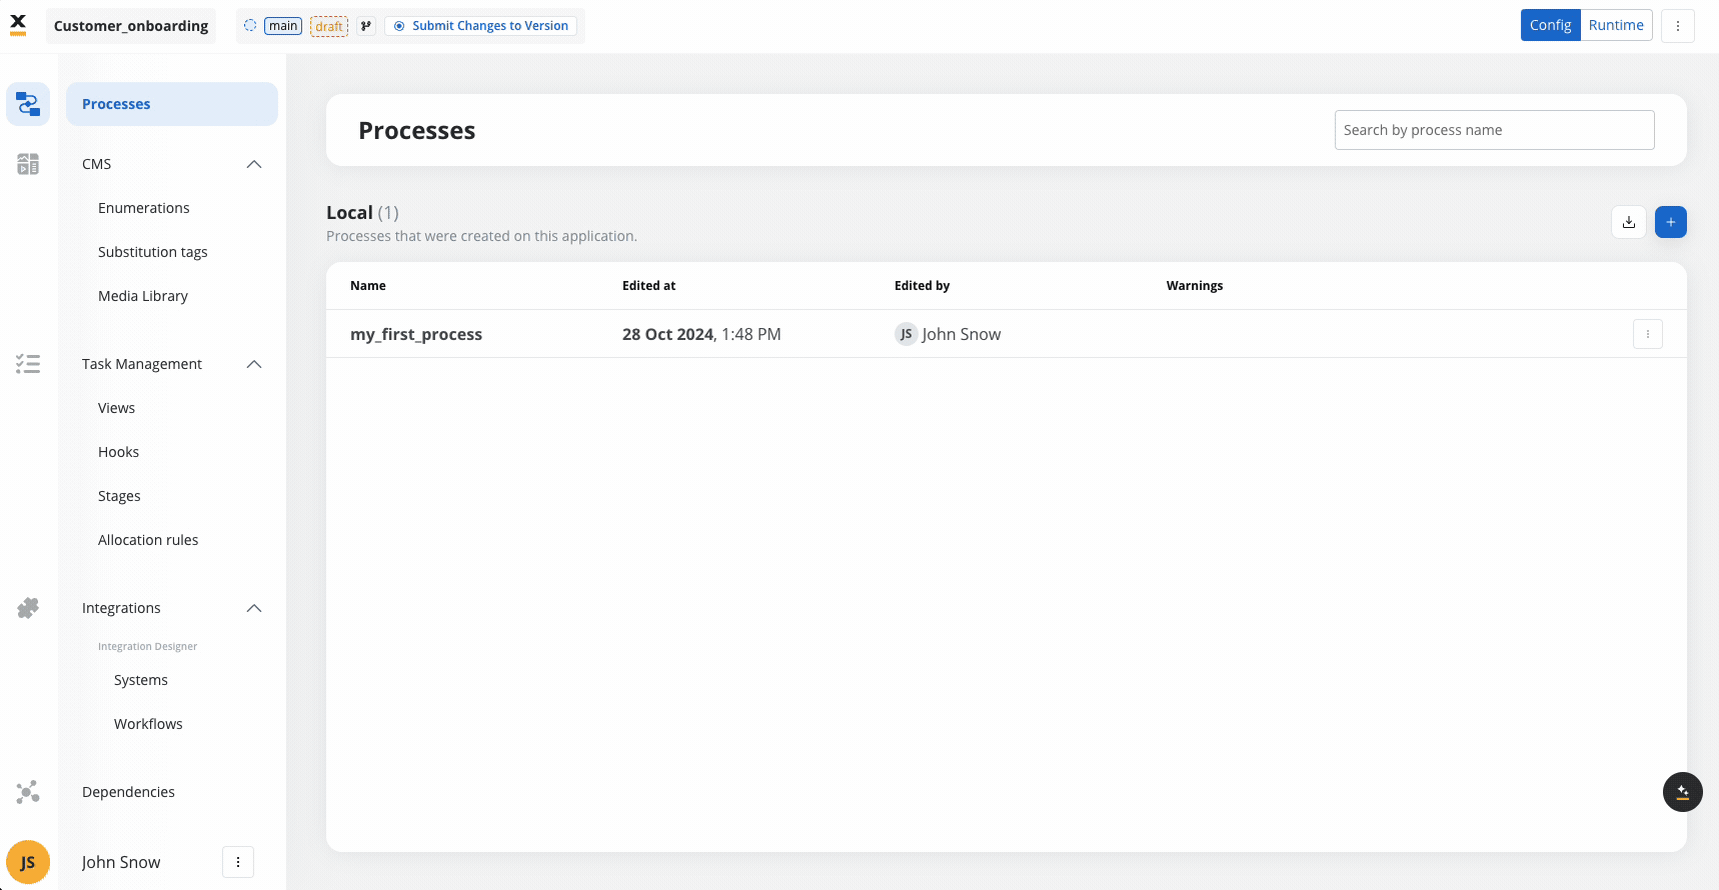
- Default Theme: Choose a theme to apply a consistent look and feel
- Number Formatting:
- Min/Max Decimals: Configure how numbers are displayed
- Date Format: Choose short or long date formats
- Currency Format: Set display as ISO code (USD) or symbol ($)
- Languages:
- Set a default language (e.g., English)
- Add additional languages for localization support
Project language settings serve two important purposes:
- They fill the default state for preview in the UI Designer
- They enable you to create translatable values in enumerations and substitution tags
Configuring project resources
After creating your project, you’ll need to configure various resources before you can build and deploy your application. These resources form the foundation of your solution.Configure Project Resources
Your project includes these key resource sections:
Processes
Define business processes and subprocesses that orchestrate your application workflows
UI Designer
Create application interfaces, components, and screen layouts for your processes
Content Management
Configure enumerations, substitution tags, and media for consistent content delivery
Task Management
Set up views, stages, and allocation rules for workflow orchestration
Integrations
Connect to external systems with API endpoints and workflow configurations
Dependencies
Add libraries containing reusable resources shared across projects
Resources
Manage media files, fonts, themes, and other assets used across your application
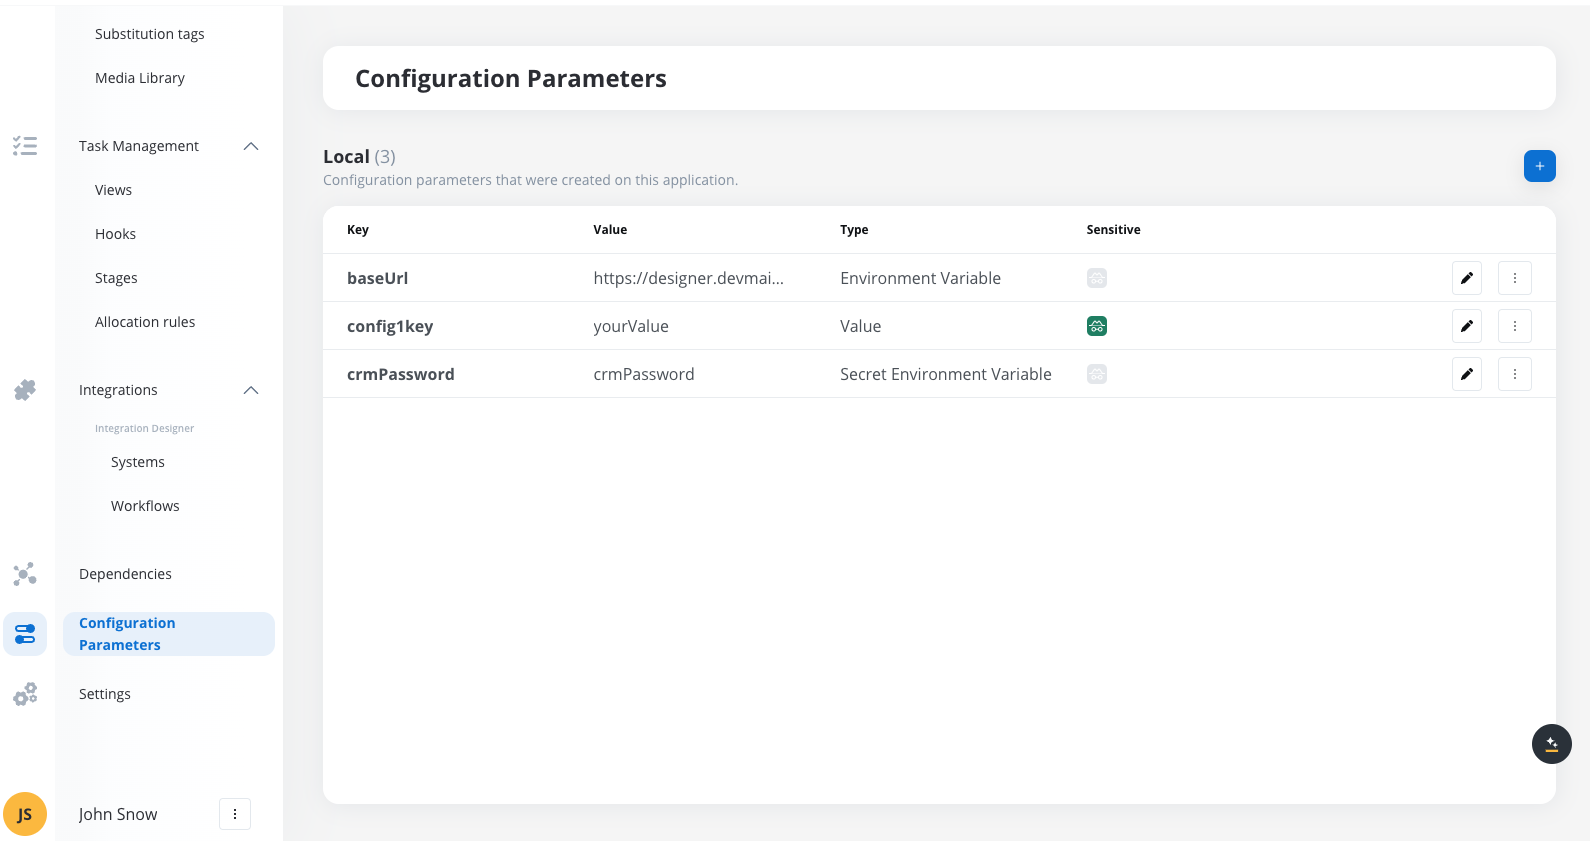
Configuration
Define environment-specific parameters for deployment flexibility
Resource Inventory: Your project can include the following components:Process Resources:
- Process definitions with BPMN diagrams
- Action configurations and task settings
- Subprocess definitions and connections
- Screen layouts and component configurations
- Form definitions and validation rules
- Navigation flows and interaction patterns
- Enumerations for dropdown menus and selections
- Substitution tags for dynamic content
- Media assets (images, videos, documents)
- API endpoint configurations
- Data mappings and transformations
- Workflow definitions for system interactions
- Themes and styling assets
- Configuration parameters for environments
- Library dependencies for shared functionality
Create Process Definitions
Process definitions are the core of your application, defining the user journey and business logic:
- Navigate to the Processes section
- Click + New Process to create a new process
- Use the BPMN editor to design your process flow
- Configure actions, forms, and integration points
Learn more about Process Definitions
Design User Interfaces
Create the screens and components users will interact with:
- Navigate to the UI Designer section
- Create screens for each user-facing step in your processes
- Configure forms, buttons, and other interactive elements
- Design responsive layouts for different device types
Configure Integrations
Set up connections to external systems and services:
- Define API endpoints for backend integrations
- Configure authentication and security settings
- Create workflows for complex integration scenarios
- Test connections to ensure proper data exchange
Project lifecycle management
After configuring your project resources, you’ll need to prepare it for deployment through versioning and building:Create Project Version
When your project configuration reaches a milestone:
- Create a version to capture the current state
- You can create multiple versions and commit them before creating a build
- Versions can be modified until they are committed
- Committed versions are locked and cannot be changed
Create Build
To deploy your project to an environment:
- Create a build from any committed version
- Builds are immutable and serve as deployable packages
- Each build contains exactly one version of a project
-
Once a build is created, its contents (processes, enumerations, substitution tags, integrations) cannot be edited - you’ll need to create a new project version for changes
Best practices
- Project Naming: Use clear, descriptive names that reflect business purpose
- Project Scope: Keep projects focused on specific business domains
- Documentation: Add comprehensive descriptions to your project and components
- Version Control: Make effective use of the built-in versioning capabilities
- Configuration Management: Use environment variables for deployment-specific settings
- Dependency Management: Carefully manage library dependencies to avoid conflicts
- Testing: Validate changes in development before promoting to production
Next steps
After creating your project, you can proceed to:Create Process Definition
Define your first business process within the project
Frequently asked questions
How do I create a new version of a project?
How do I create a new version of a project?
To create a new version, navigate to the project dashboard, select “Create New Version,” and make any changes. Once finalized, commit the version to lock it.
What happens when I create a build?
What happens when I create a build?
Creating a build captures a snapshot of the project version, consolidating resources into a single deployable package. Builds are immutable and cannot be edited once created.
Can I manage multiple localizations within a project?
Can I manage multiple localizations within a project?
Yes, projects support multiple locales. You can define regional settings, such as date formats and currencies, to cater to different environments.
Learn more about Localization
What is the difference between a Project Version and a Build?
What is the difference between a Project Version and a Build?
A Project Version is a snapshot of resources and configurations that can be modified, tracked, and rolled back. A Build is a deployable package created from a committed version, and it is immutable once deployed.
How do I add a library as a dependency?
How do I add a library as a dependency?
Go to your project settings, navigate to dependencies, and select the desired library. Choose the build you want to use, and its resources will be accessible within your project.
Can I make changes to a deployed build?
Can I make changes to a deployed build?
No, a build is immutable. To make changes, modify the project version, create a new version, and deploy a new build.
How do I ensure that a library update doesn't break my project?
How do I ensure that a library update doesn't break my project?
Use a controlled environment like Dev or UAT to test new builds of the library before updating the dependency in your main project. This allows you to validate changes and ensure they don’t negatively impact your project.
What happens to resource versions when I update a dependency?
What happens to resource versions when I update a dependency?
When a dependency is updated to a newer build, any resources that were modified in the library will reflect the latest version. Projects have control over when to update, so older versions remain stable until the dependency is manually updated.