
What is a node action?
Node Action
A node action defines the specific activity that a node performs within a process flow. Actions allow you to incorporate business rules, manage data, communicate with external systems, and control what gets displayed in the user interface. They are the building blocks that drive your process logic and user interactions.
Actions Documentation
Comprehensive documentation on all action types and their configurations
Business Rules
Learn how to implement business logic with rule actions
Action types
FlowX.AI supports several types of actions that can be added to nodes, broadly categorized into business rules and user interactions:Business rules and data management
Business Rule
Add custom logic and decision-making using scripts
Save Data
Persist process data to storage
Kafka Send
Send messages to Kafka topics for event-driven scenarios
Upload File
Handle file uploads within the process flow
Process control and integration
Start Subprocess
Initiate a subprocess from within the current process
Append Params to Parent Process
Pass data back to a parent process from a subprocess
Start Integration Workflow
Trigger an integration workflow with external systems
Start New Project Instance
Launch a new project instance from within a process
User interface
Send Data to User Interface
Send data to be displayed in front-end applications
Actions can only be added to certain node types:
- Task nodes (Service Tasks)
- User Task nodes
- Send Message/Receive Message Task nodes
Adding an action to a node
1
Access Your Process Definition
- Open FlowX.AI Designer and navigate to your project
- Go to the Processes section within your project
- Select your process definition from the list
- Click the Edit Process button to open the Process Designer
2
Select or Add a Node
- Either select an existing node that supports actions, or add a new one
- Remember that only Task nodes, User Task nodes, and Message Task nodes support actions
If you need to add a new node first, refer to the Adding a New Node documentation.
3
Add an Action
- With the node selected, locate the Actions section in the properties panel
- Click the + Add Action button
- From the dropdown menu, select the action type you want to add
4
Configure Action Parameters
Each action type requires specific configuration parameters: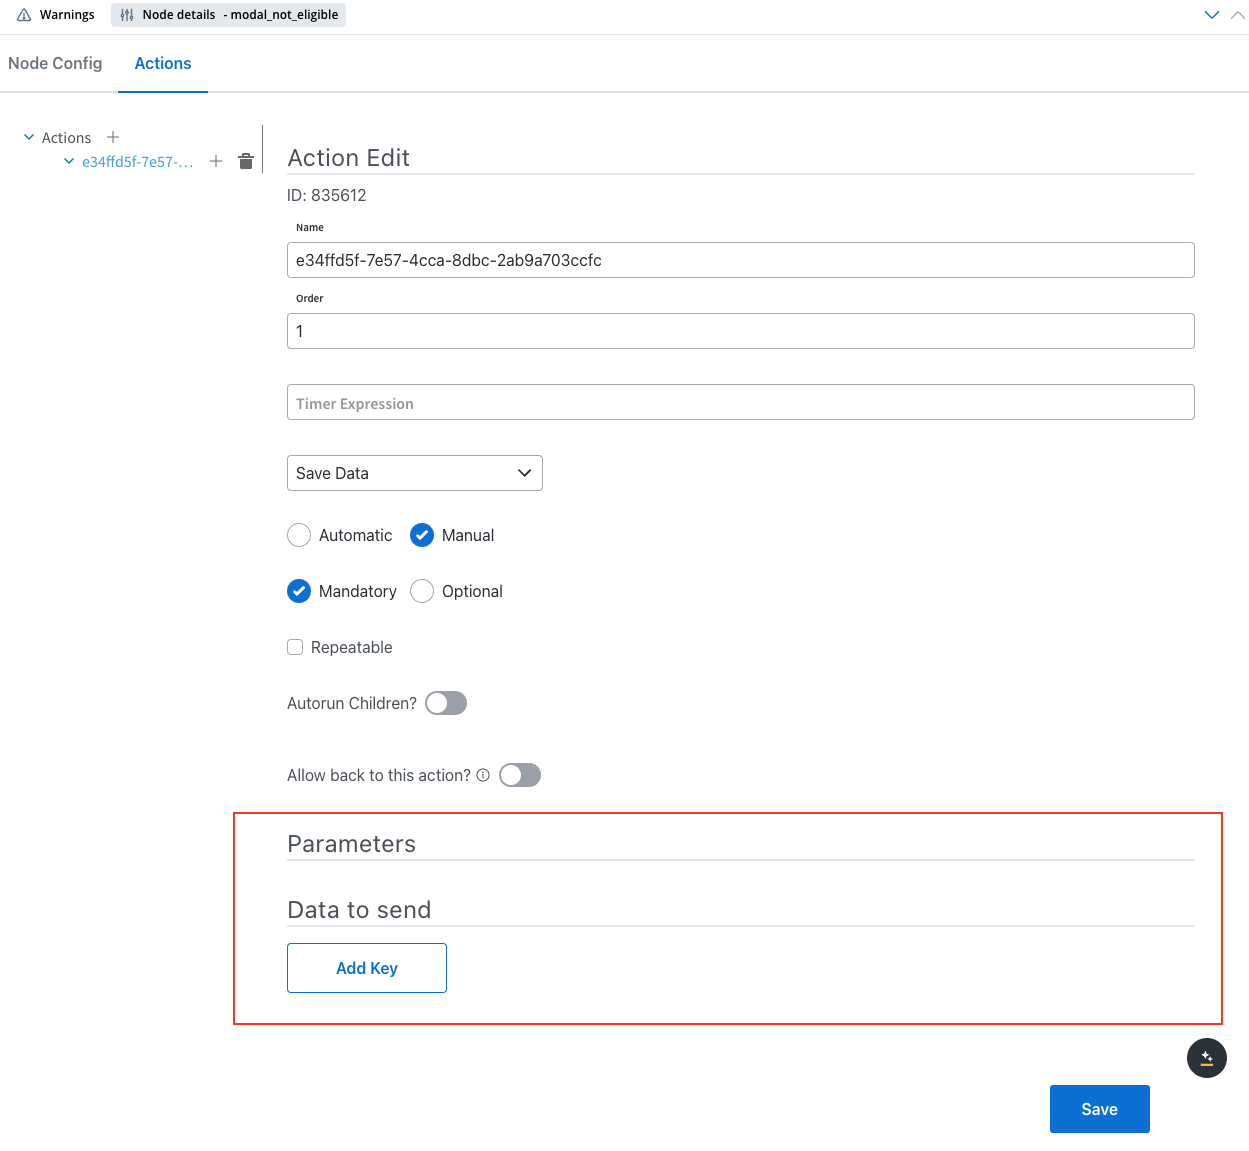
- Fill in the required fields for your selected action type
- Configure optional parameters as needed
- Save your changes
5
Set Action Execution Order (Multiple Actions)
If you have multiple actions on a single node:
- Use the drag handles to arrange the actions in the desired execution order
- Actions will execute from top to bottom in the list
- Consider dependencies between actions when setting the order
6
Save Your Process
Click the Save button to save your process definition with the new action.
Common action configurations
Different action types require different configurations, but many share these common elements:Business Rule Action
Business Rule Action
- Name: Descriptive identifier for the rule
- Script Type: JavaScript or other supported languages
- Script Content: The business logic to execute
- Input Parameters: Data inputs to the script
- Output Parameters: Data returned from the script
Save Data Action
Save Data Action
- Process Variables: The data to be saved
- Target Storage: Where the data should be persisted
- Data Mapping: How process data maps to storage fields
Kafka Send Action
Kafka Send Action
- Topic: The Kafka topic to send messages to
- Key: Identifier for the message
- Value: The data payload to send
- Headers: Additional message metadata
Send Data to UI Action
Send Data to UI Action
- UI Component: The target component to update
- Data: The information to display
- Formatting: Display options for the data
Best practices
Next steps
After adding actions to your nodes, you can:Handling decisions in the flow
Learn how to implement conditional branching in your processes using exclusive gateways
Configure UI Components
Design the user interface elements that will interact with your actions