Creating a new stage
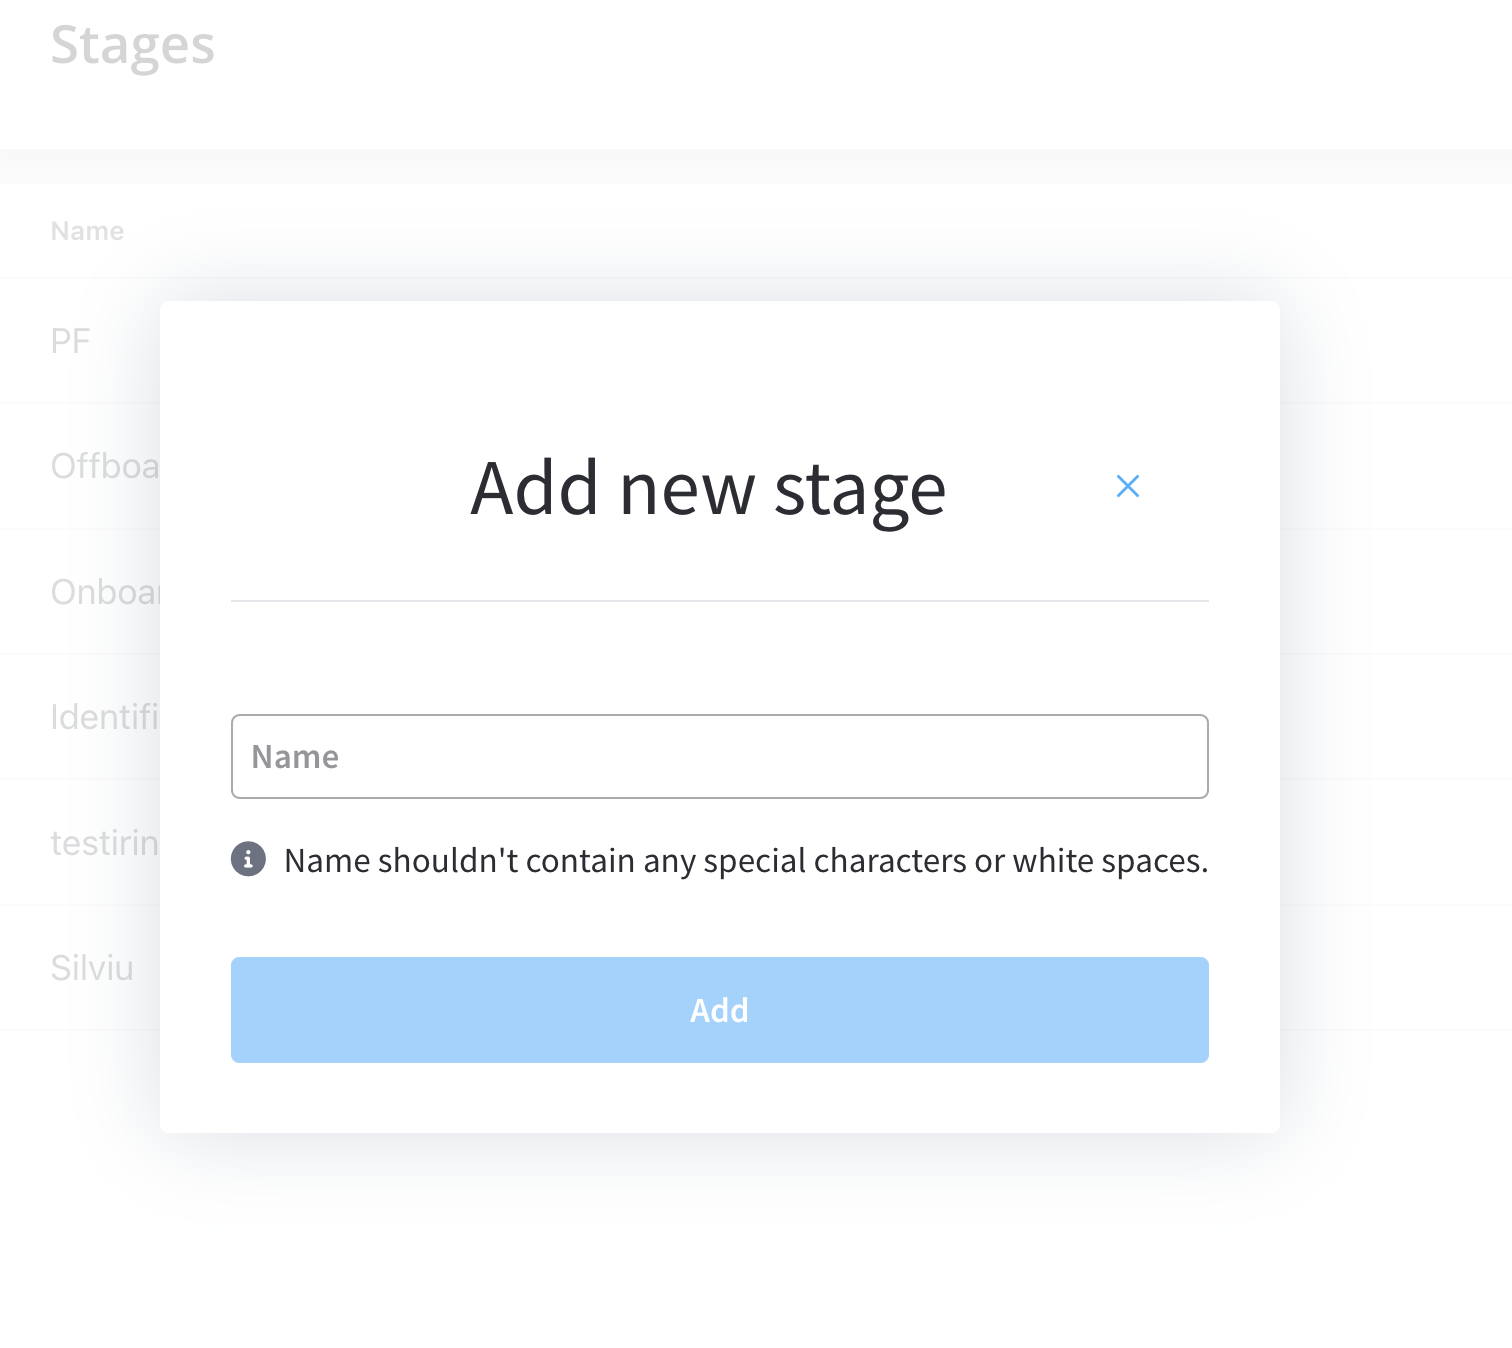
To create a new stage, follow the next steps:- Open FlowX Designer.
- Go to Task Manager and select Stages.
- Click New Stage.
- Fill in the required details.
Assigning a node to a stage
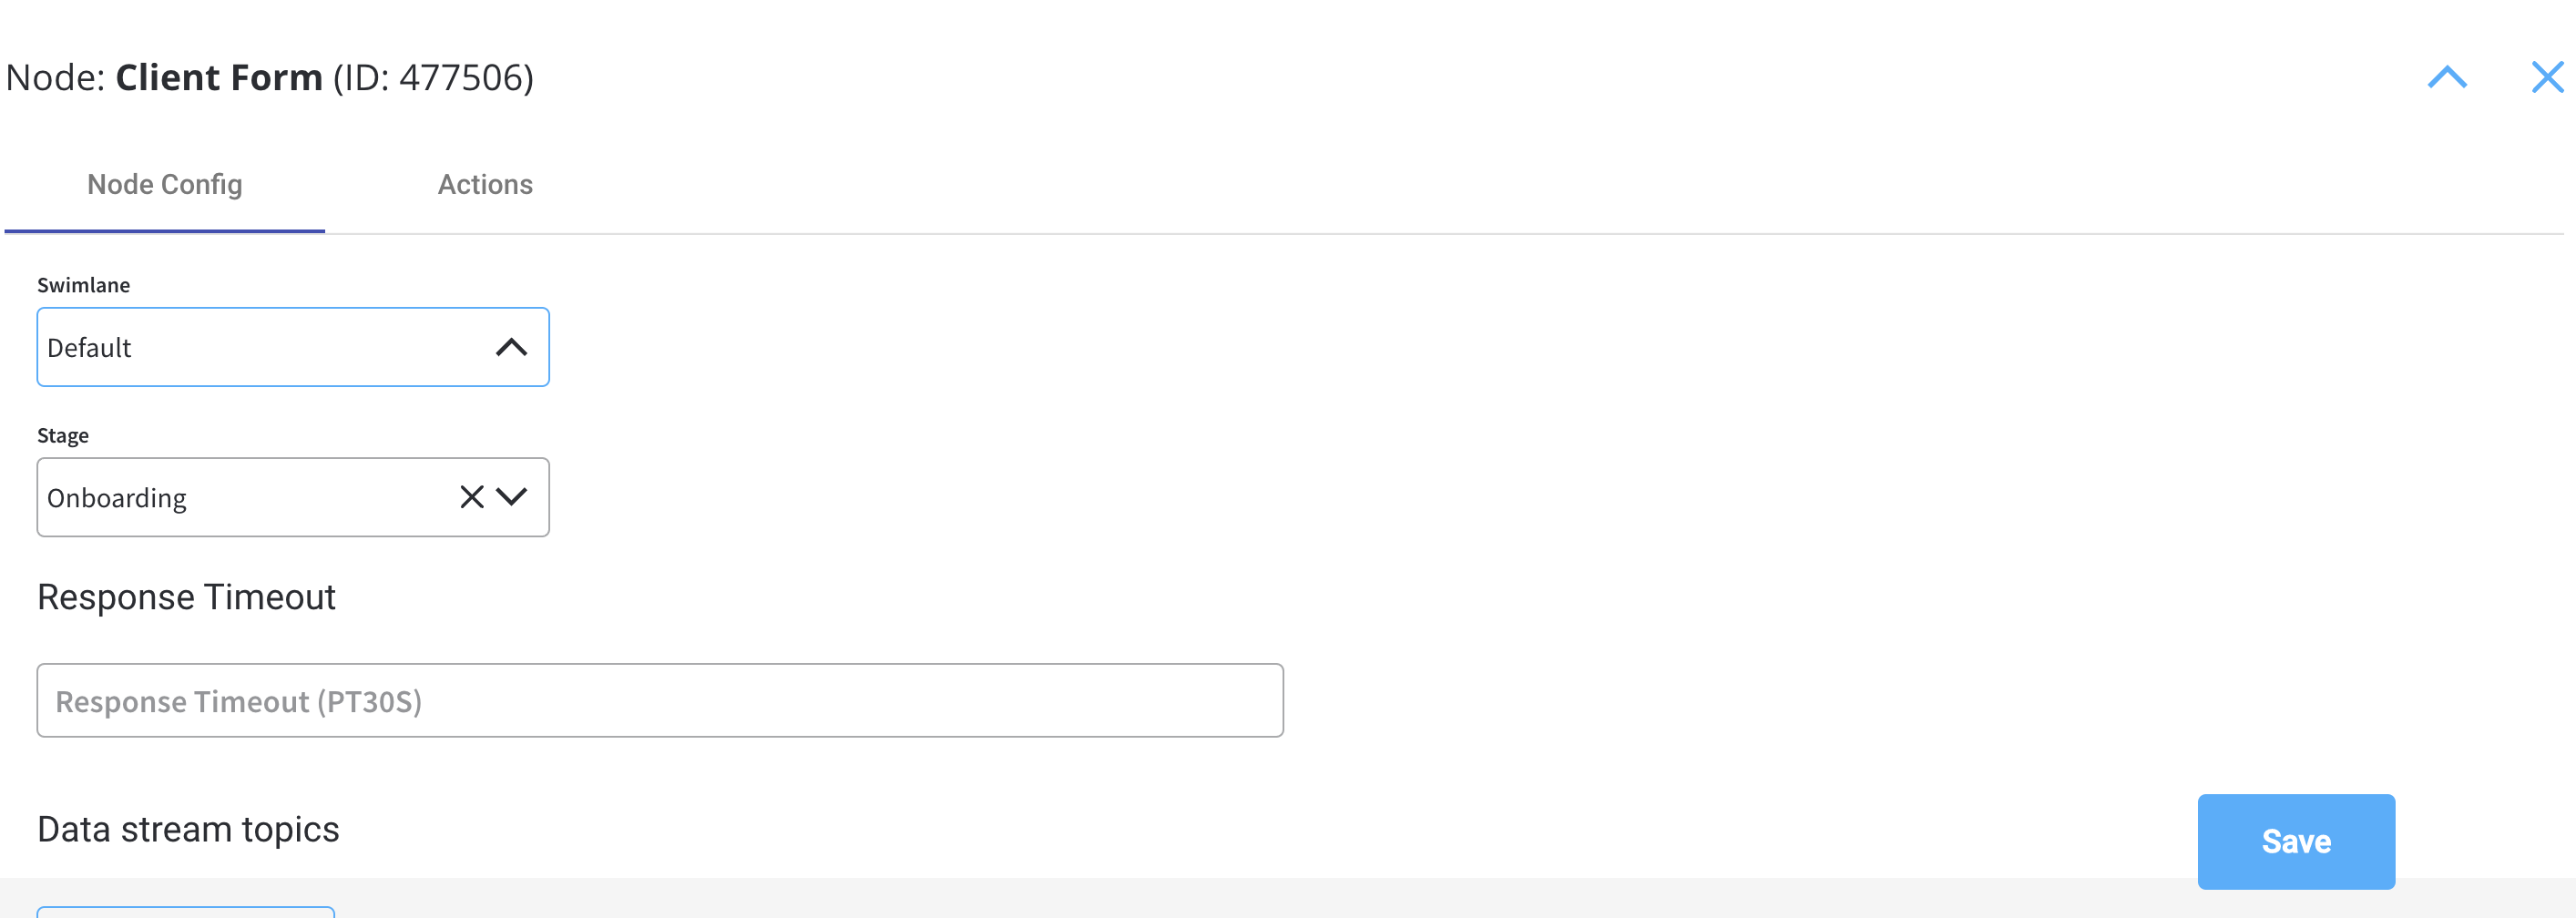
To assign a node to a stage, follow the next steps:- Open FlowX Designer and then select your process.
- Choose the node you want to assign and select the Node Config tab.
- Scroll down until you find the Stage field and click the dropdown button.
- Choose the stage you want to assign.
Export and import
You can export and import stages to transfer them between projects or environments.Exporting
- Navigate to Task Manager > Stages
- Open the context menu and select Export
- The stages are downloaded as a ZIP file
Importing
- Navigate to Task Manager > Stages
- Open the context menu and select Import
- Select the ZIP file exported from another project or environment
- If stages with the same identifiers already exist, a Review Resource Identifiers Conflicts modal appears
- Choose a strategy for each conflicting stage (or use Apply to all):
- Keep both - imports the stage as a new copy alongside the existing one
- Replace - overwrites the existing stage with the imported version
- Skip this one - keeps the existing stage unchanged
- Click Continue to complete the import
Importing is only available for work-in-progress (WIP) project versions. You cannot import into a committed version.
Related resources
Task Management Overview
Learn about Task Management features and configuration
Task Management Localization
Localize stage names and Task Management UI in 34+ languages