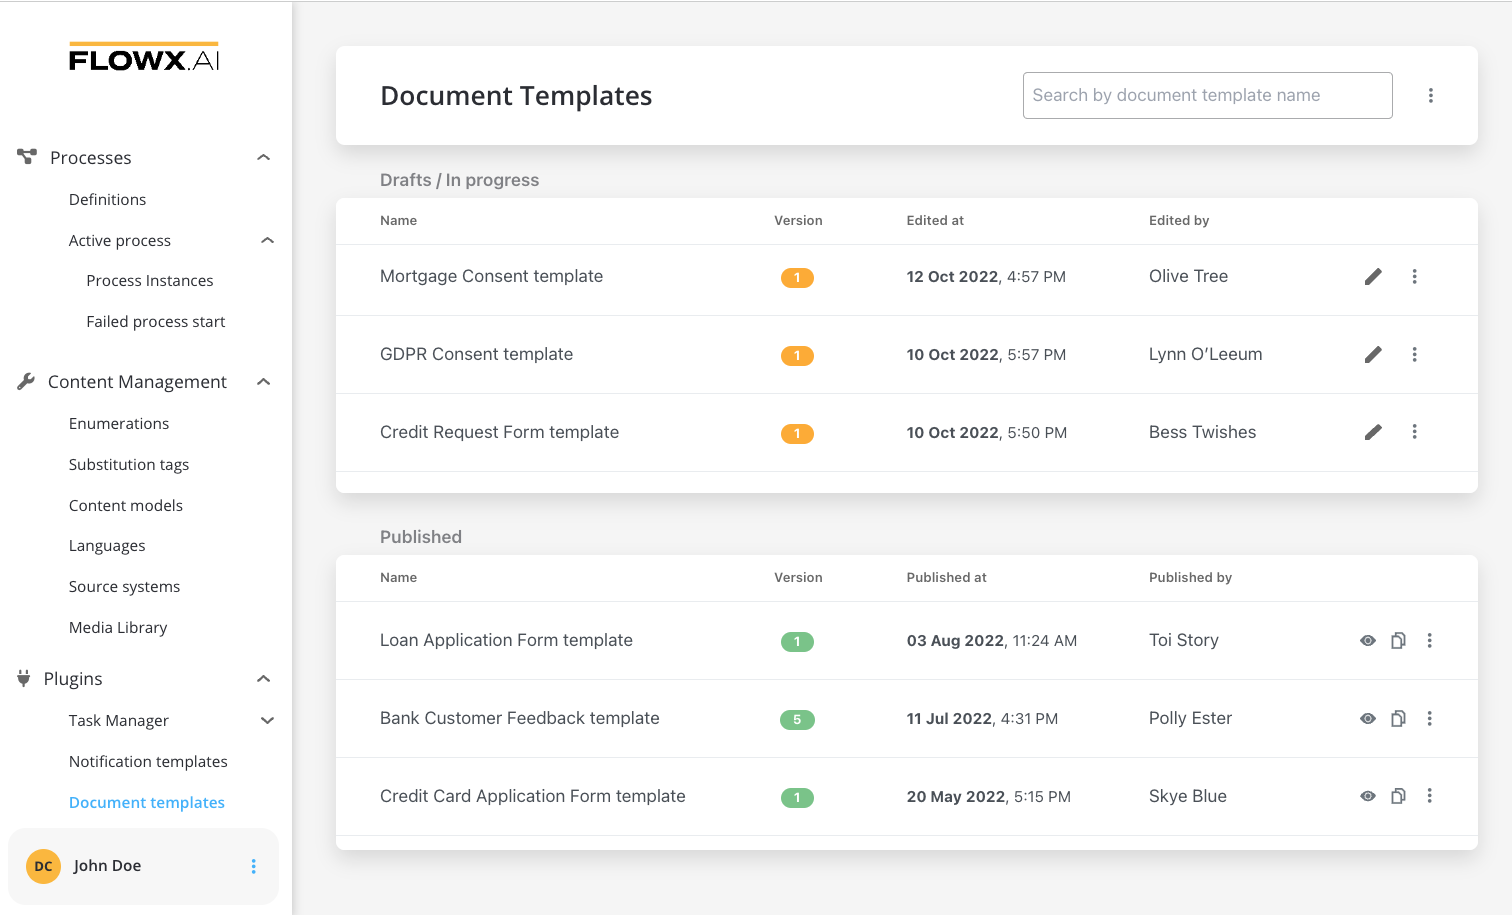
- Document storage and editing: Easily store and make changes to documents.
- Document generation: Generate documents using predefined templates and custom process-related data.
- WYSIWYG editor: Create various templates using a user-friendly “What You See Is What You Get” (WYSIWYG) editor.

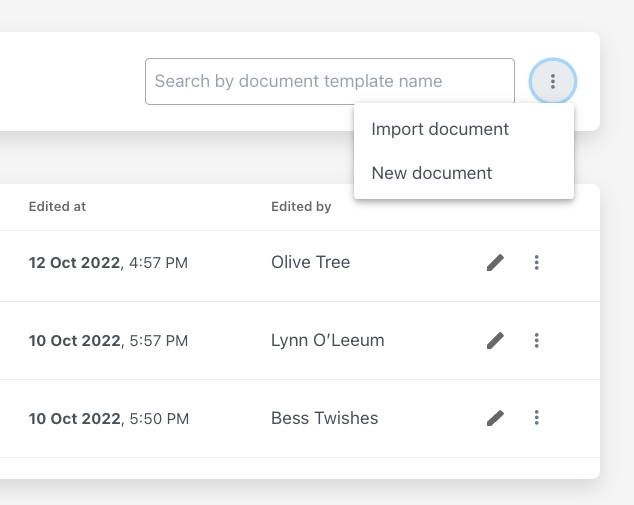
- Template import: Import templates created in other environments.

- Document conversion: Convert documents from PDF to JPEG format.
- Document splitting: Split bulk documents into smaller separate documents.
- Document editing: Add generated barcodes, signatures, and assets to documents.
- OCR integration: When a document requires OCR (Optical Character Recognitionq) processing, the Documents Plugin initiates the interaction by passing the document data or reference to the OCR plugin.
Performance considerations:To ensure optimal performance while using Documents Plugin, consider the following recommendations:
- For large or complex documents, it is recommended to allocate sufficient system resources, such as CPU and memory, to handle the conversion/editing process efficiently.
- Avoid processing extremely large files or a large number of files simultaneously, as it may impact performance and responsiveness.
- Monitor system resources during the generating/editing/converting etc. process and scale resources as needed to maintain smooth operations.
- Following these performance considerations will help optimize the document processing and improve overall system performance.
Using Documents plugin
Once you have deployed the Documents Plugin in your infrastructure, you can start creating various document templates. After selecting a document template, proceed to create a process definition by including Send Message/Receive Message (Kafka nodes) and custom document-related actions in your process flow. Before adding these actions to your process definition, follow these steps:- Ensure that all custom information is properly configured in the plugin database, such as the document templates to be used.
- For each event type, you will need a corresponding Kafka topic.
The
..in topic names configured for the plugin should match the ..out topic names used when configuring the engine. Make sure to use an outgoing topic name that matches the pattern configured in the Engine. The value can be found and overwritten in the KAFKA_TOPIC_PATTERN variable.For more details about Process Engine Kafka topic configuration, click here.To make a request to the plugin, the process definition needs to include an action of type Kafka send defined on a Send Message Task node. The action parameter should have the key topicName and the corresponding topic name as its value.To receive a reply from the plugin, the process definition needs to include a Receive Message Task node with a node value having the key topicName and the topic name as its value.
