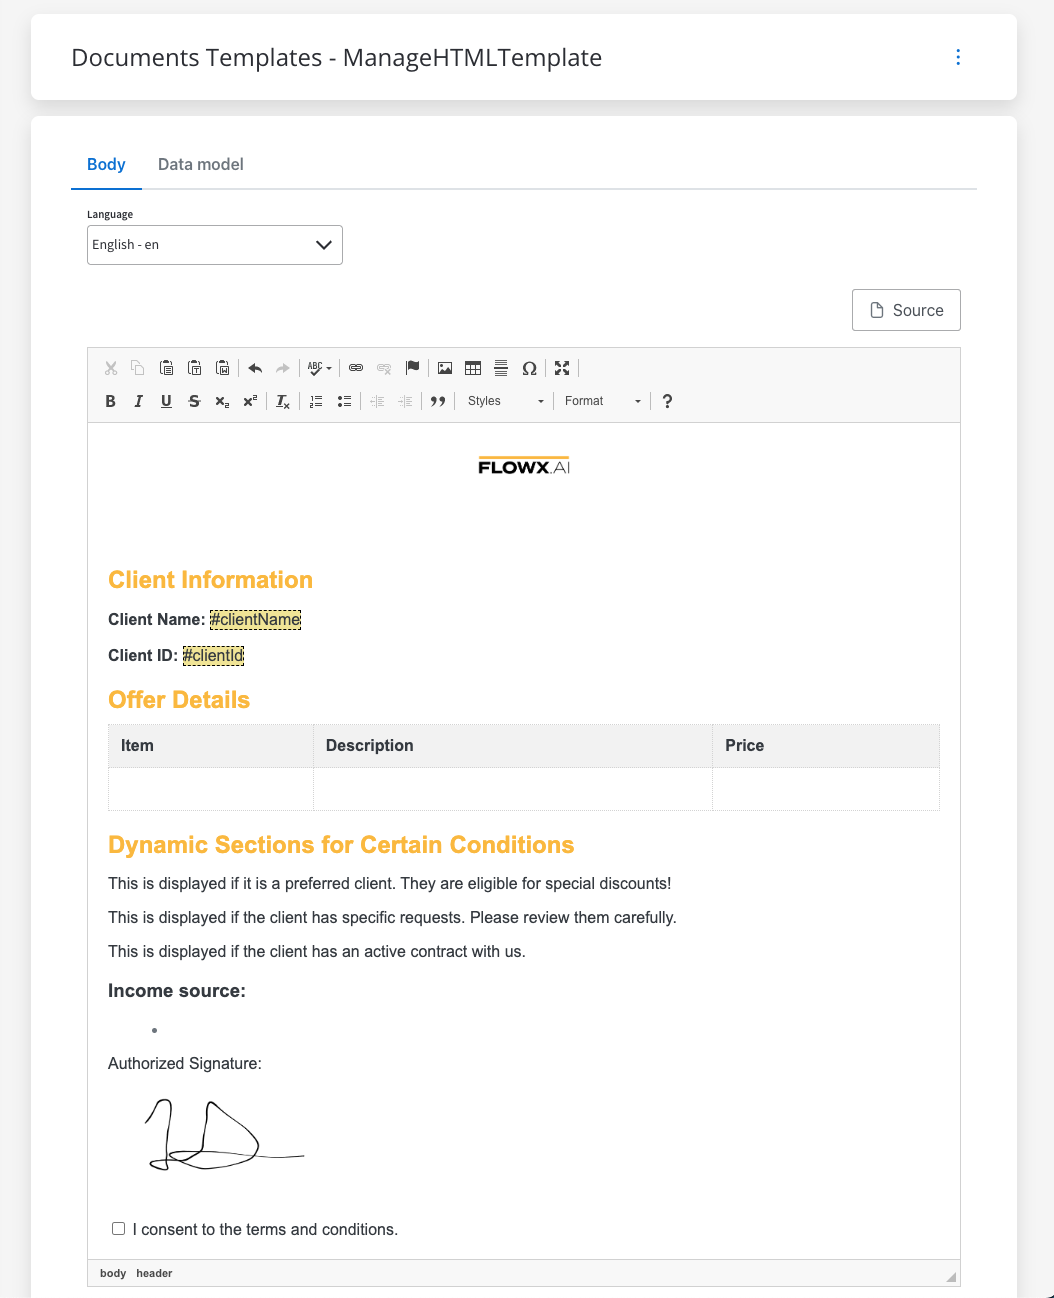
Additionally, the platform incorporates a What You See Is What You Get (WYSIWYG) editor, allowing users to have a real-time, visual representation of the document or content during the editing process. Furthermore, you have the capability to test and review your template by downloading it as a PDF.
A WYSIWYG editor, typically provides two main views:
-
Design View (Visual View): In this view, you can see a visual representation of their content as it would appear when rendered in a web browser or other output medium. It resembles the final output closely, allowing you to format text, add images, and apply styles directly within the visual interface. This view aims to provide a real-time preview of the document’s appearance.
-
HTML View (Source View): In this view, you can see and edit the underlying HTML code that corresponds to the content displayed in the Design View. It shows the raw HTML markup, providing a more detailed and technical representation of the document. You can manually edit the HTML code to make precise adjustments or to implement features not available in the visual interface.
 Explore the different parameter types and their specifications:
Configuring HTML templates
In the following example, we will create an example of a template using the HTML View (Source View).
To create a document template, navigate to the Document Templates section in the Designer, select ”New document” from the menu in the top-right corner, name your template, and click Create.
Now follow the next steps to design a new template:
- Open the WYSIWYG editor:
Access the WYSIWYG editor within the Document Management Plugin, found in the FlowX Designer → Plugins → Document templates section.
- Language Configuration: Create a dedicated template for each language specified in your system.
To confirm the installed languages on the platform, go to FLOWX.AI Designer → Content Management → Languages.
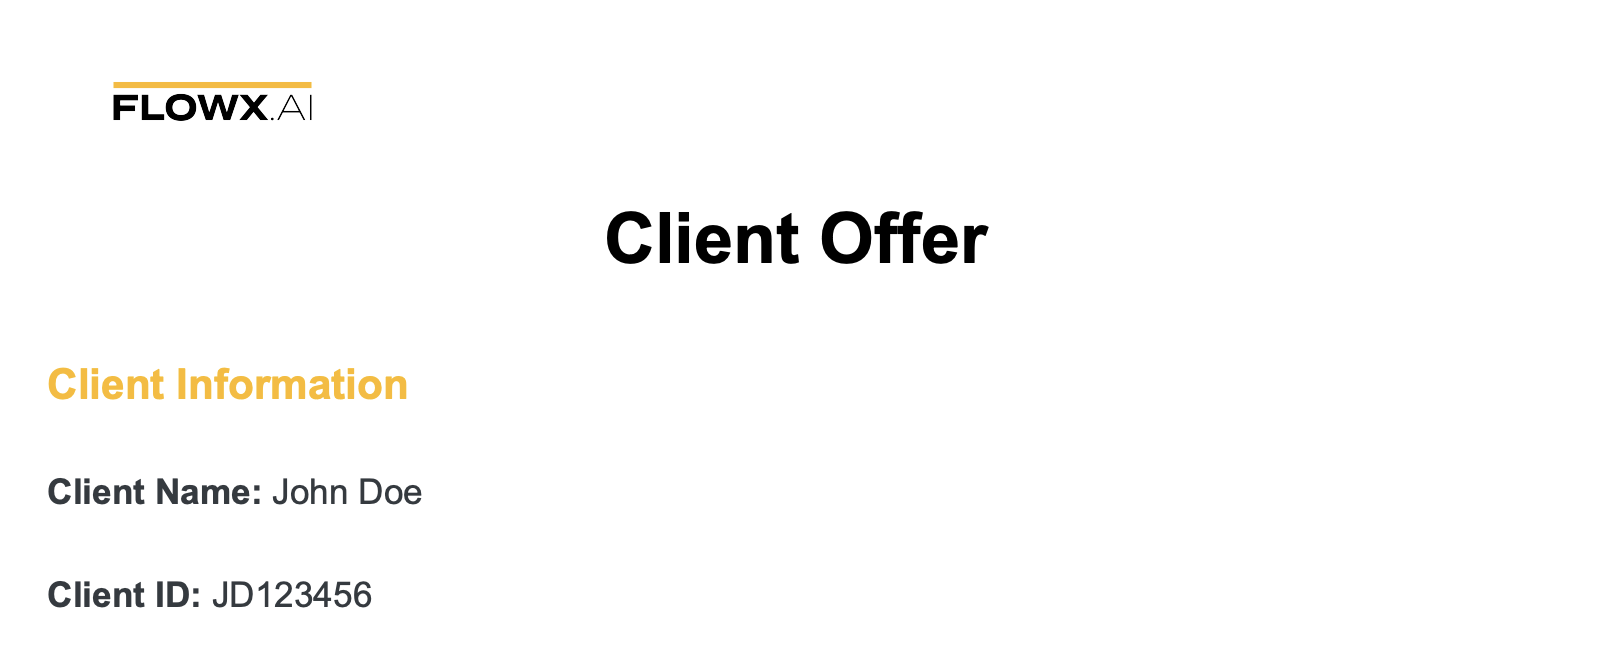
- Design the document header:
Begin by creating a header section for the document, including details such as the company logo and title.
<!-- Source: -->
<header>
   <img src="https://d22tnnndi9lo60.cloudfront.net/devmain/flowx/flowxlogo/1669299027205_FLOWX.AI%20main%20logo.png" alt="Company Logo" width="150px" height="auto">
   <h1 th:text="${offerTitle}">Offer Document</h1>
</header>
"data": {
    "companyLogo": "INSERT_BASE64_IMAGE",
    "offerTitle": "Client Offer"
}
- Text Parameters for Client Information:
Include a section for client-specific information using text parameters.
Text parameters enable the inclusion of dynamic text in templates, allowing for personalized content.
<!-- Source: -->
<section>
<h2>Client Information</h2>

<p><strong>Client Name:</strong> <span th:text="${clientName}"></span></p>

<p><strong>Client ID:</strong> <span th:text="${clientId}"></span></p>
</section>

<section>
"data": {
    "clientName": "John Doe",
    "clientId": "JD123456"
}
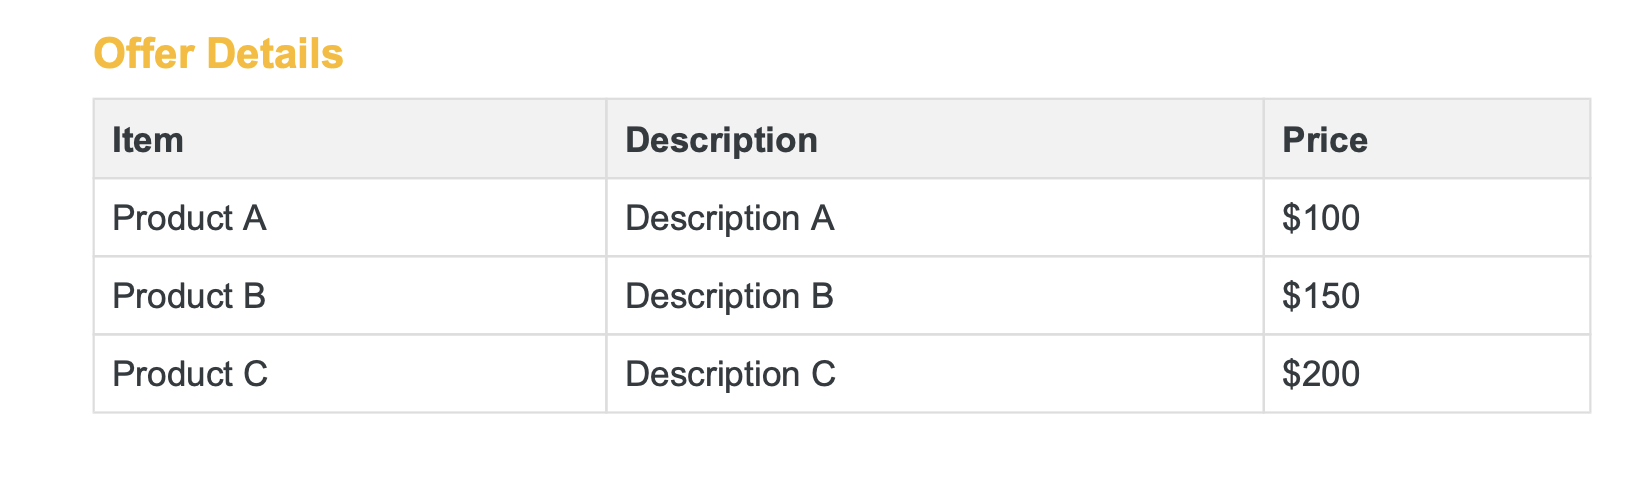
- Dynamic table for offer details:
Create a dynamic table to showcase various details of the offer.
<!-- Source: -->
<section>
<h2>Offer Details</h2>

<table>
	<thead>
		<tr>
			<th>Item</th>
			<th>Description</th>
			<th>Price</th>
		</tr>
	</thead>
	<tbody>
		<tr th:each="item : ${offerItems}">
			<td th:text="${item.name}"></td>
			<td th:text="${item.description}"></td>
			<td th:text="${item.price}"></td>
		</tr>
	</tbody>
</table>
</section>
"data": {
    "offerItems": [
        { "name": "Product A", "description": "Description A", "price": "$100" },
        { "name": "Product B", "description": "Description B", "price": "$150" },
        { "name": "Product C", "description": "Description C", "price": "$200" }
    ]
}
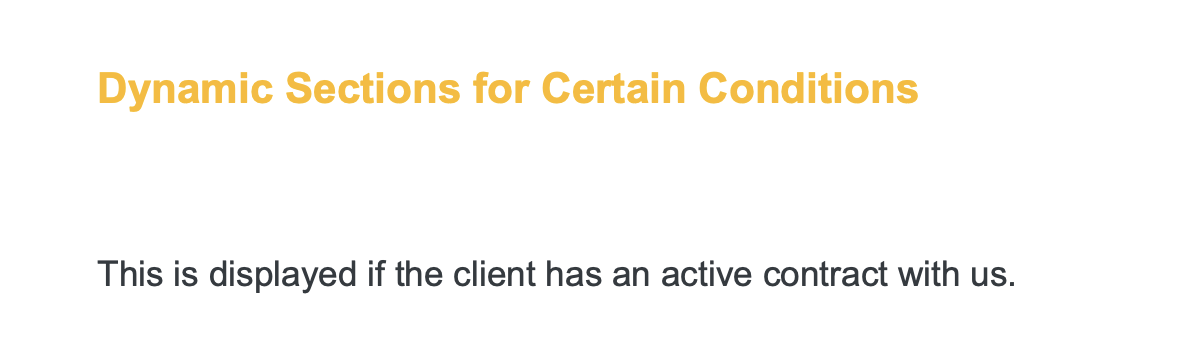
- Dynamic sections for certain conditions:
Dynamic sections allow displaying specific content based on certain conditions. For example, you can display a paragraph only when a certain condition is met.
<!-- Source: -->
<section>
<h2>Dynamic Sections for Certain Conditions</h2>
<span th:if="${isPreferredClient}"> </span>
<p><span th:if="${isPreferredClient}">This is displayed if it is a preferred client. They are eligible for special discounts! </span></p>
<span th:if="${isPreferredClient}"> </span> <span th:if="${hasSpecialRequest}"> </span>
<p><span th:if="${hasSpecialRequest}">This is displayed if the client has specific requests. Please review them carefully.</span></p>
<span th:if="${hasSpecialRequest}"> </span> <span th:if="${isActiveContract}"> </span>
<p><span th:if="${isActiveContract}">This is displayed if the client has an active contract with us.</span></p>
<span th:if="${isActiveContract}"> </span></section>
"data": {
    "clientName": "John Doe",
    "clientId": "JD123456",
    "isPreferredClient": false,
    "hasSpecialRequest": false,
    "isActiveContract": true
}
- Lists:
Lists are useful for displaying values from selected items in a checkbox as a bulleted list.
<!-- Source: -->
<section>
<div th:if="${incomeSource != null}">
<h3>Income source:</h3>

<ul>
	<li th:each="item : ${incomeSource}" th:text="${item}"></li>
</ul>
</div>
</section>
{
    "data": {
        "incomeSource": [
            "Income 1",
            "Income 2",
            "Income 3",
            "Income 4"
        ]
    }
}
- Include Image for Authorized Signature:
Embed an image for the authorized signature at the end of the document.
<!-- Source: -->
<footer>
<p>Authorized Signature:</p>
<img alt="Authorized Signature" height="auto" th:src="*{'data:image/png;base64,' + signature}" width="200px"></footer>
"data": {
    "signature": "INSERT_BASE64_IMAGE"
}
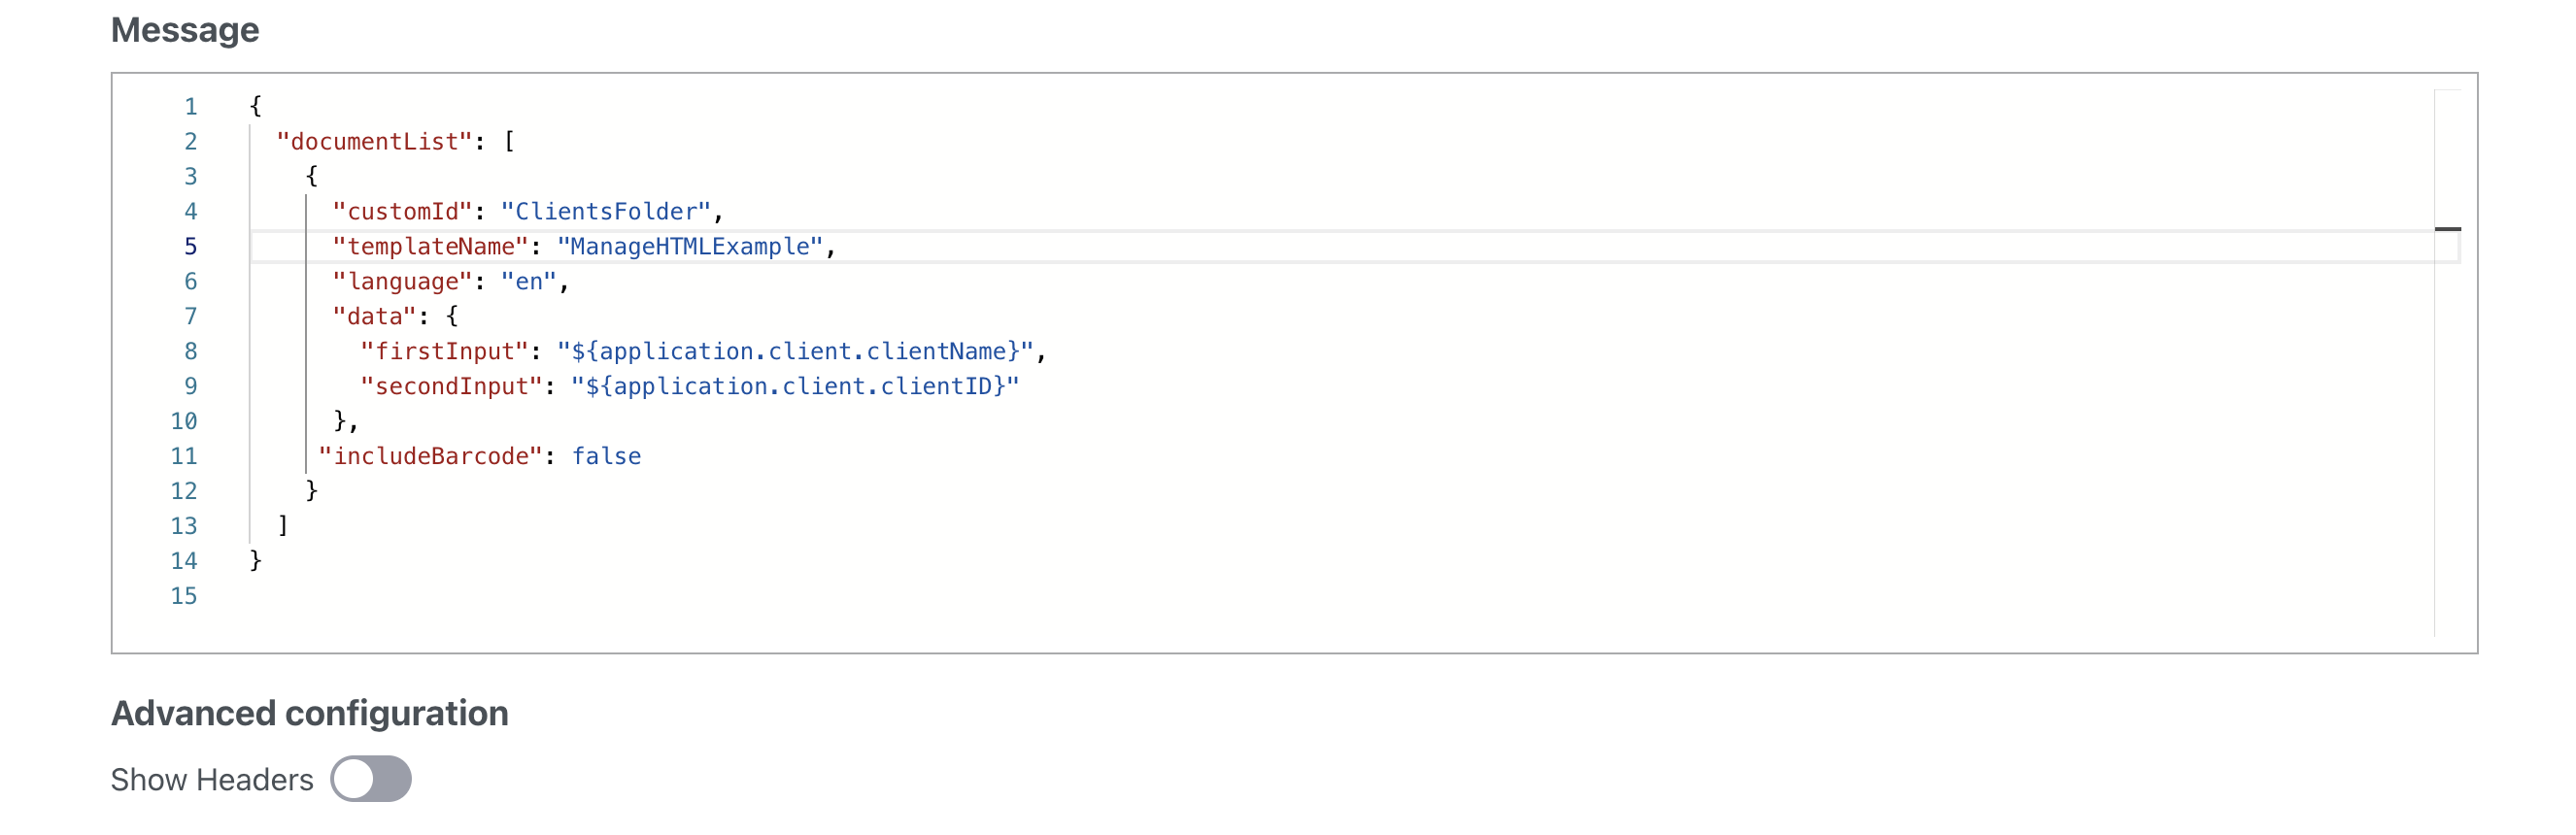
- Barcodes:
Set the includeBarcode parameter to true if you want to include a barcode. For information on how to use barcodes and OCR plugin, check the following section:
- Checkboxes for Consent:
Consent checkboxes in HTML templates are commonly used to obtain explicit agreement or permission from users before proceeding with certain actions or processing personal data.
<!--Source:-->
    <section>
        <label for="consent-checkbox">
            <input type="checkbox" id="consent-checkbox" name="consent" value="consent">
            I consent to the terms and conditions.
        </label>
    </section>
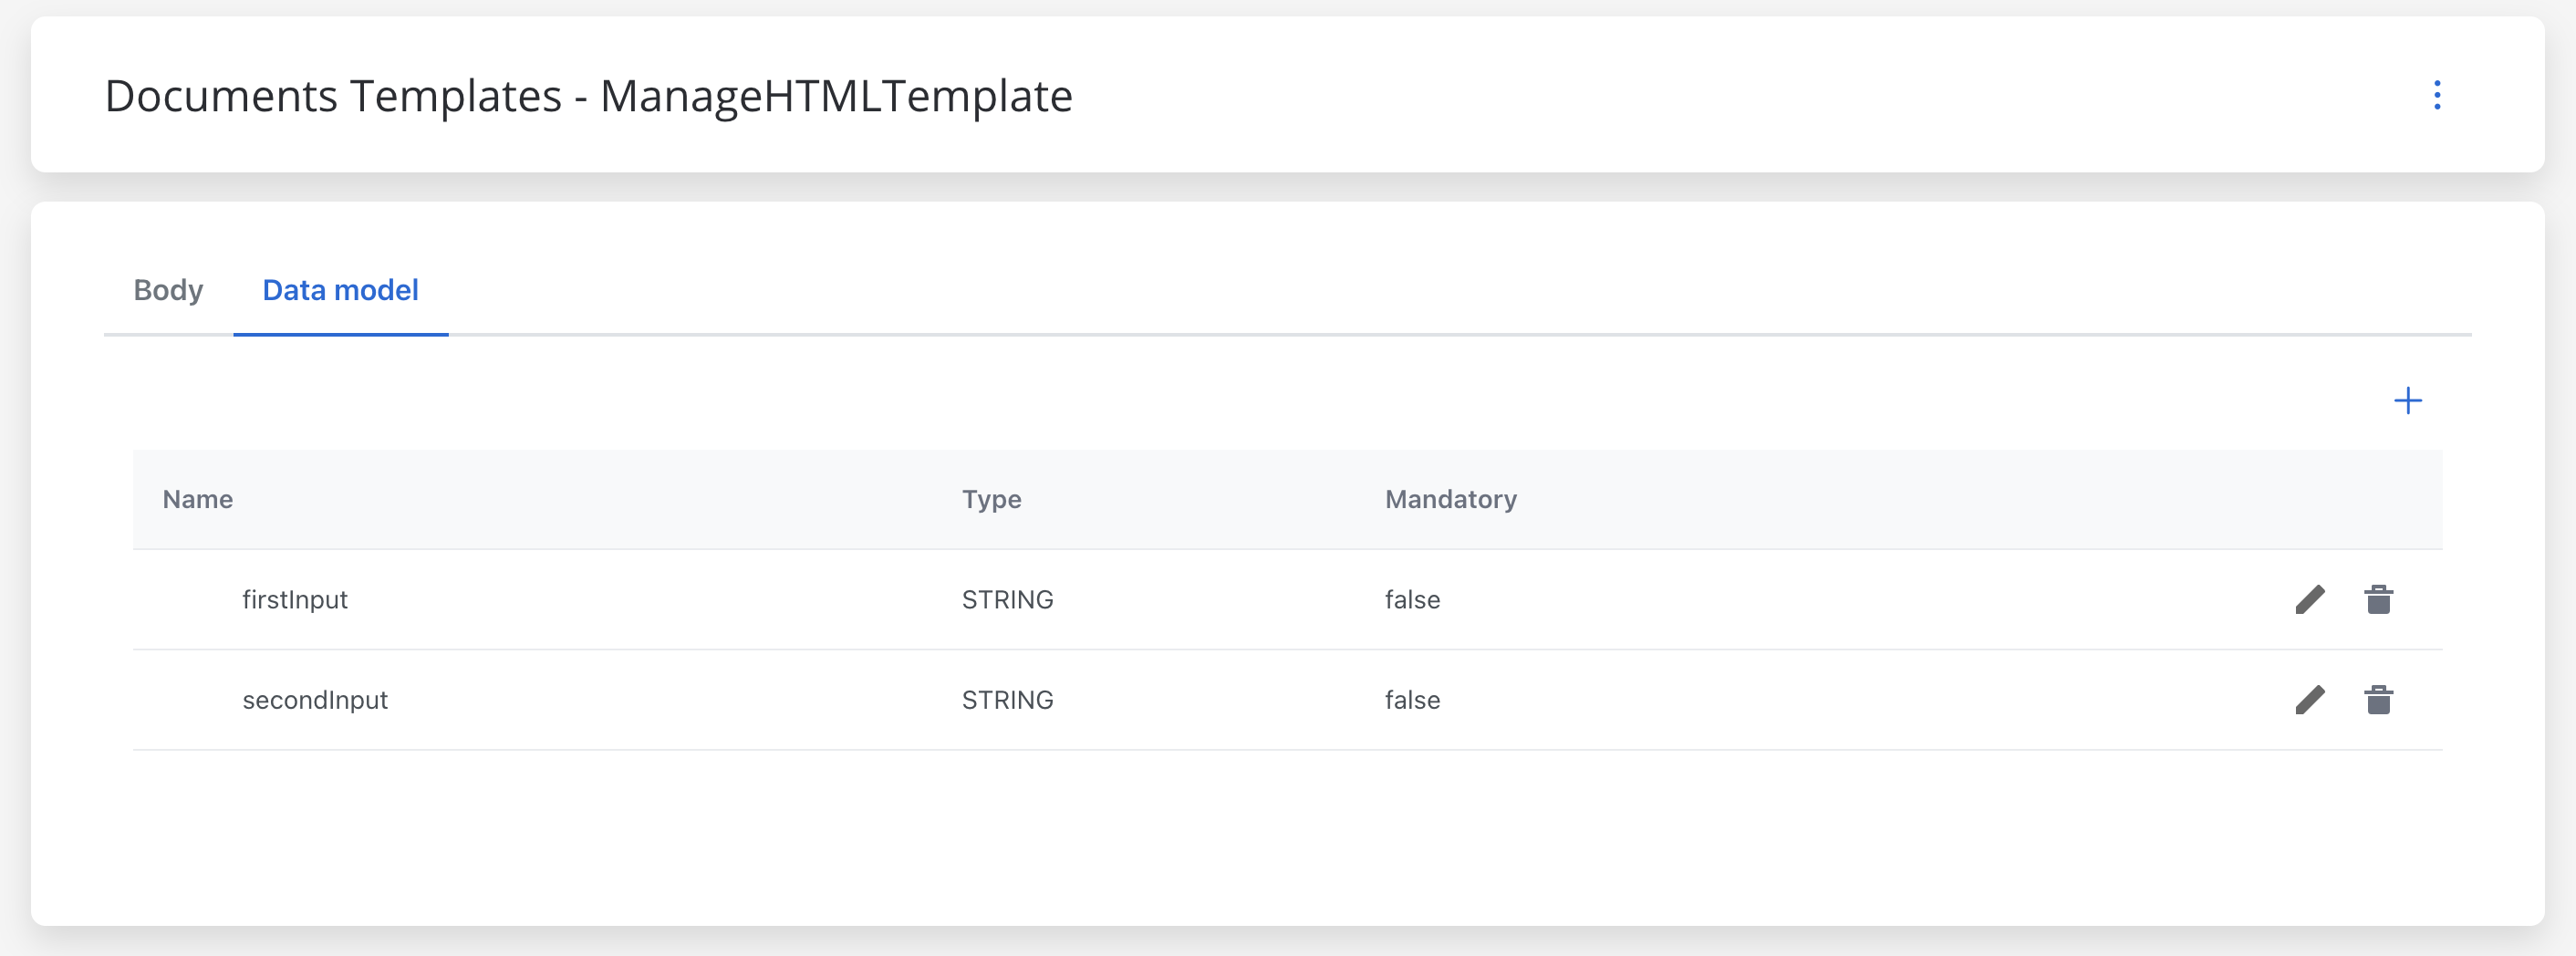
- Data Model:
In the documents template we have the Data Model tab. Here you define parameters, which are dynamic data fields that will be replaced with the values you define in the payload, like first name, or company name.
Styling
HTML template styling plays a crucial role in enhancing the visual appeal, readability, and user experience of generated documents.
The PDF generation engine only supports CSS 2.1. Modern CSS features such as Flexbox, Grid, CSS variables, and advanced selectors are not supported. Ensure your styles are compatible with CSS 2.1 specifications.
	<style type="text/css">body {
            font-family: 'Arial', sans-serif;
            margin: 20px;
            color: #343a40;
        }

        header {
            text-align: center;
        }

        header img {
            width: 150px;
            height: auto;
        }

        h1 {
            color: #000; /* Adjust color as needed */
            margin-top: 10px;
        }

        h2 {
            color: #fdb913;
            margin-bottom: 10px;
            font-size: 1.2em; /* Adjust font size as needed */
        }

        p {
            margin-bottom: 10px;
            font-size: 1em; /* Adjust font size as needed */
        }

        table {
            width: 100%;
            border-collapse: collapse;
            margin-bottom: 20px;
        }

        th, td {
            border: 1px solid #ddd;
            padding: 8px;
            text-align: left;
        }

        th {
            background-color: #f2f2f2;
        }

        ul {
            list-style-type: disc;
            margin-left: 20px;
            color: #6c757d;
        }

        footer {
            margin-top: 20px;
        }
	</style>
Samples
Without dynamic data
The final result after generating the template without dynamic data:
Download PDF sample here. With dynamic data
The final result after generating the template with the following dummy process data:
"data": {
    "offerTitle": "Client Offer",
    "clientName": "John Doe",
    "clientId": "JD123456",
    "isPreferredClient": false,
    "hasSpecialRequest": false,
    "isActiveContract": true,

    "offerItems": [
        { "name": "Product A", "description": "Description A", "price": "$100" },
        { "name": "Product B", "description": "Description B", "price": "$150" },
        { "name": "Product C", "description": "Description C", "price": "$200" },
    ],
     "incomeSource": [
            "Income 1",
            "Income 2",
            "Income 3",
            "Income 4"
        ],
}
Download a PDF sample here.