Uploading a new asset
To upload an asset to the Media Library, follow the next steps:- Open FlowX Designer.
- Go to Content Management tab and select Media Library.
- Click Add new item, the following details will be displayed:
- Upload item - opens a local file browser
- Key - the key must be unique, you cannot change it afterwards
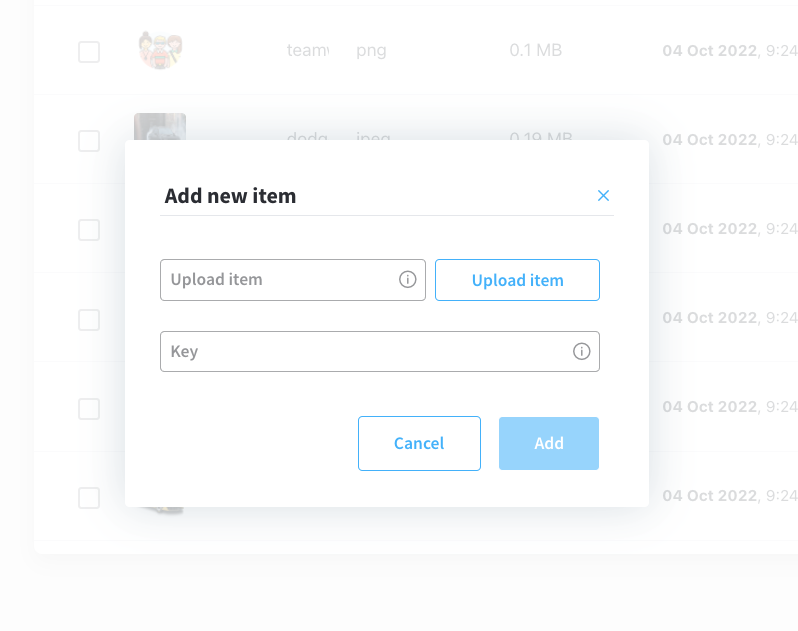
- Click Upload item button and select a file from your local browser.
- Click Upload item button again to upload the asset.
- Supported image formats: PNG, JPEG, JPG, GIF, SVG or WebP format, 1 MB maximum size.
- Supported files: PDF documents, with a maximum file size limit of 10 MB.
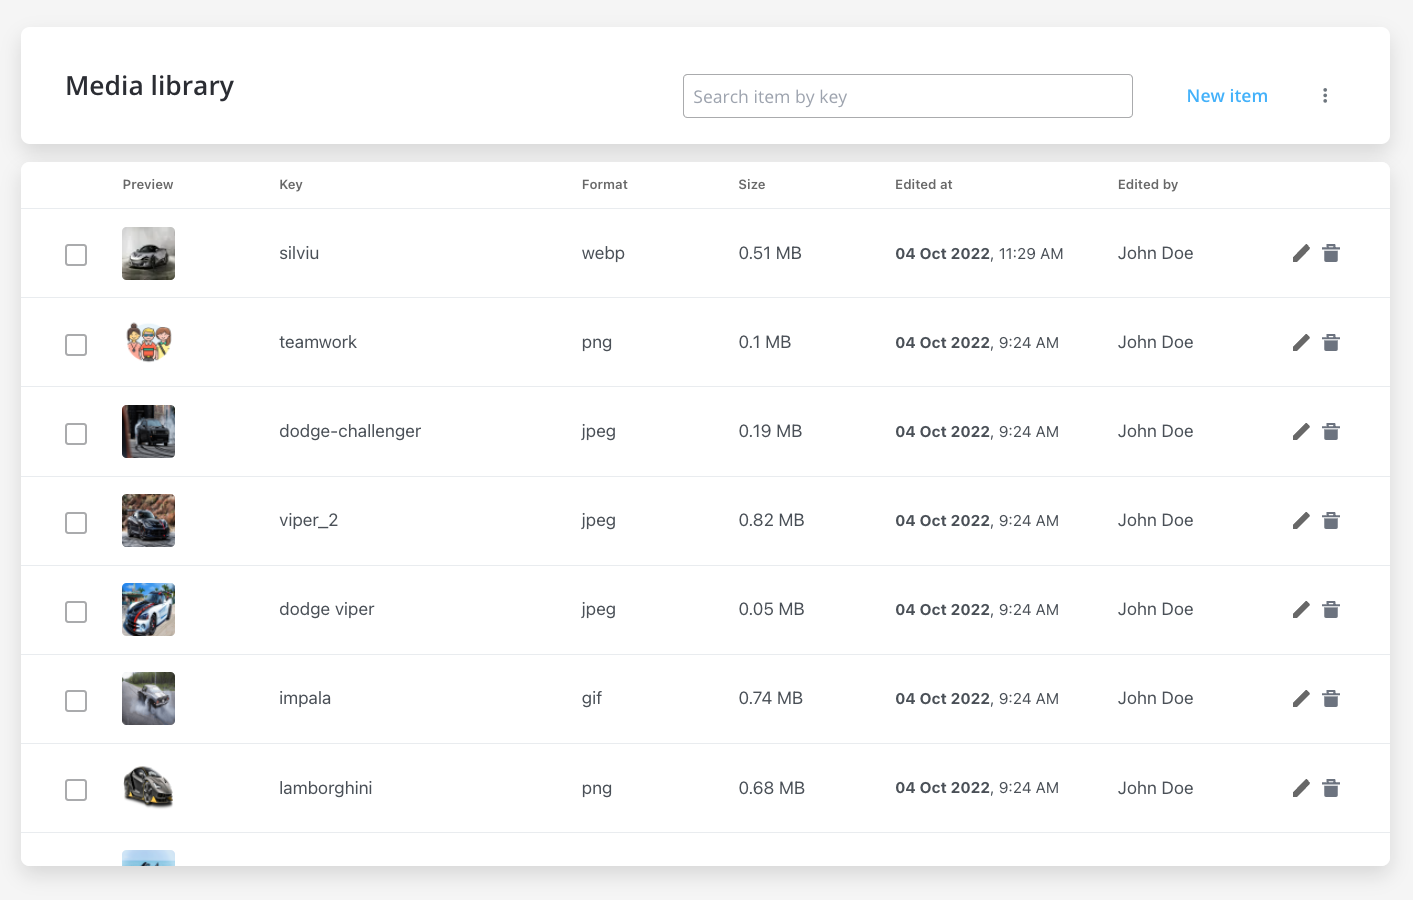
Displaying assets
Users can preview all the uploaded assets just be accessing the Media Library. You have the following information about assets:- Preview (thumbnail 48x48)
- Key
- Format (”-” for unknown format)
- Size
- Edited at
- Edited by
Searching assets
You can search an asset by using its key (full or substring).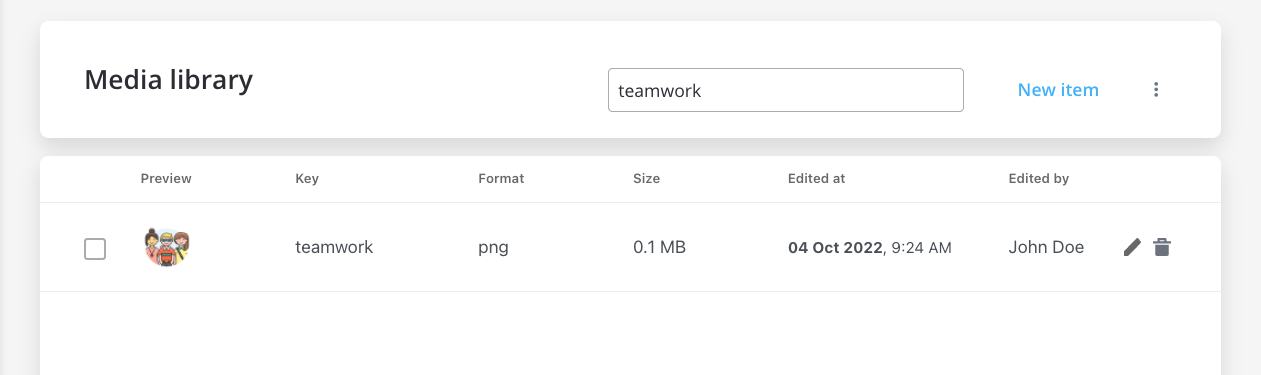
Replacing assets
You can replace an item on a specific key (this will not break references to process definitions).
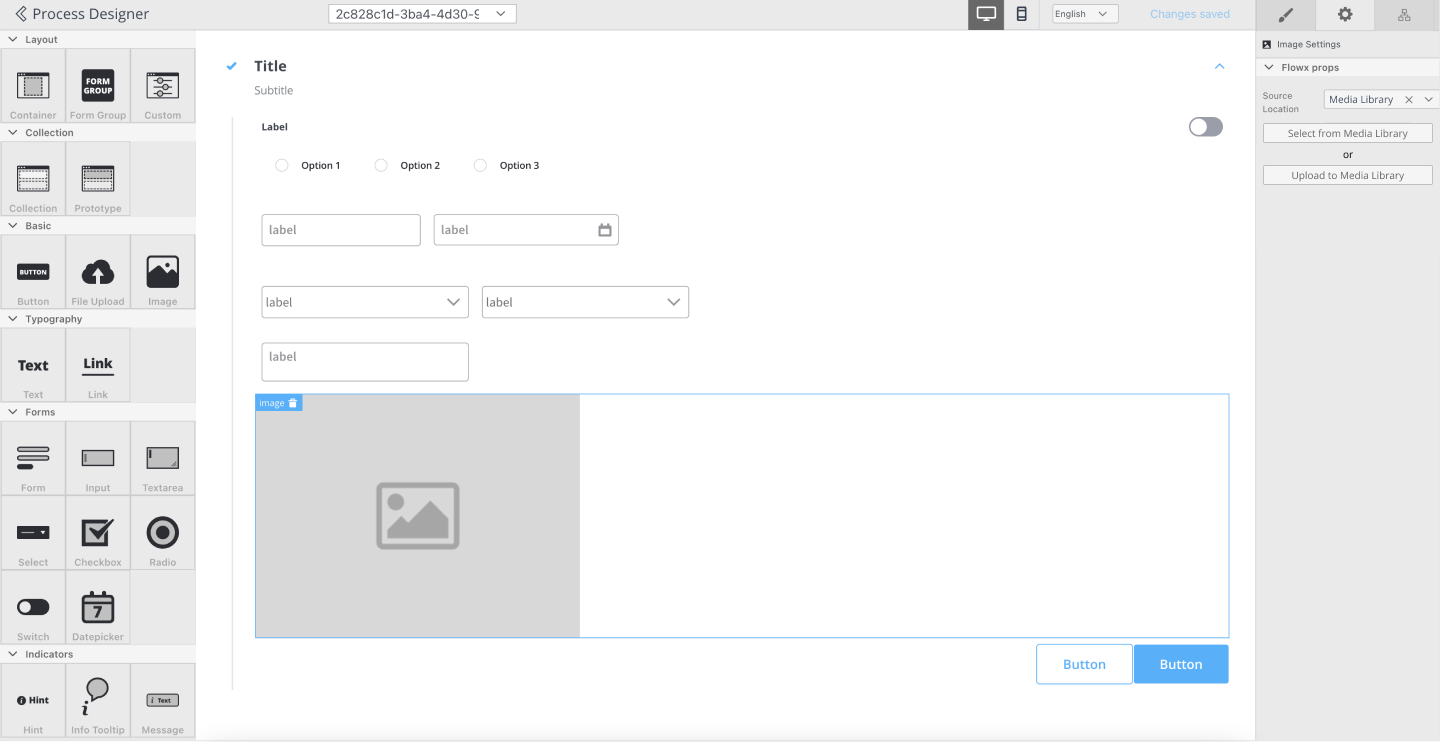
Referencing assets in UI Designer
You have the following options when configuring image components using UI Designer:- Source Location - here you must select Media Library as source location
- Image Key
- Option 1: trigger a dropdown with images keys - you can type and filter options or can select from the initial list in dropdown
- Option 2: open a popup with images thumbnails and keys then you can type and filter options or can select from the initial list
Icons
The Icons feature allows you to personalize the icons used in UI elements. By uploading SVG files through the Media Library and marking them, you can choose icons from the available list in the UI Designer.When selecting icons in the UI Designer, only SVG files marked as icons in the Media Library will be displayed.
To ensure optimal visual rendering and alignment within your UI elements, it is recommended to use icons with small sizes such as: 16px, 24px, 32px.Using icons specifically designed for these sizes helps maintain consistency and ensures a visually pleasing user interface. It is advisable to select icons from icon sets that provide these size options or to resize icons proportionally to fit within these dimensions.
Customization
Content-specific icons pertain to the content of UI elements, such as icons for input fields or send message buttons. These icons are readily accessible in the UI Designer.Export/import media assets
The import/export feature allows you to import or export media assets, enabling easy transfer and management of supported types of media files.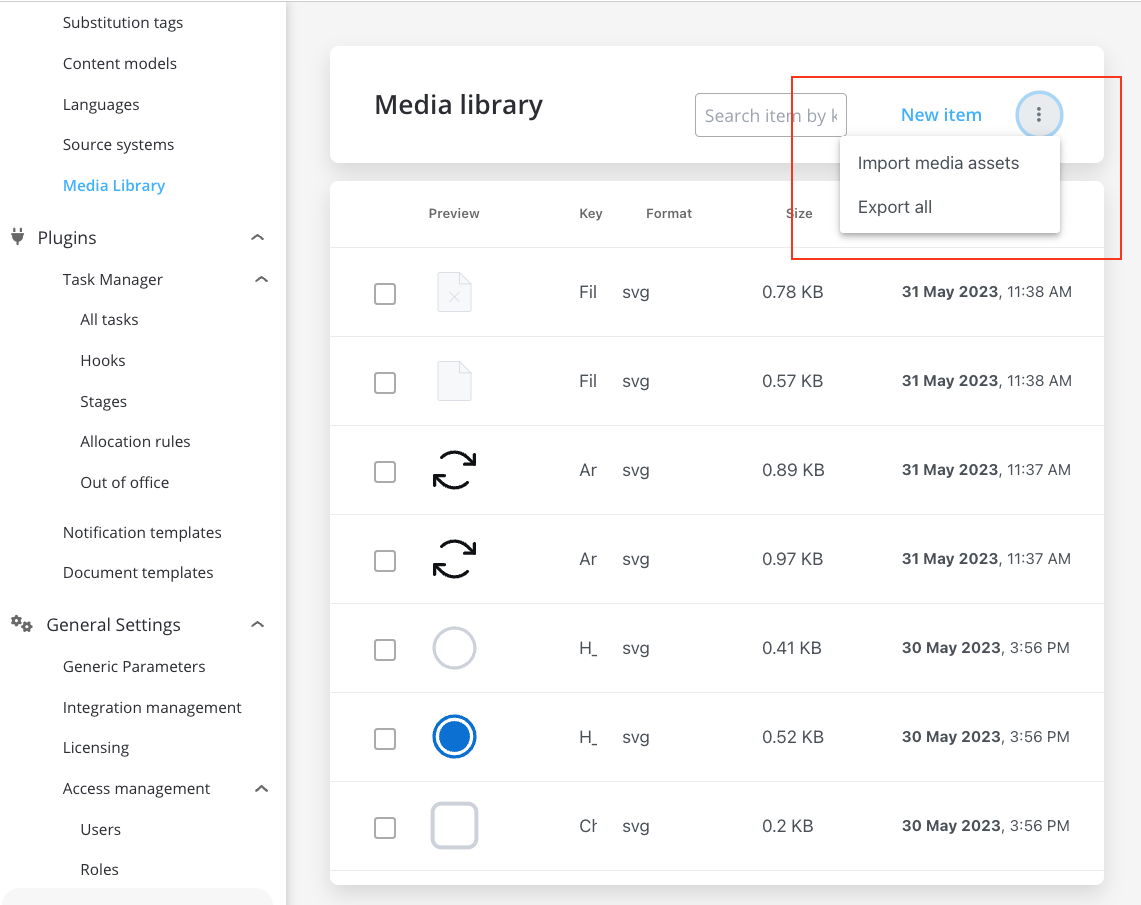
Import media assets
Use this function to import media assets of various supported types. It provides a convenient way to bring in images, videos, or other media resources.Export all
Use this function to export all media assets stored in your application or system. The exported data will be in JSON format, allowing for easy sharing, backup, or migration of the media assets. The exported JSON structure will resemble the following example:images- is an array that contains multiple objects, each representing an imageexportVersion- represents the version number of the exported data, it holds the image-related informationkey- represents a unique identifier or name for the image, it helps identify and differentiate images within the context of the applicationapplication- specifies the name or identifier of the application associated with the image, it indicates which application or system the image is related tofilename- the name of the file for the image, it represents the original filename of the image fileformat- a string property that specifies the format or file extension of the imagecontentType- the MIME type or content type of the image, it specifies the type of data contained within the image filesize- represents the size of the image file in bytes, it indicates the file’s storage size on a disk or in a data storage systemstoragePath- the URL or path to the location where the original image file is stored, it points to the location from where the image can be accessed or retrievedthumbnailStoragePath- the URL or path to the location where a thumbnail version of the image is stored, it points to the location from where the thumbnail image can be accessed or retrieved