Kafka event
To trigger a process using a Kafka Send Action:- Access FlowX Designer and navigate to the Processes tab, then select Definitions.
- Choose an existing process definition or create a new one.
- Integrate a Message Event Send node into your workflow.
- Attach a Kafka Send action to this node.
- Define the topic corresponding to the
KAFKA_TOPIC_PROCESS_START_INenvironment variable from your process-engine deployment.

For clarification on the topic, in FLOWX.AI Designer visit Platform status → Flowx Components → process-engine-mngt -> kafkaTopicHealthCheckIndicator → details → configuration → topic → process → start_in:
- The body message must include the name of the process you intend to start with this action, structured as follows:
- Expand advanced configuration, you will see that a custom header is always set by default to
{"processInstanceId": ${processInstanceId}} - Also include your JWT key in the headers:
 The headers section should resemble this structure:
Timer start event
To initiate a process using a Start Timer Event:- Open FLOWX Designer, head to the Processes tab, then select Definitions.
- Opt for an existing process definition or create a new one.
- Incorporate a Start Timer Event and configure it as required, specifying either a specific date or a cycle.
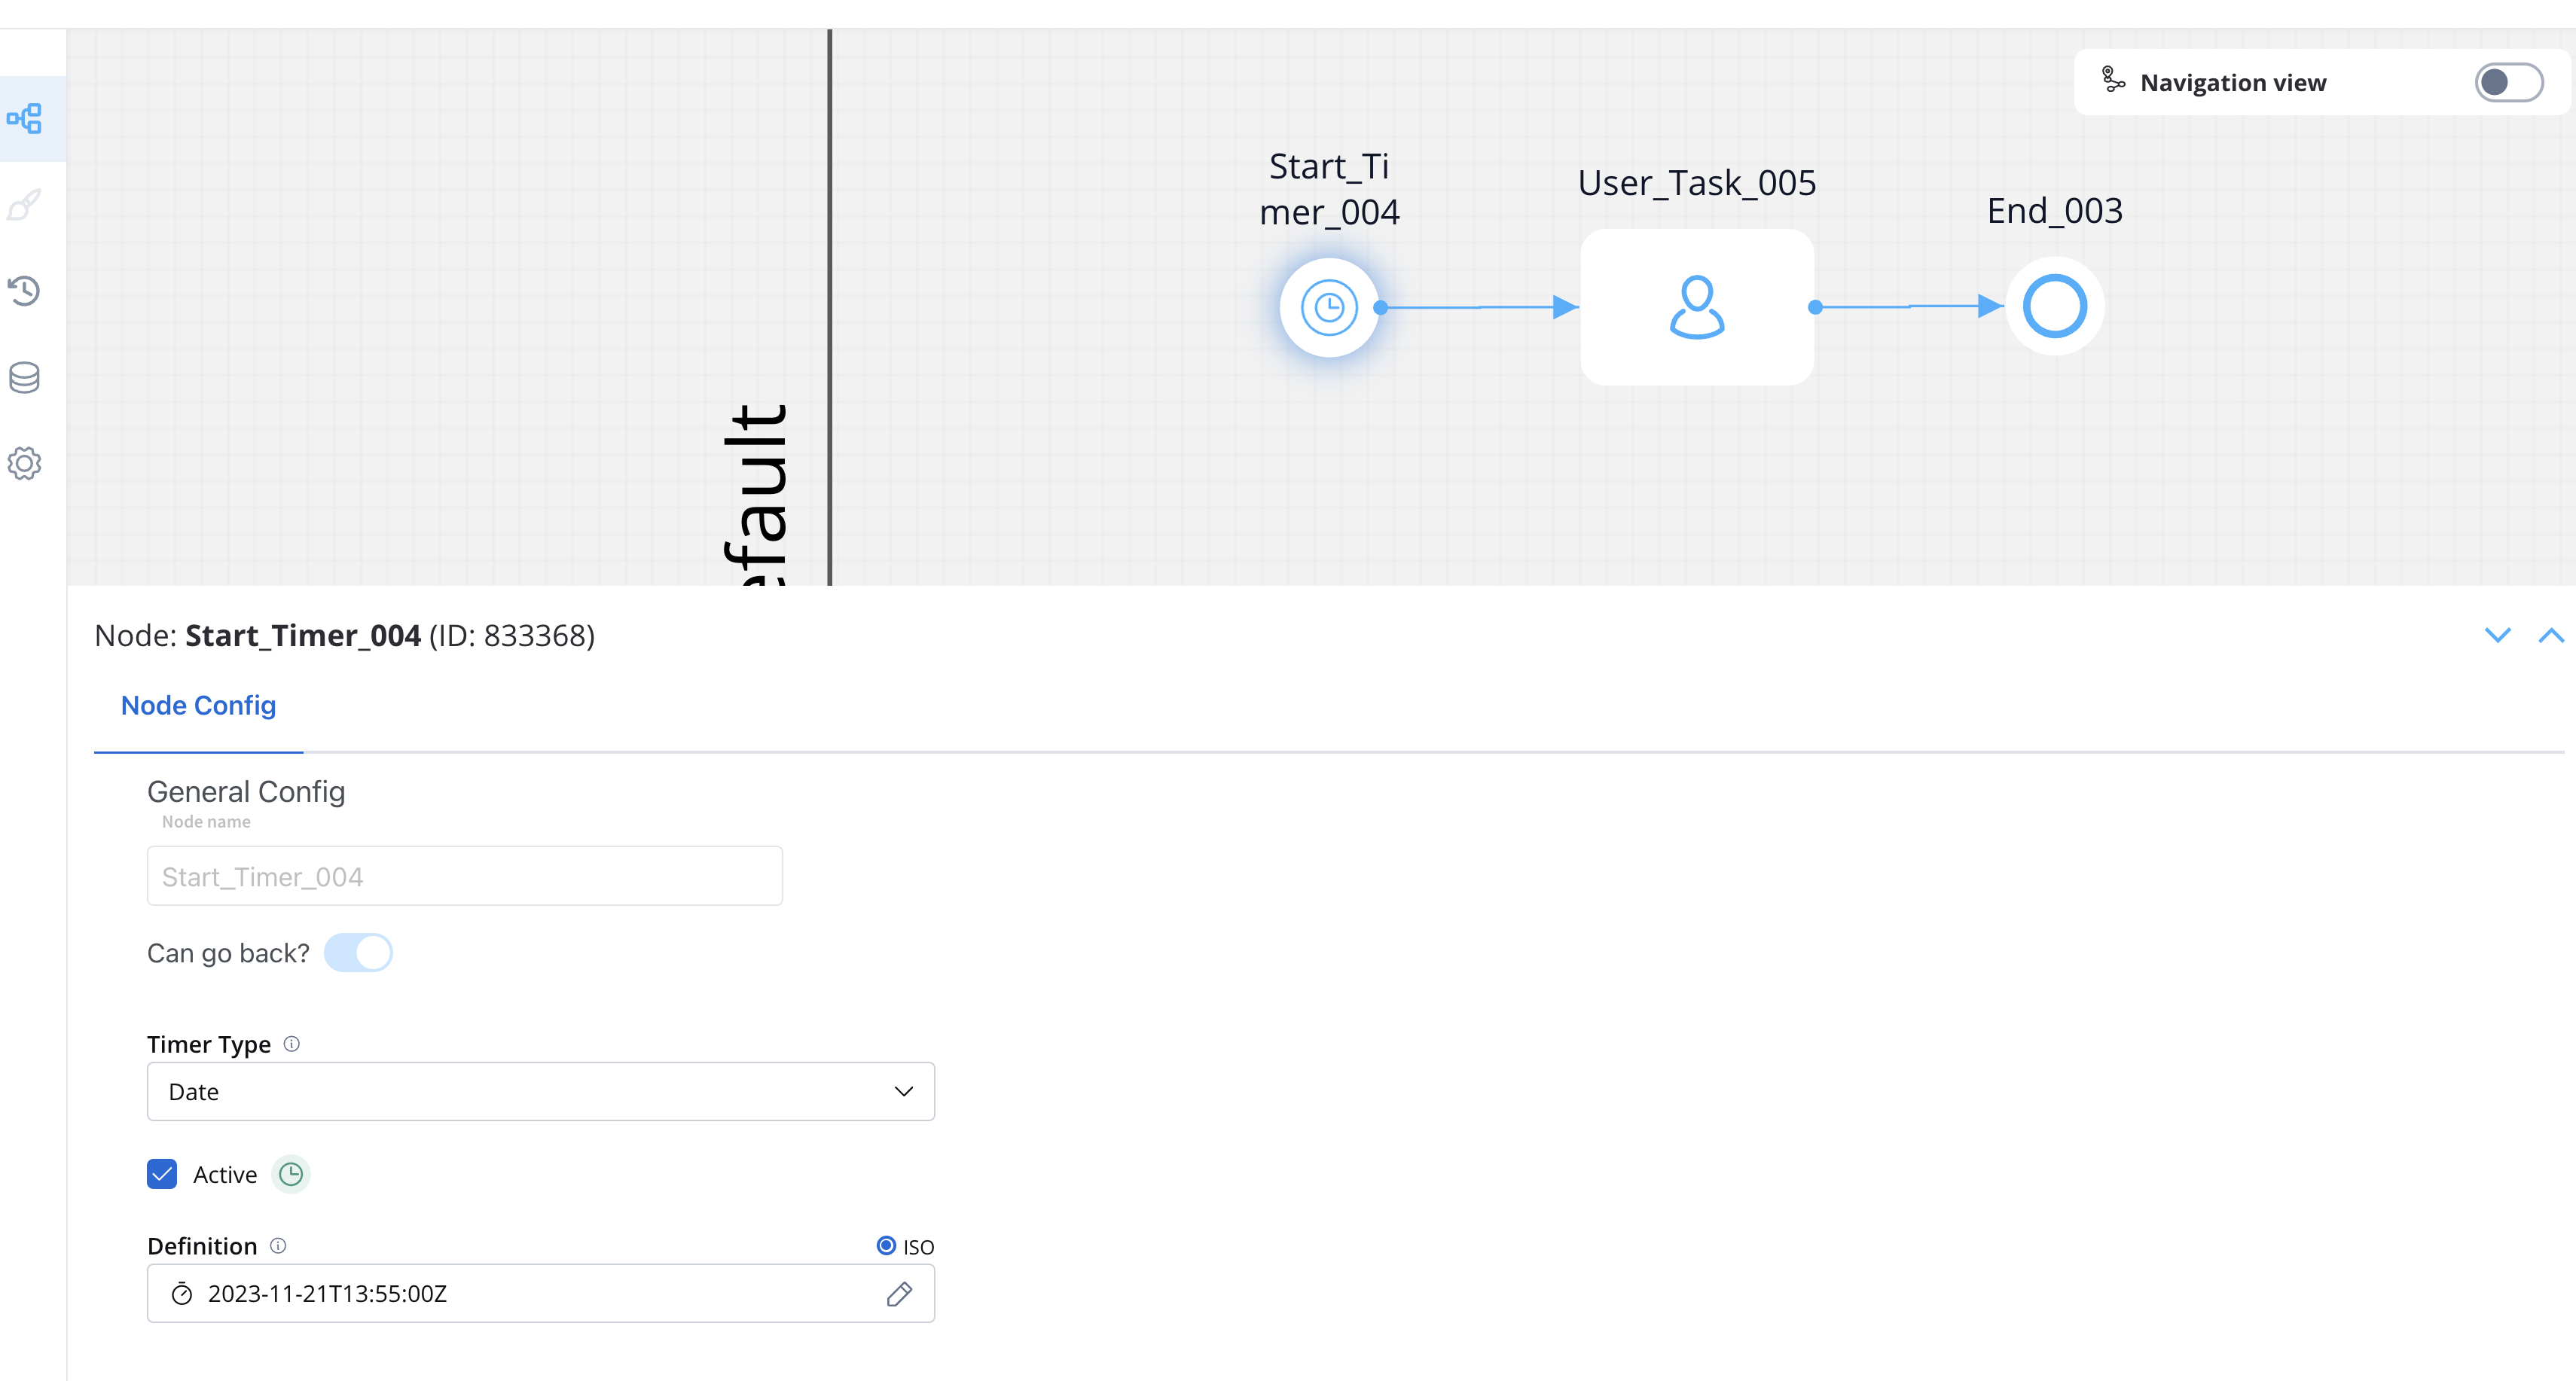 For deeper insights into the Start Timer Event, refer to the section below:
Start Timer Event
For deeper insights into the Start Timer Event, refer to the section below:
Start Timer Event
Message catch start event
To initiate a process using a Message Catch Start Event, two processes are required. One utilizes a throw message event, while the other employs a start catch message event to initiate the process.Configuring the parent process
- Access FlowX Designer, proceed to the Processes tab, then select Definitions.
- Opt for an existing process definition or create a new one.
- Configure your process and integrate a Message Throw Intermediate event.
- Add a task or a user task where process data bound to a correlation key is included (e.g., ‘key1’).
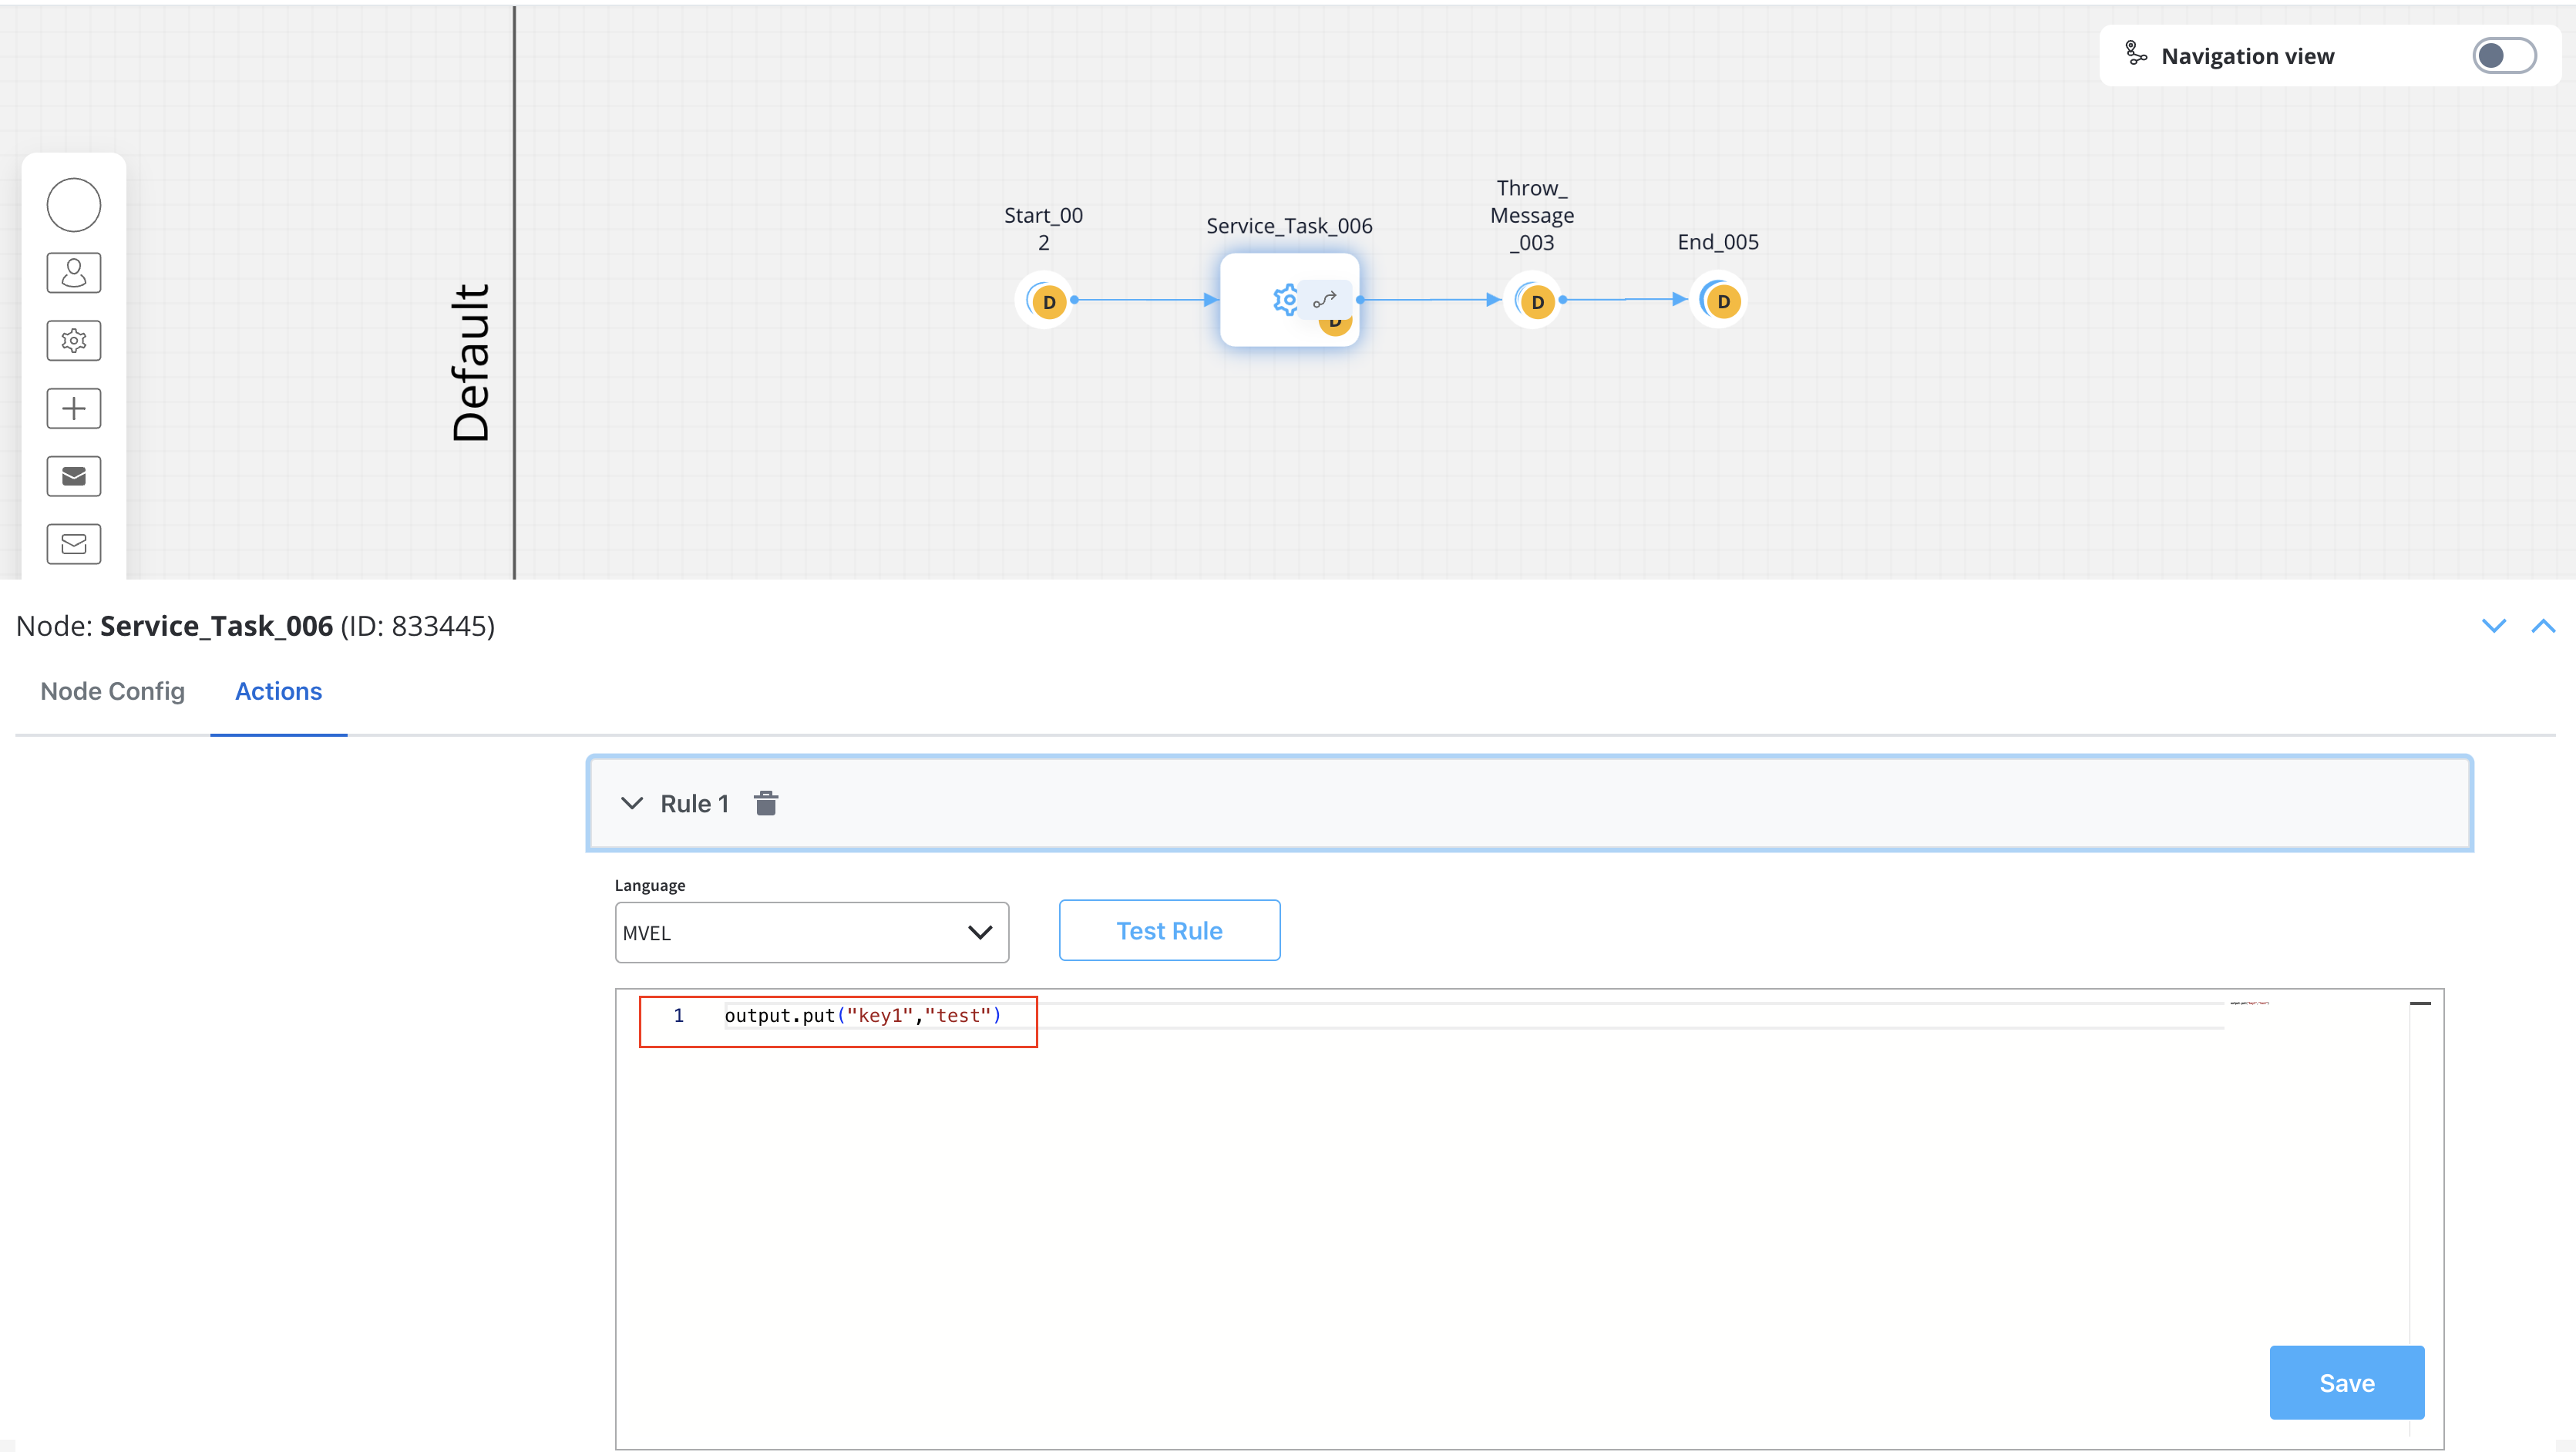
- Configure the node, considering message correlation.
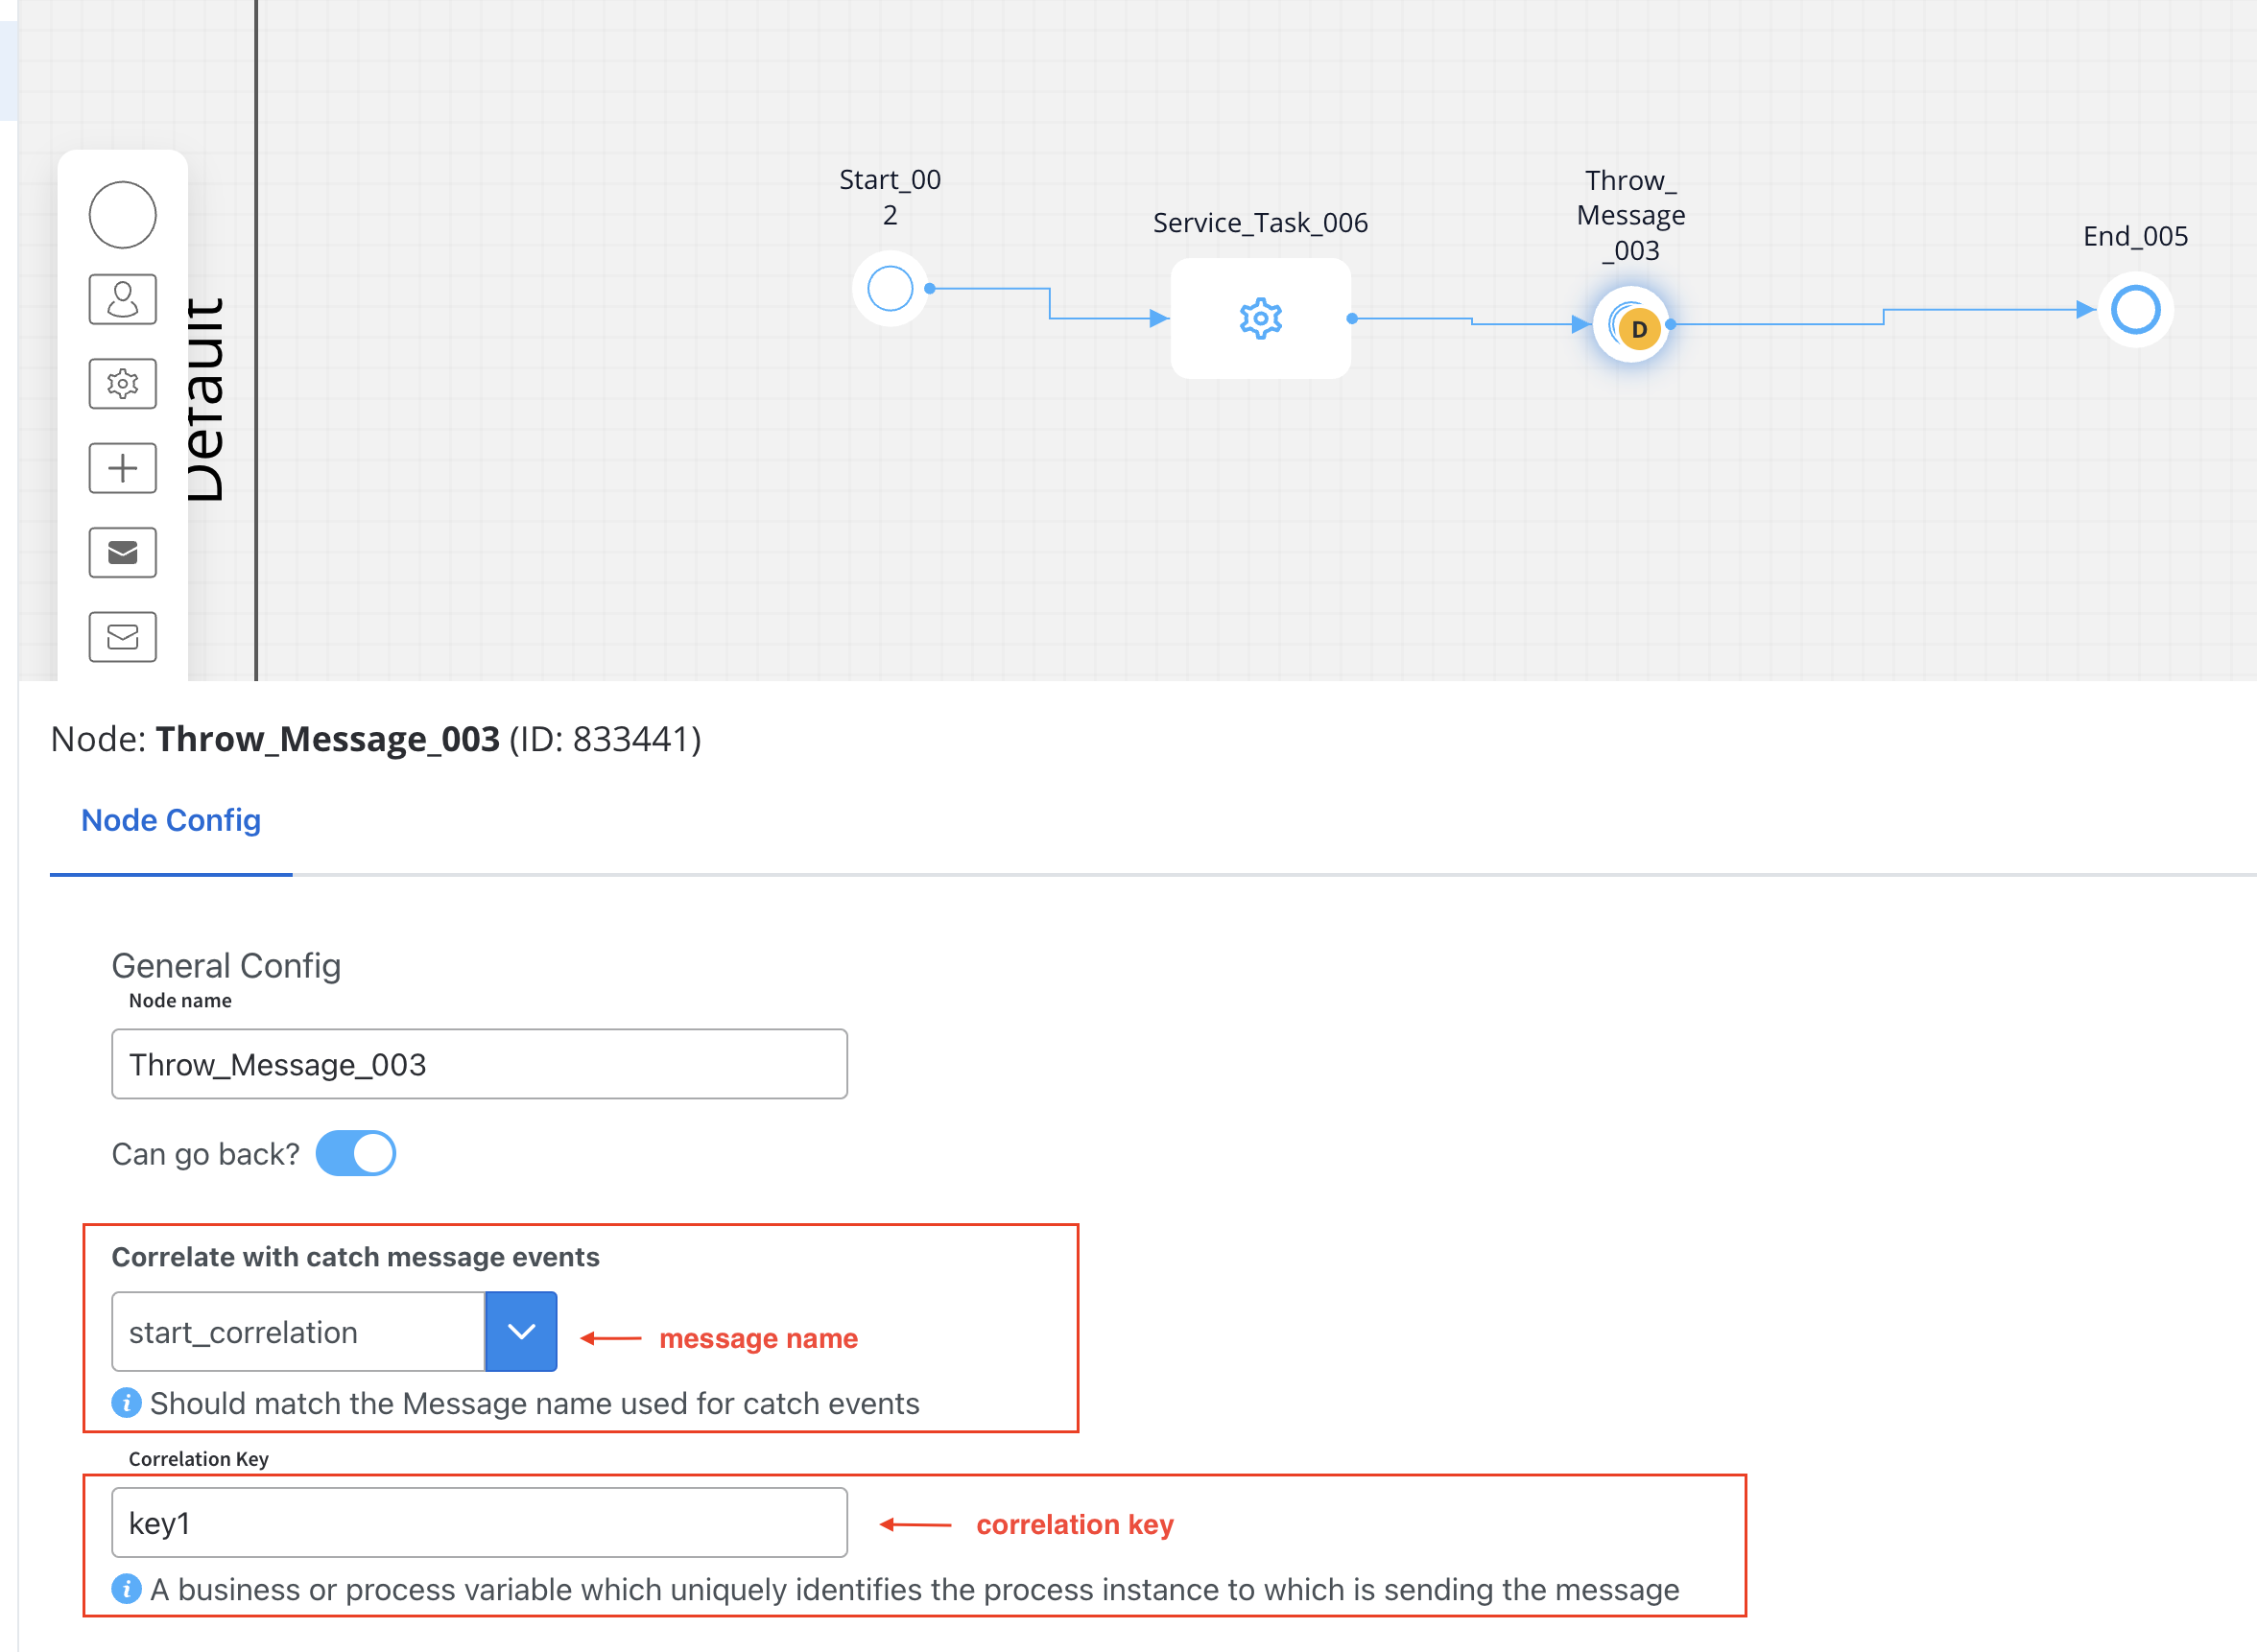
Message correlation is vital and achieved through message subscriptions, involving the message name (must be identical for both throw and catch events) and the correlation key (also known as the correlation value).
Configuring the process with catch event
Now, we will configure the process that will be started with the start catch message event:- Follow the initial three steps from the previous section.
- Integrate a Start Message Catch event node.
- Configure the node:
- Include the same message name for correlation as added in the throw message event (e.g., ‘start_correlation’).
- In the Receive data tab, add the Process Key, which is the correlation key added in the throw event (e.g., ‘key1’).
Task management using Hooks
Initiating processes through hooks involves the creation of a hook alongside two essential processes: one acts as the parent process, while the other is triggered by the hook.Creating a hook
Hooks play a crucial role in abstracting stateful logic from a component, facilitating independent testing and reusability.Users granted task management permissions can utilize hooks to initiate specific process instances, such as triggering notifications upon event occurrences.
- Create a Hook: Access FlowX Designer, navigate to the Plugins tab, and choose Task Manager → Hooks.
- Configure the Hook:
- Name: Name of the hook
- Parent process: Process definition name of the parent process
- Type: Process hook
- Trigger: Process Created
- Triggered Process: Process definition name of the process that we want to trigger
- Activation status
 For further details about hooks, refer to the section below:
Hooks
For further details about hooks, refer to the section below:
Hooks
Setting up the parent process
- In FlowX Designer, navigate to the Processes tab and select Definitions.
- Choose an existing process definition or create a new one.
- Customize your BPMN process to align with your requirements.
- Ensure the process is integrated with task management. To do this, within your Process Definition, access Settings → General and activate “Use process in task management”.

Establishing appropriate roles and permissions within the parent process (or the service account used) is mandatory to enable it to trigger another process.
Configuring the triggered process
To configure the process triggered by the hook, follow the initial three steps above. Ensure that the necessary roles and permissions are set within the process. Upon running the parent process, instances will be created for both the parent and the child processes.