Configuring a Send data to user interface action
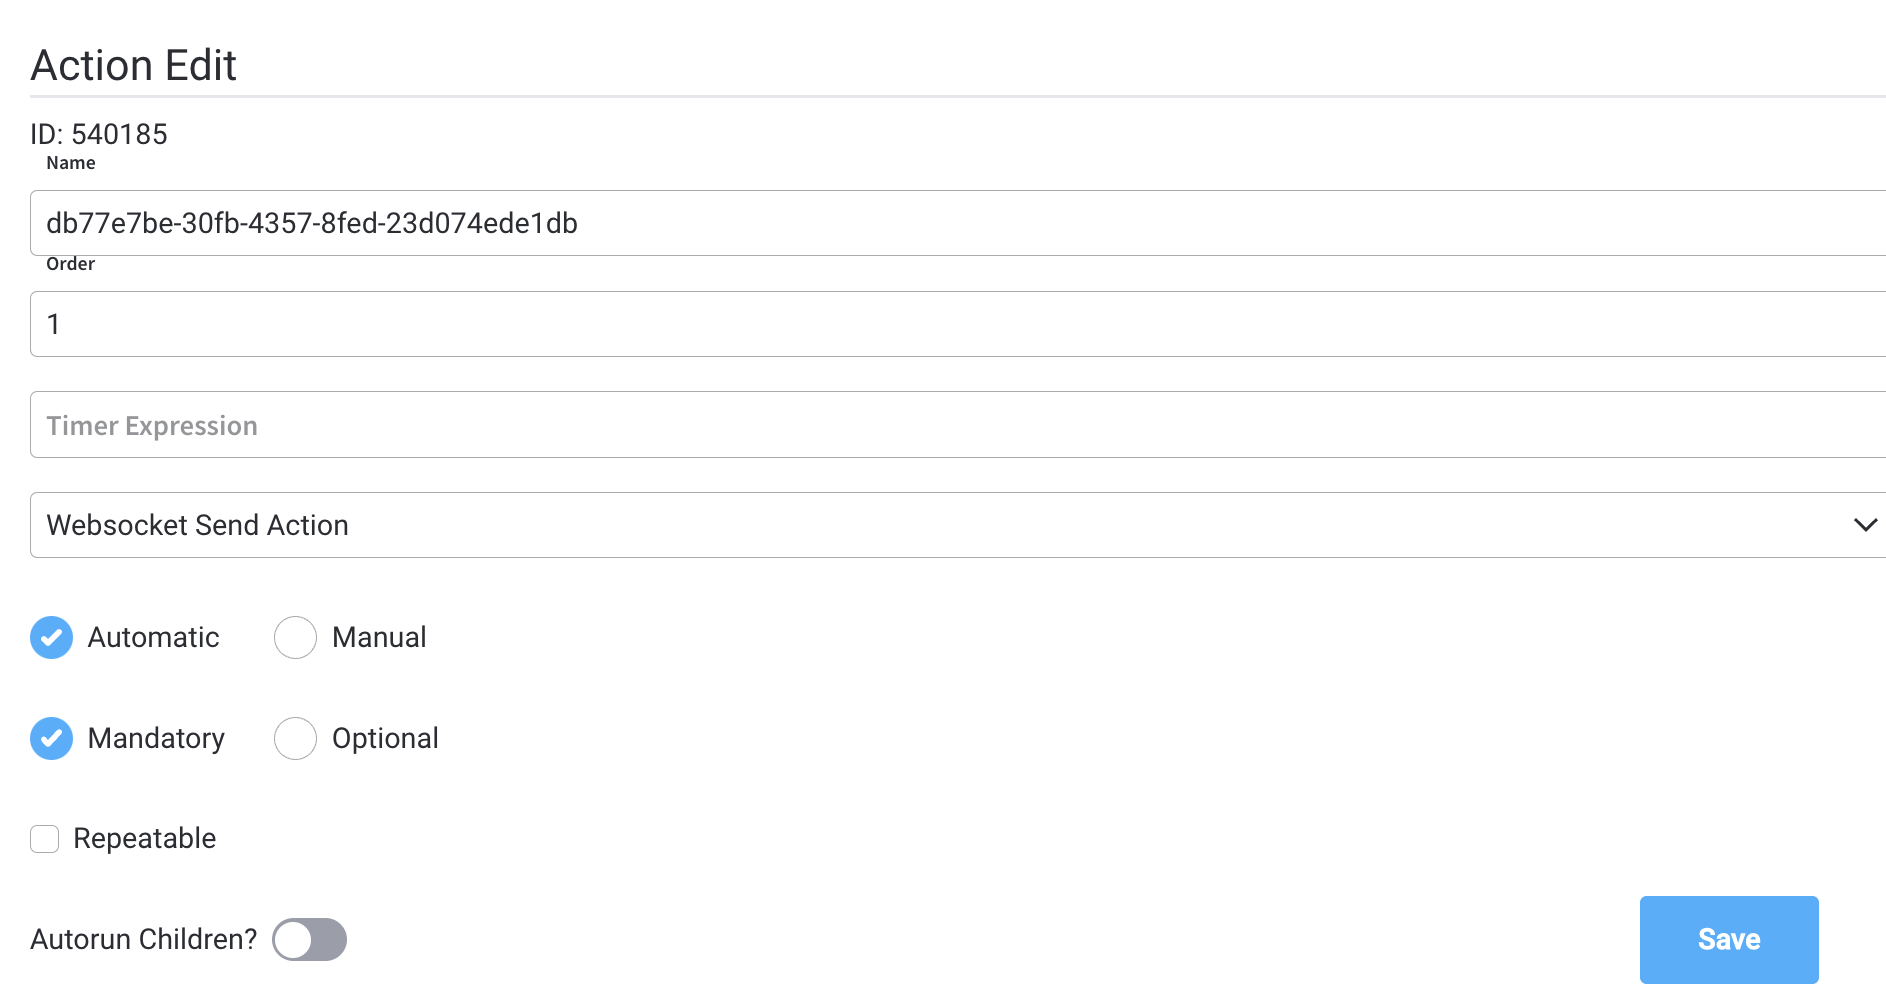
Multiple options are available for this type of action and can be configured via the FlowX Designer. To configure a Send data to user interface, use the Actions tab at the task node level, which has the following configuration options:Action Edit
- Name - used internally to make a distinction between different actions on nodes in the process. We recommend defining an action naming standard to be able to quickly find the process actions
- Order - if multiple actions are defined on the same node, the running order should be set using this option
- Timer expression - it can be used if a delay is required on that action. The format used for this is ISO 8601 duration format (for example, a delay of 30 seconds will be set up as
PT30S) - Action type - should be set to Send data to user interface
- Trigger type (options are Automatic/Manual) - choose if this action should be triggered automatically (when the process flow reaches this step) or manually (triggered by the user); in most use cases, this will be set to automatic
- Required type (options are Mandatory/Optional) - automatic actions can only be defined as mandatory. Manual actions can be defined as mandatory or optional.
- Repeatable - should be checked if the action can be triggered multiple times
- Autorun Children - when this is switched on, the child actions (the ones defined as mandatory and automatic) will run immediately after the execution of the parent action is finalized
Back in steps
- Allow BACK on this action - back in process is a functionality that allows you to go back in a business process and redo a series of previous actions in the process. For more details, check Moving a token backwards in a process section.
Parameters
The following fields are required for a minimum configuration of this type of action:- Message Type - if you only want to send data, you can set this to Default (it defaults to the data message type)
-
paramsToCopy- choose which of the keys from the parent process parameters to be copied to the subprocess -
withoutParams- choose which of the keys from the parent process parameters are to be ignored when copying parameter values from the parent process to the subprocess
- Message - here you define the data to be sent as a JSON object, you can use constant values and values from the process instance data.
- Target Process - is used to specify to what running process instance should this message be sent - Active process or Parent process
If you are defining this action on a Call activity node, you can send the message to the parent process using Target Process: Parent process.
Data to send
- Keys - are used when data is sent from the frontend via an action to validate the data (you can find more information in the User task configuration section)

Send update data example
To send the latest value from the process instance data found atapplication.client.firstName key, to the frontend app, you can do the following:
- Add a Send data to user interface.
- Set the Message Type to Default (this is default value for
data). - Add a Message with the data you want to send:
{ "name": "${application.client.firstName}" }
- Choose the Target Process.