You can configure interfaces for the processes for both generated and custom screens.

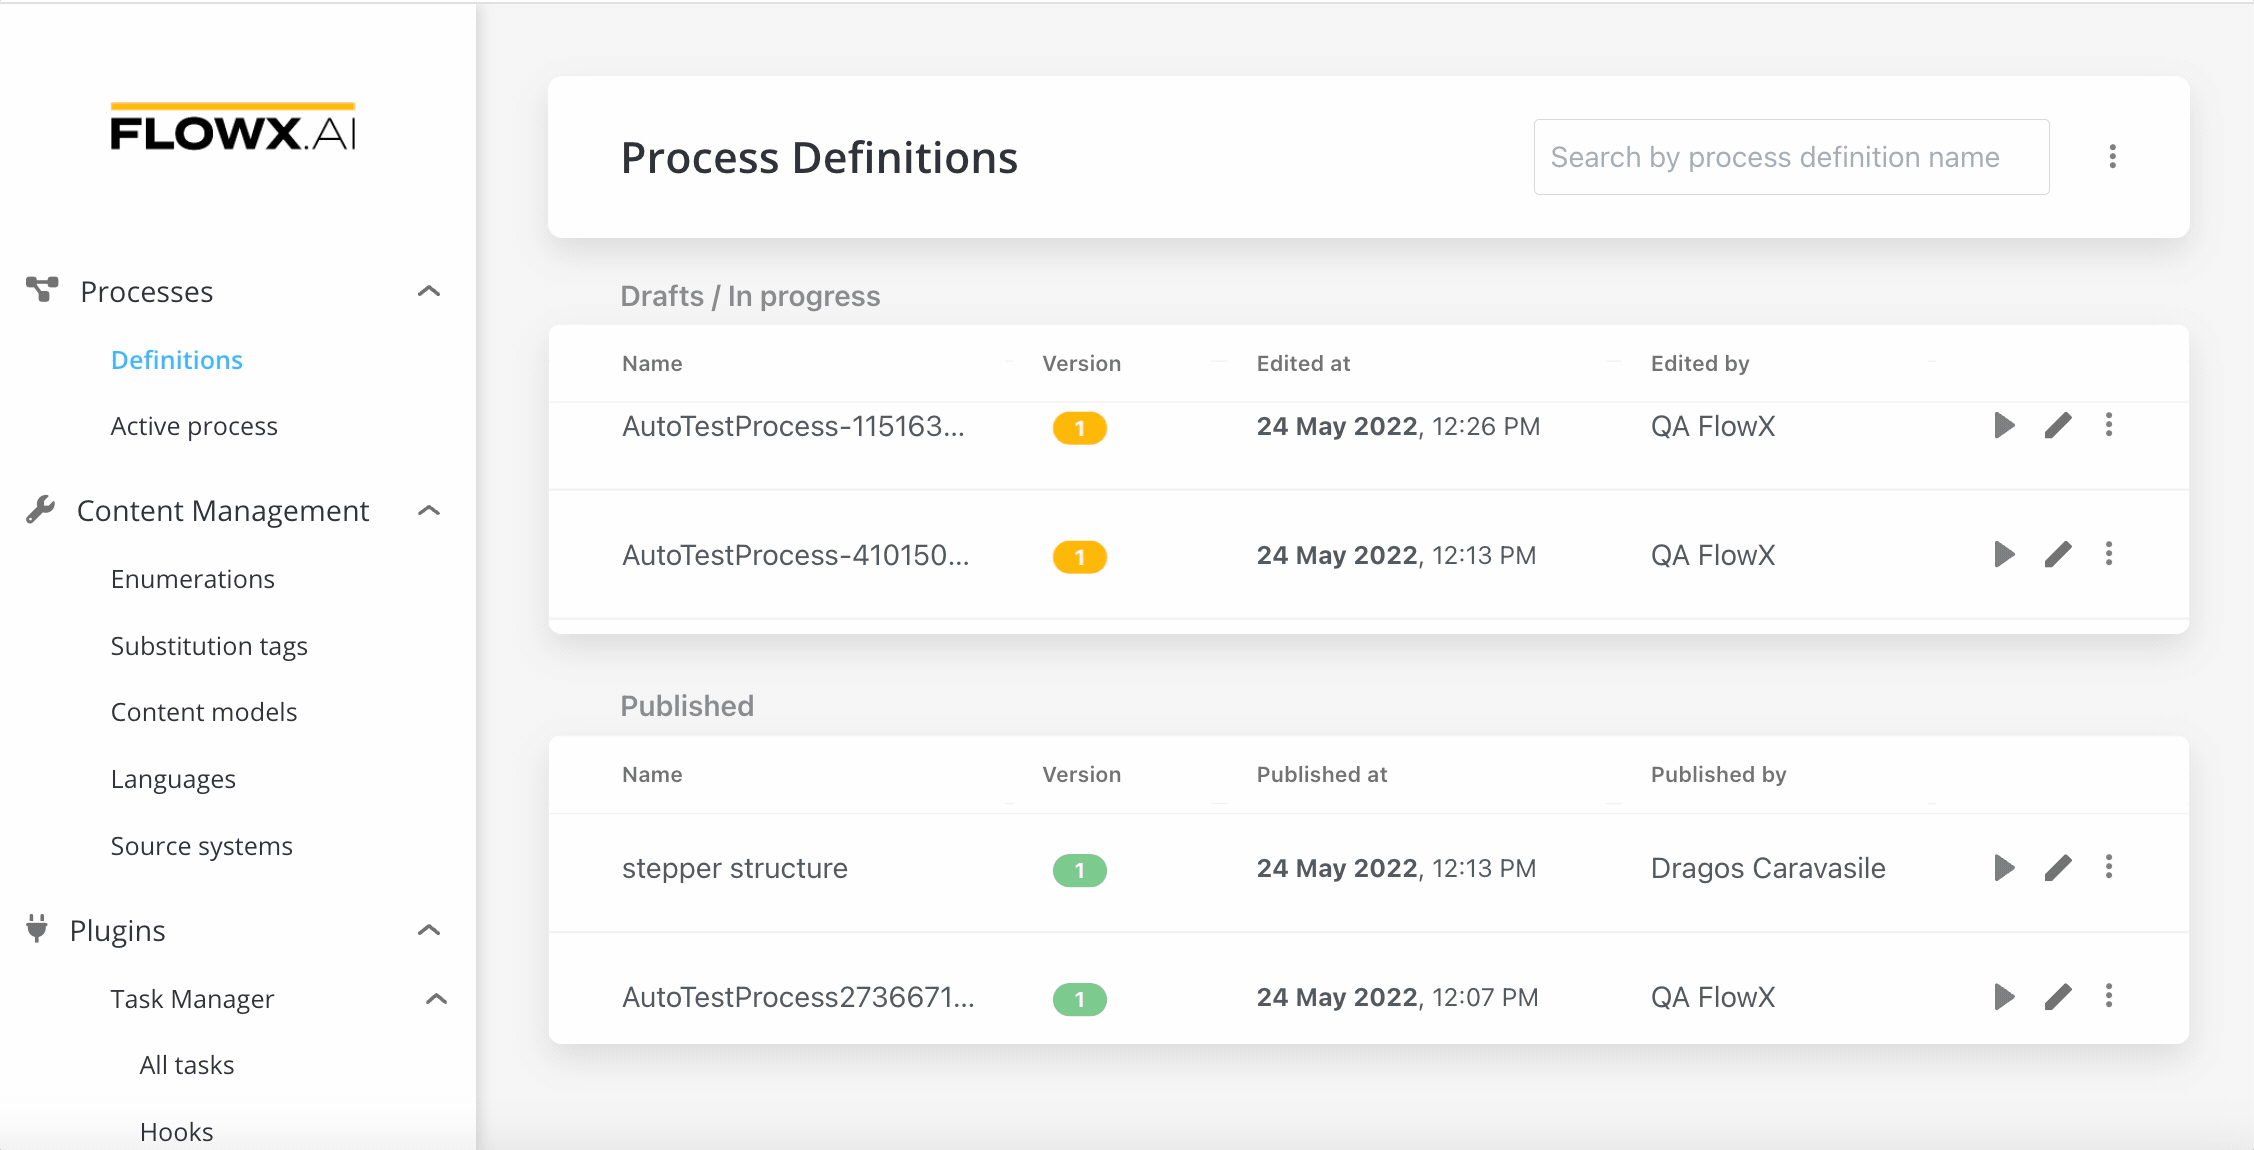
Creating a stepper structure

To create a stepper structure:
1

Go to FlowX Designer and go to the Definitions tab.
2

Click on the New process button, using the breadcrumbs from the top-right corner.
3

Add a start node.
4

Add a new milestone to describe all the user tasks.
5

Add a user task that will represent the first card of our step.
6

Add an end milestone for both the step and the stepper.
7

End your process with an end node.
Stepper Structure

Configuring the UI

  • All the UI elements are configured via the UI designer
  • Starting from our basic process, we need to set the start of the stepper template config
  • It is enough to open the drag and drop menu and add a Stepper template config for now
  • For the first step, it will be useful to add also a label
  • Clear the cache to test what we have until now

Testing the flow that we have

1

From the process definition, click the Start process button.
2

We will not pass any data to this process so an empty object {}.
3

Click Start Process and you will see the first step.
First step

Adding a card with one input

1

Go to your user task (this will represent the first card of your step).
2

Add a CARD (this is the UI card element).
3

Add a Form to it (Form elements group inputs together).
4

Add an input into the form:
  • Configure the key - you can use the key to retrieve the data form saved on that element
  • Configure a label
Adding input

Testing our first input

1

Start one more time the process that you just configured.
2

The input is displayed.
3

Test the input.
Test the input

Adding second input and a submit action

1

Go to your user task node and add a new input via Node UI designer.
2

Now go back to the process and add a new action rule:
  • first we need to configure the action - the action is called when the button is pressed - the action should be Manual (not automatic because it is triggered by a user)
  • we need to keep in mind the name of the action - saveDataFirstStep
3

Go back to the Node UI designer and add a button (we need to link the button to the action based on the name).
Second input Second input + action