Configuration Parameters are defined per application version, ensuring consistency across builds while allowing for environment-specific overrides. These parameters can be used across various components, such as business rules, UI elements, integration designer, and gateways.

Default and override values
- Default Value: Defined during parameter creation and included in the application build. It serves as the fallback value when no environment-specific override is set.
- Override Value: A value defined post-deployment for a specific environment. Overrides take precedence during runtime.
- Precedence Behavior (process variables override):
- If a process variable and a configuration parameter share the same name, the process variable’s value takes precedence during runtime.
- If the process variable is null or undefined, the configuration parameter’s value is used as a fallback.
- Process variables override configuration parameters unless the process variable is
nullor undefined, in which case the configuration parameter is used.
- Subprocess Behavior:
- When a value is passed to a subprocess, the subprocess uses the resolved value (process variable or configuration parameter) from the parent process.
- If a new value is defined within the subprocess, it is appended back to the parent process.
Exception in Business Rules:
In business rules, values are taken directly from the map of configuration parameters without applying the above fallback logic.
In business rules, values are taken directly from the map of configuration parameters without applying the above fallback logic.
Configuration Parameters Overrides
Types of configuration parameters
Configuration parameters are defined as key-value pairs and support the following types:Value
A static value directly used by the application. Suitable for settings that do not change across environments.-
Use Cases:
- Feature flags to toggle functionality (e.g., enabling/disabling insurance sales in a customer dashboard).
- Email addresses for notification recipients.
- Homebank redirect URLs for specific processes.
-
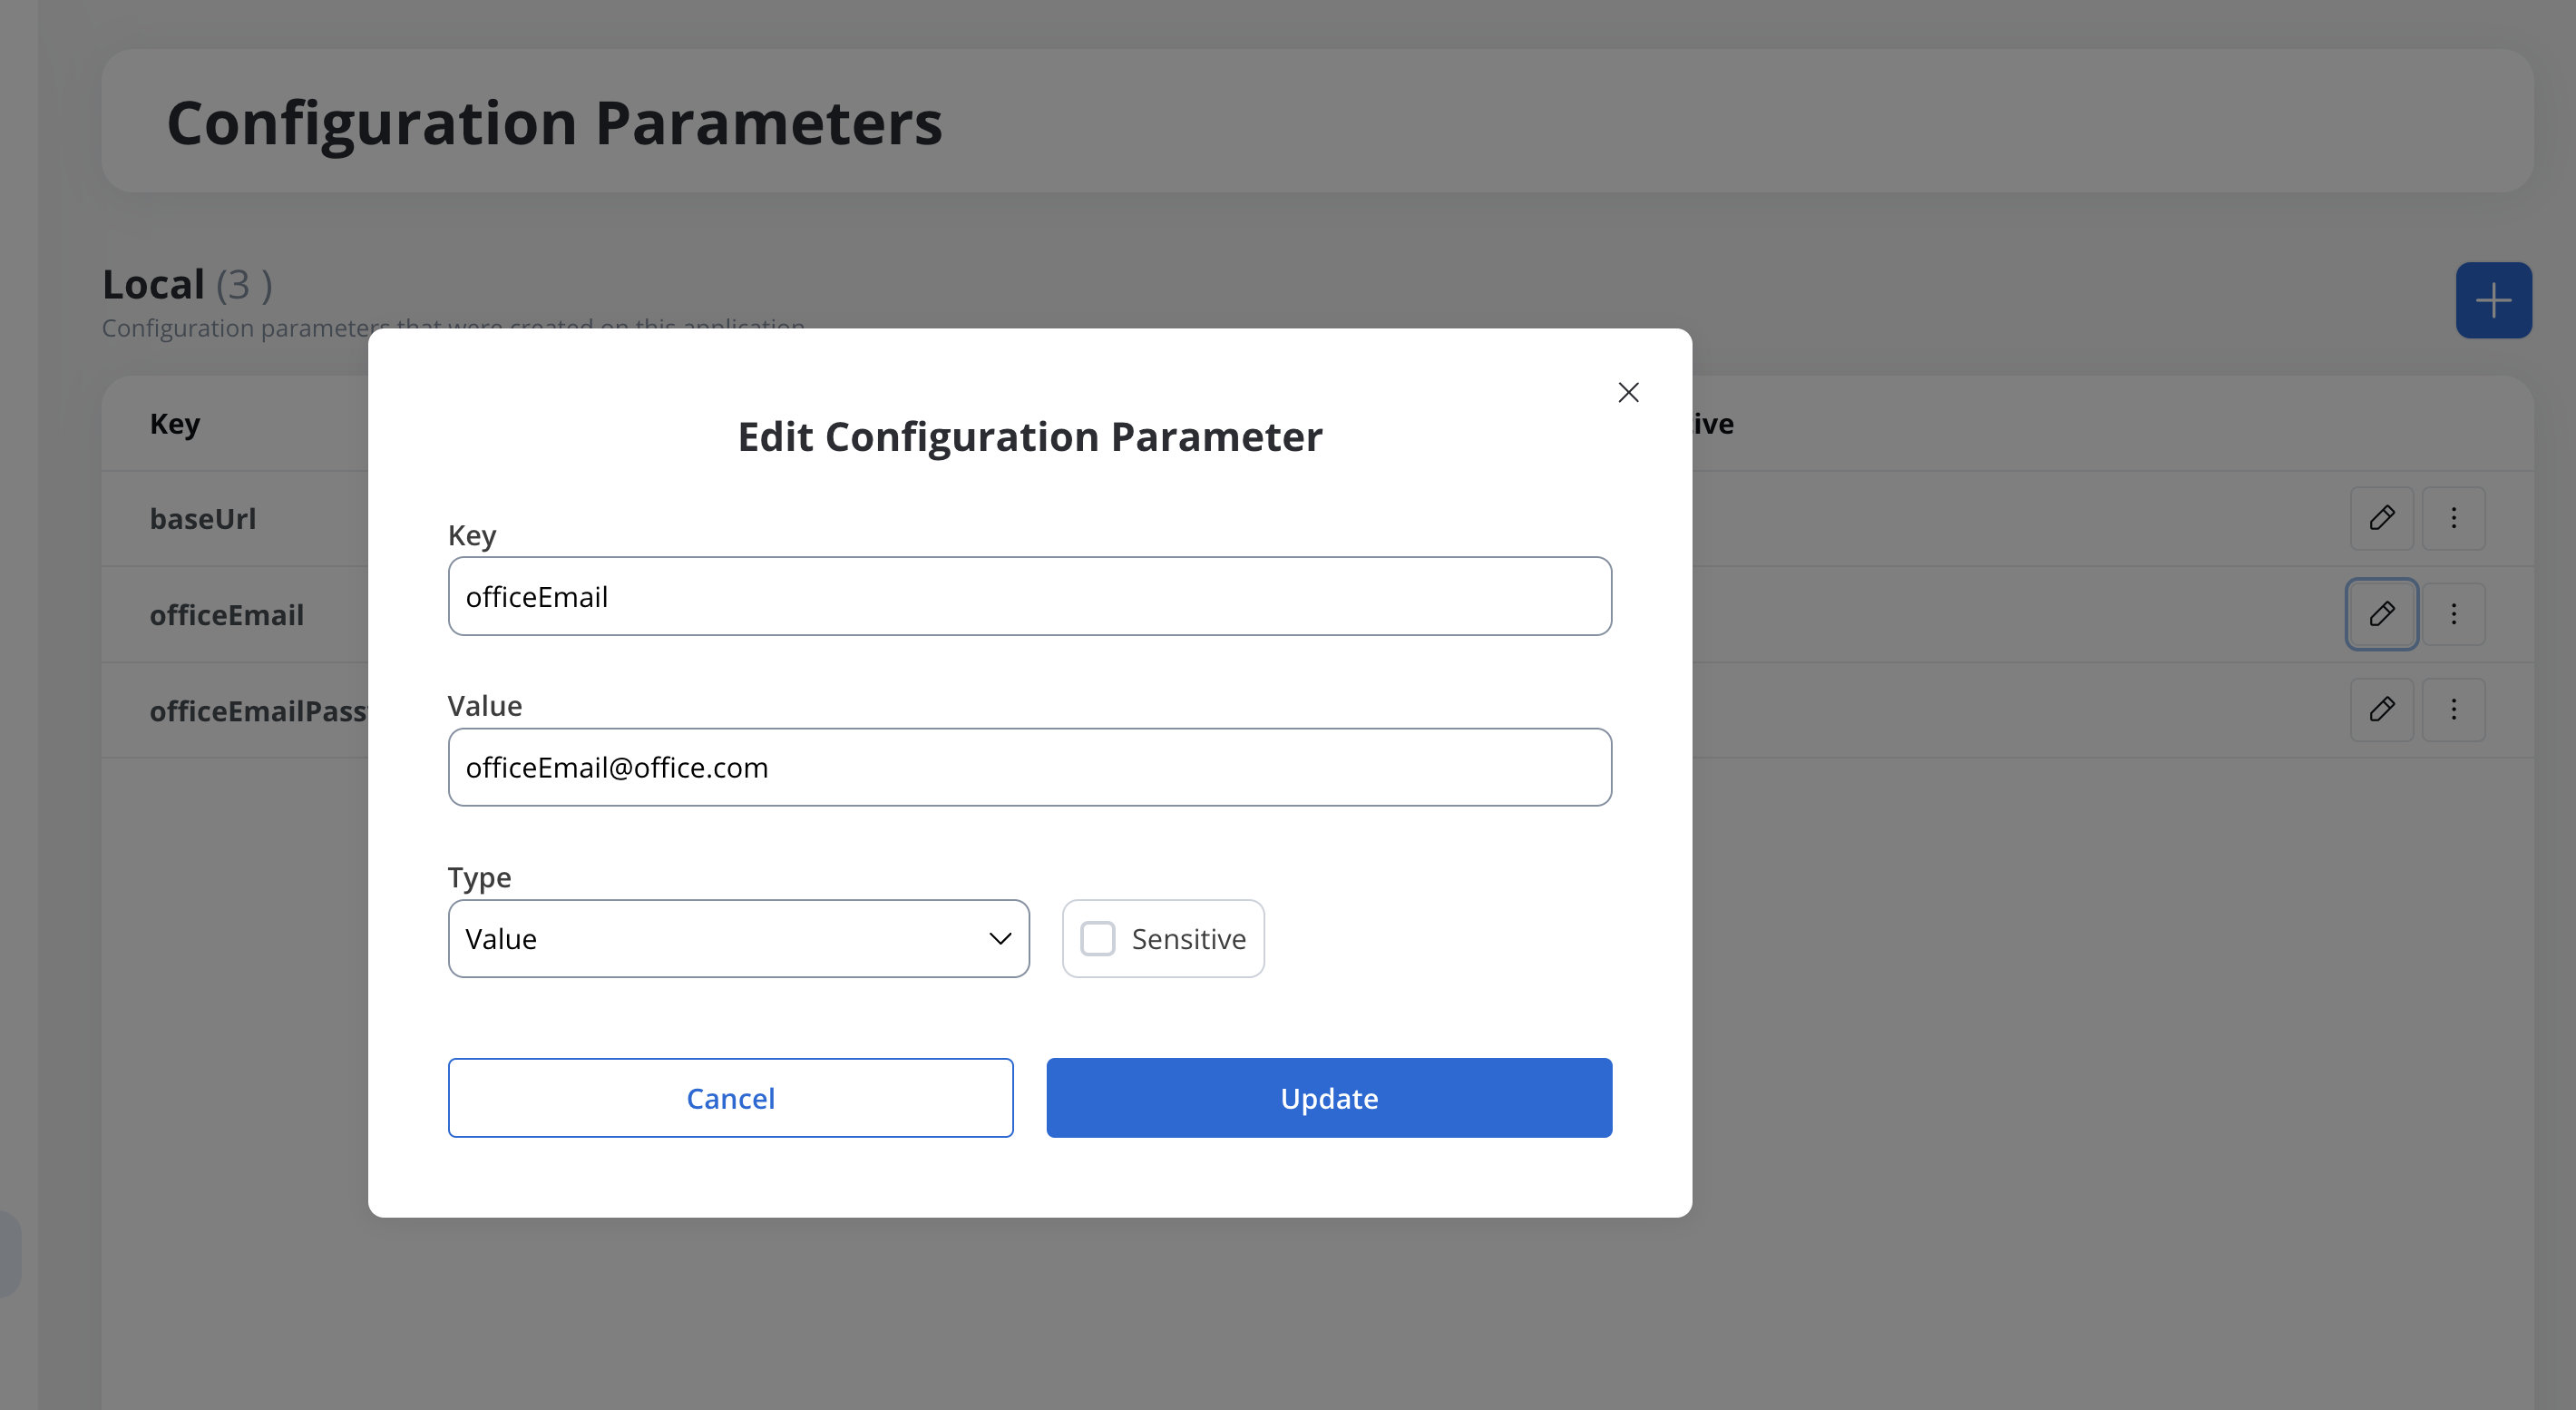
Example:
- Key:
officeEmail - Type:
value - Value:
[email protected]
- Key:

Environment variable
References an external variable set by the DevOps team. These variables are defined per environment and referenced using a name convention.-
Use Cases:
- Environment-specific API base URLs.
- Dynamic configuration of services or integrations.
-
Example:
- Key:
baseUrl - Type:
environment variable - Value:
BASE_URL(name convention pointing to an externally defined value)
- Key:
| Key | Type | Value | Description |
|---|---|---|---|
| baseUrl | environment variable | BASE_URL | A reference to the base URL configured externally by DevOps. |
| Environment | External Variable Name | Actual Value |
|---|---|---|
| Development | BASE_URL | https://dev.example.com/api |
| QA | BASE_URL | https://qa.example.com/api |
| Production | BASE_URL | https://api.example.com |
Secret environment variable
Used for sensitive data like passwords, API keys, or credentials. These values are securely managed by DevOps and referenced using a name convention.-
Use Cases:
- Passwords or tokens for integrations.
- Secure configuration of external services in the integration designer.
-
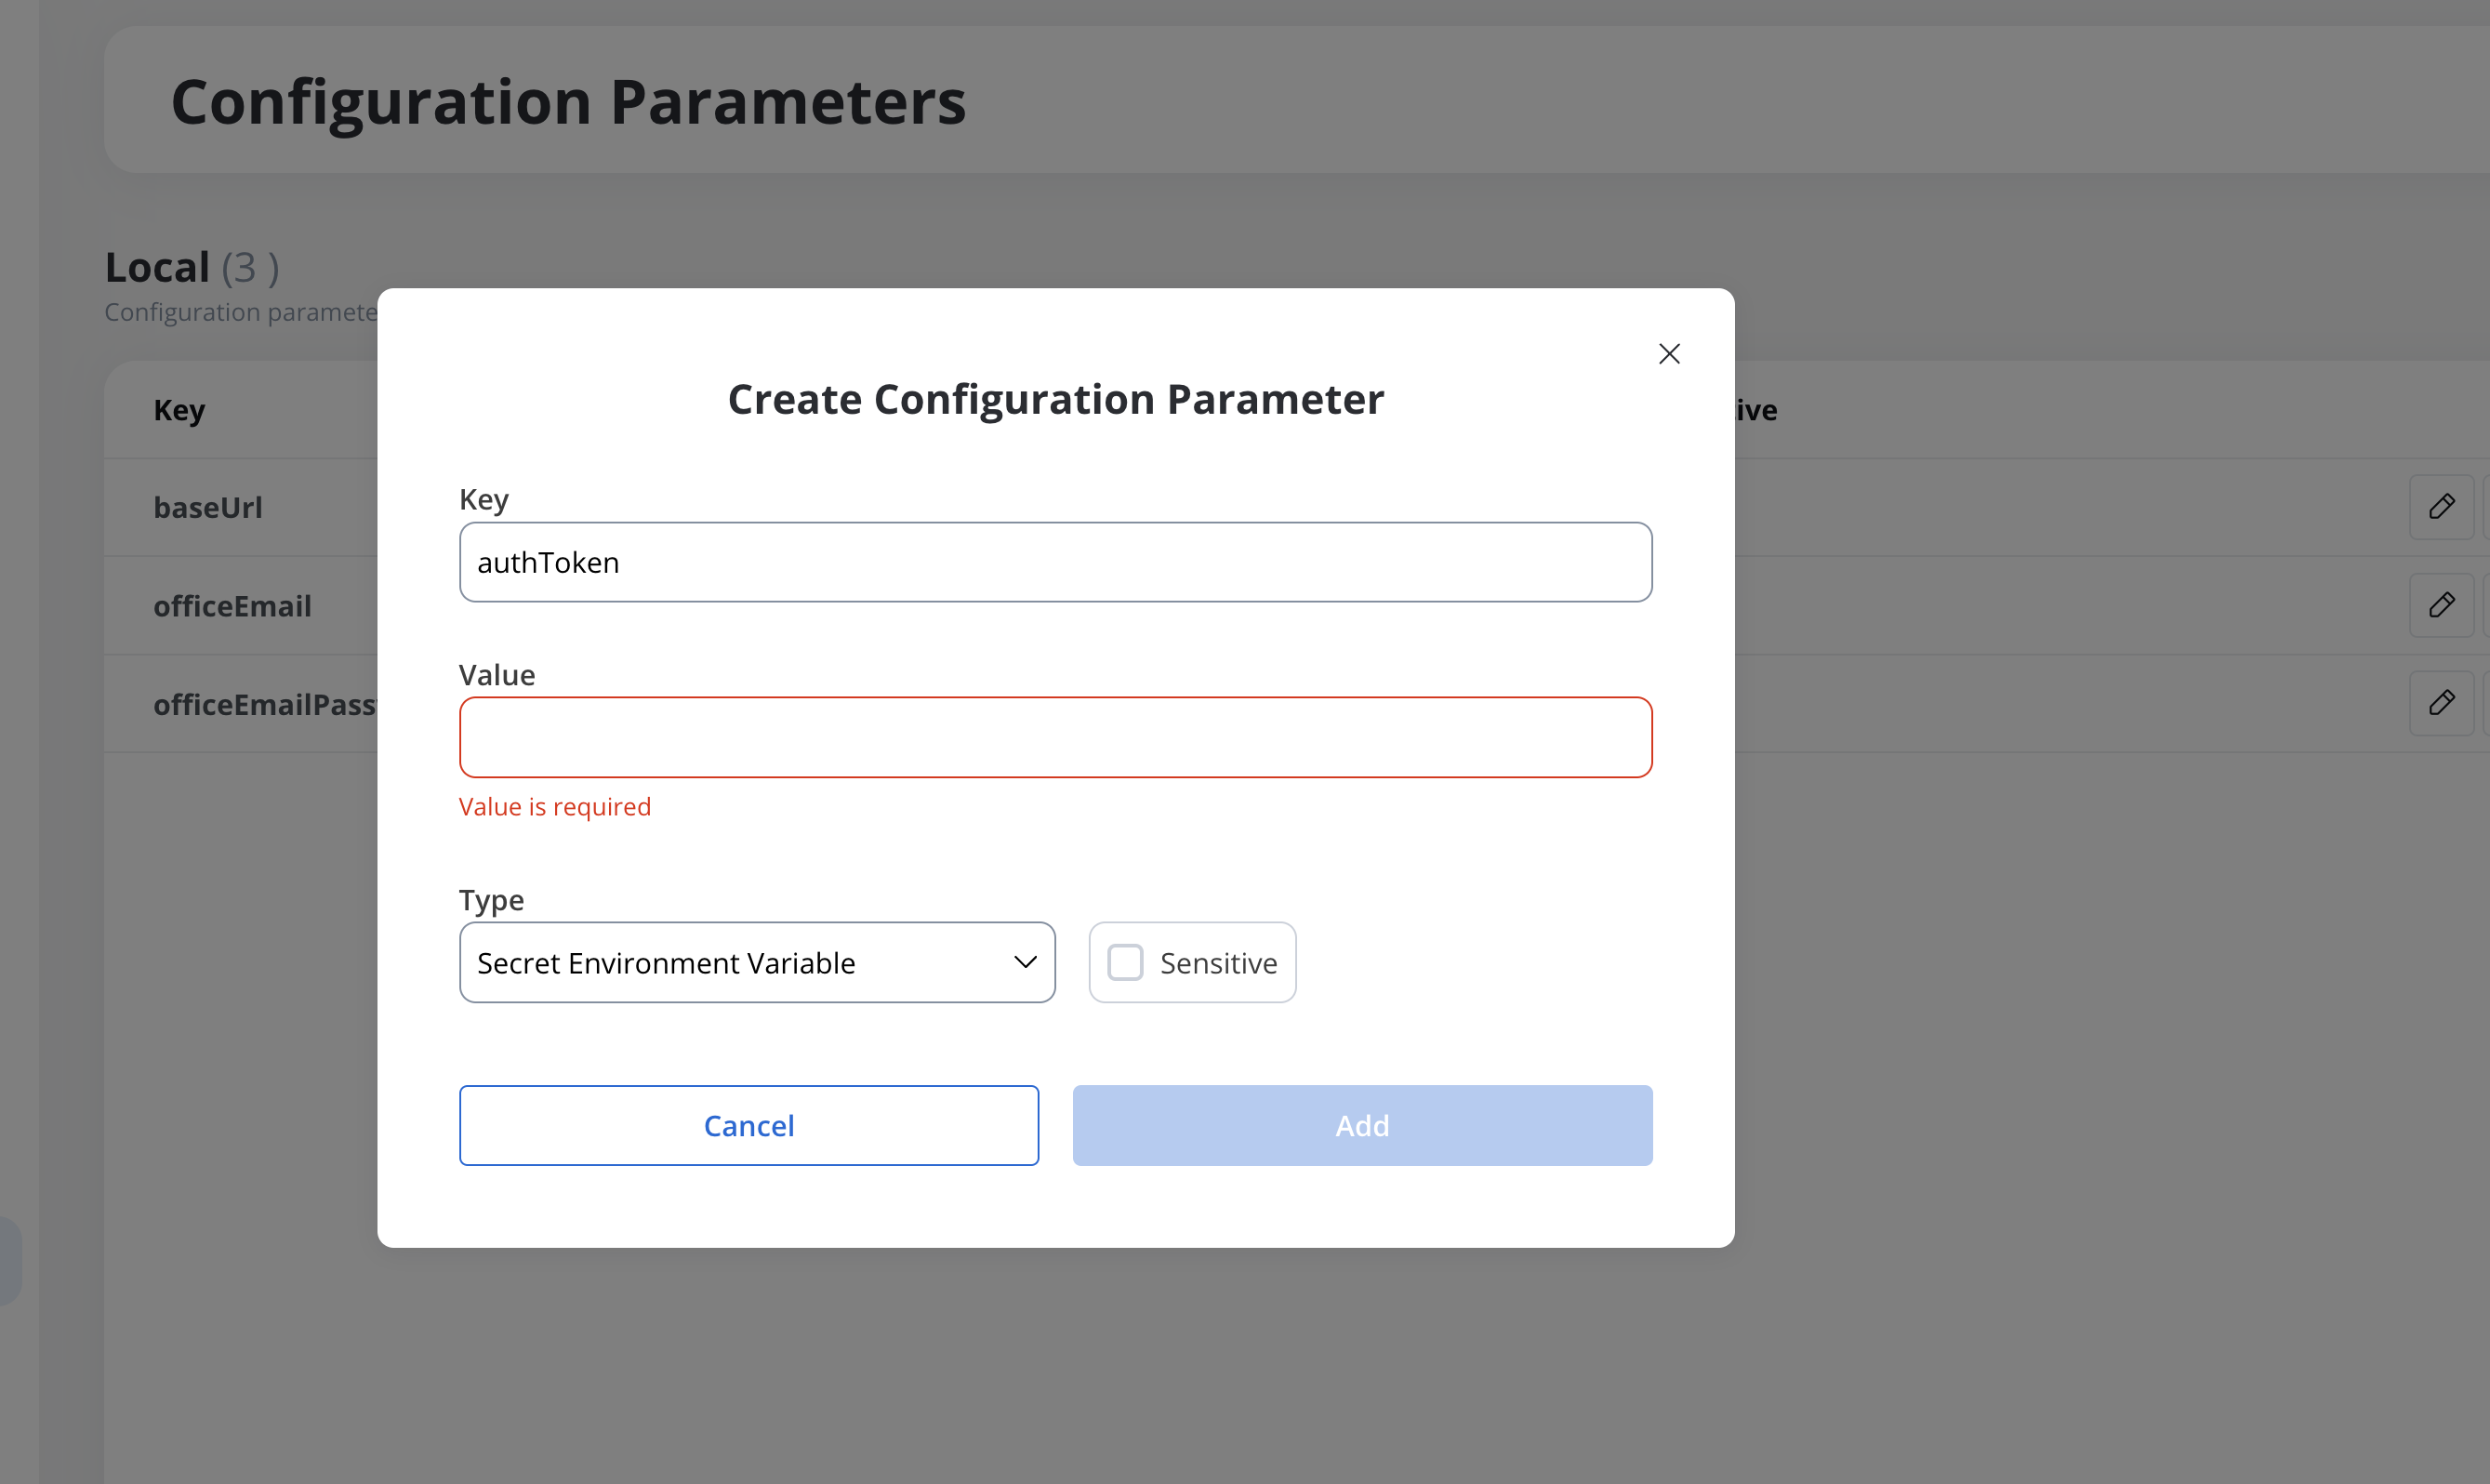
Example:
- Key:
dbPassword - Type:
secret environment variable - Value:
DB_PASSWORD
- Key:
Use cases for configuration parameters
Configuration parameters simplify the management of environment-specific or dynamic settings across multiple application components:- Business Rules:
- Define dynamic logic based on parameters such as feature toggles or environment-specific conditions.
- UI Elements:
- Configure content dynamically based on the environment (e.g., URLs for redirects, conditional features).
- Note: Ensure variables referenced in UI components (e.g., for dynamic content or URLs) are uniquely named to avoid unexpected overrides by process variables.
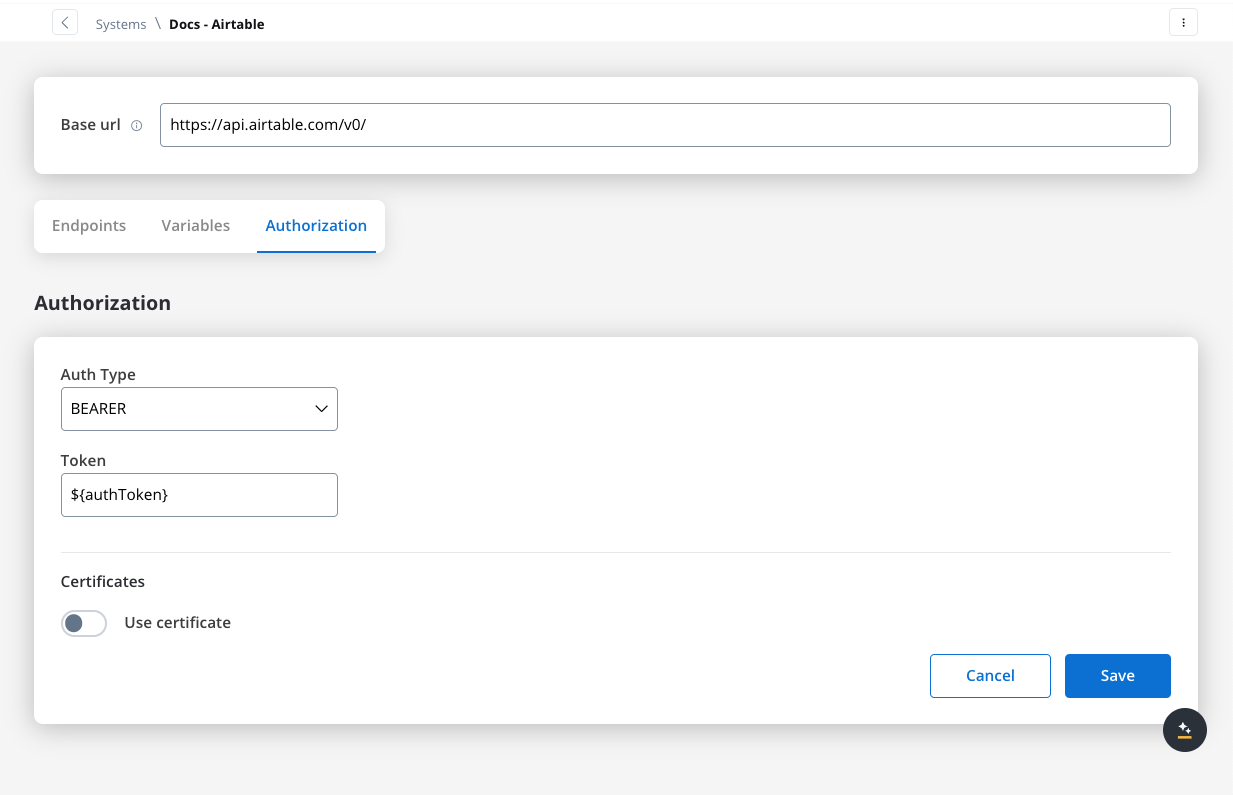
- Integration Designer:
- Reference the token parameter.


- Gateways:
- Dynamically manage routing and decision-making logic using environment-specific parameters.
Adding a configuration parameter
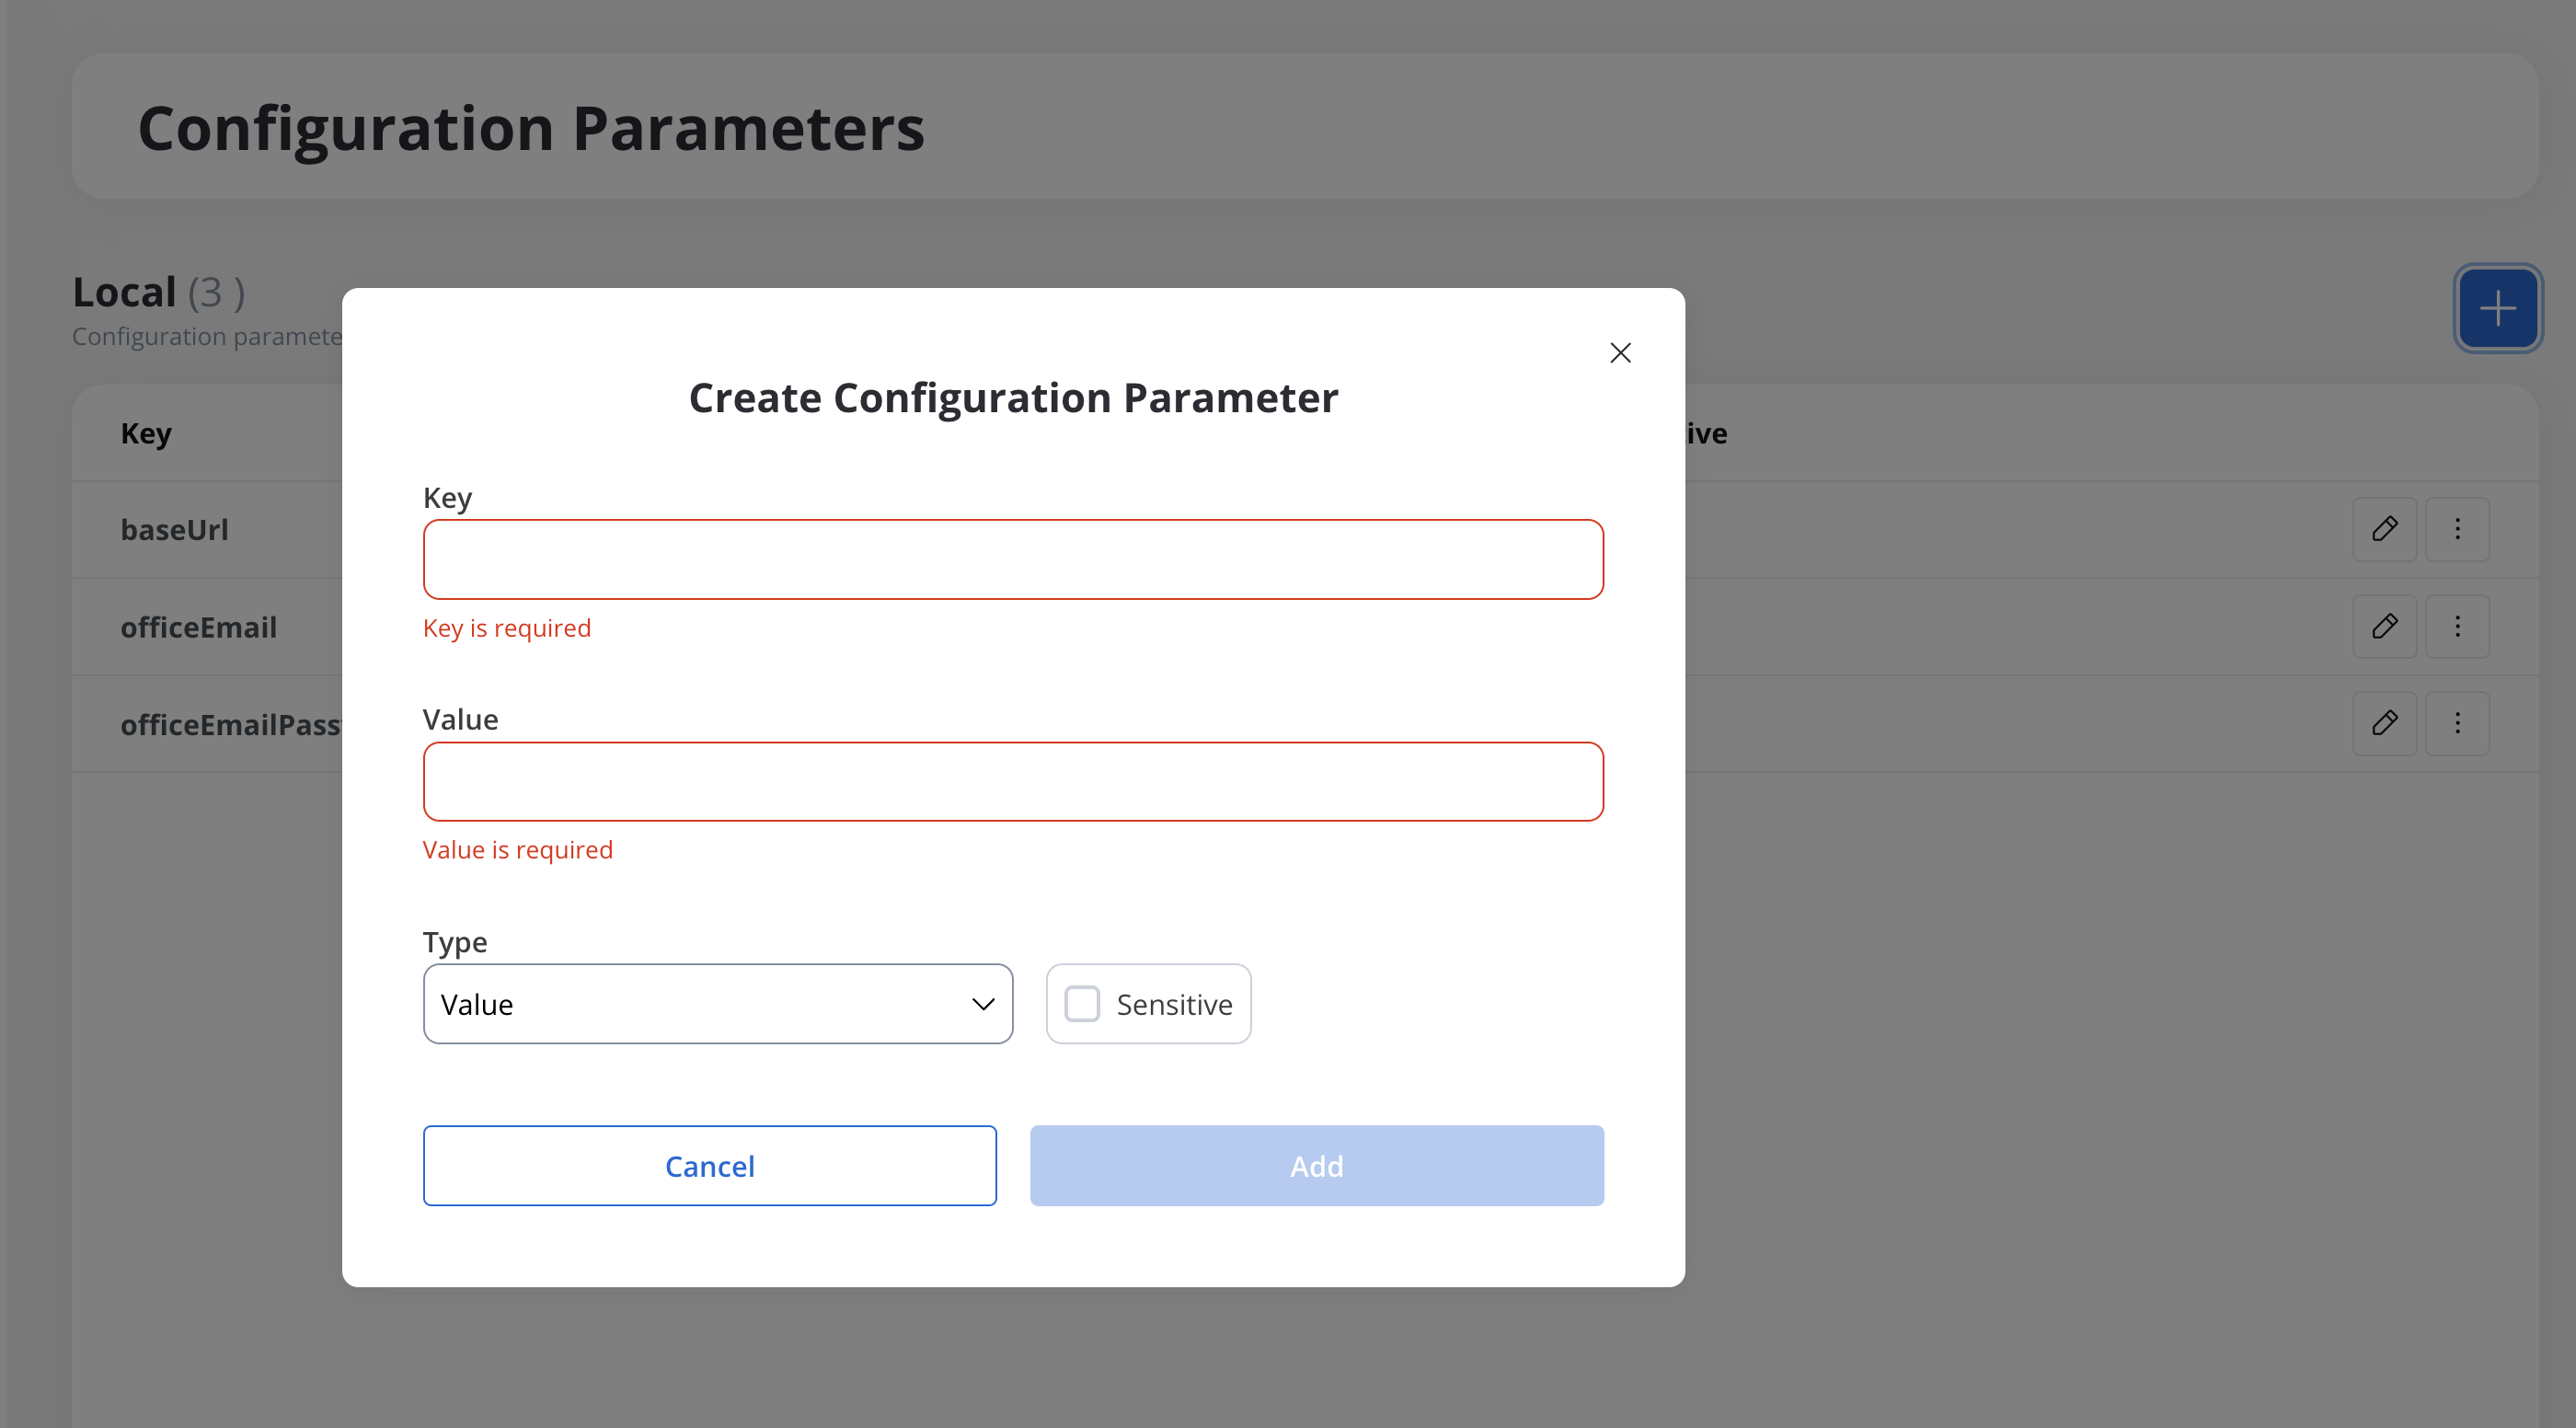
To add a new configuration parameter:- Navigate to Your Application → Configuration Parameters.
- Click New Parameter and provide the following:
- Key: Name of the parameter.
- Type: Select
value,environment variable, orsecret environment variable. - Value:
- For
value: Enter the static value. - For
environment variableorsecret environment variable: Enter the agreed name convention.
- For
- Click Save to include the parameter in the application build.

Technical notes and best practices
Security
- Sensitive Values (ENV_SECRET):
- Store and manage securely.
- Do not display in the frontend or expose via public APIs.
- Avoid logging sensitive information.
Environment-specific updates
- Environment variable updates (
ENV/ENV_SECRET) are managed by DevOps. - Updates may require service restarts unless a caching or real-time mechanism (e.g., change streams) is implemented.
Reserved keys
- Certain keys are reserved for system use (e.g.,
processInstanceId). Avoid using reserved keys for custom configurations.
Variable naming
- Avoid Shared Names:
- Do not use the same name for configuration parameters and process variables to prevent unintentional overrides.
- Fallback Logic Awareness:
- Understand that
nullorundefinedprocess variables will default to the corresponding configuration parameter’s value during runtime.
- Understand that
- Subprocess Behavior:
- Variables in subprocesses are appended back to parent processes with their current state. Plan naming conventions and data flows accordingly.

