Prerequisites
- Node.js min version 20 - Download Node.js
- Angular CLI version 19. Install Angular CLI globally using the following command:
Angular project requirements
Your app MUST be created using the NG app from the @angular/cli~19 package. It also MUST use SCSS for styling.To install the npm libraries provided by FLOWX you will need to obtain access to the private FLOWX Nexus registry. Please consult with your project DevOps.
The library uses Angular version @angular~19, npm v10.1.0 and node v20.9.0.
If you are using an older version of Angular (for example, v16), please consult the following link for update instructions:Update Angular from v16.0 to v19.0
Installing the library
Use the following command to install the renderer library and its required dependencies:angular.json:
- in order to successfully link the pdf viewer, add the following declaration in the assets property:
Initial setup
Once installed,FlxProcessModule will be imported in the AppModule as FlxProcessModule.withConfig({}).
You MUST also import the dependencies of FlxProcessModule: HttpClientModule from @angular/common/http.
Theming
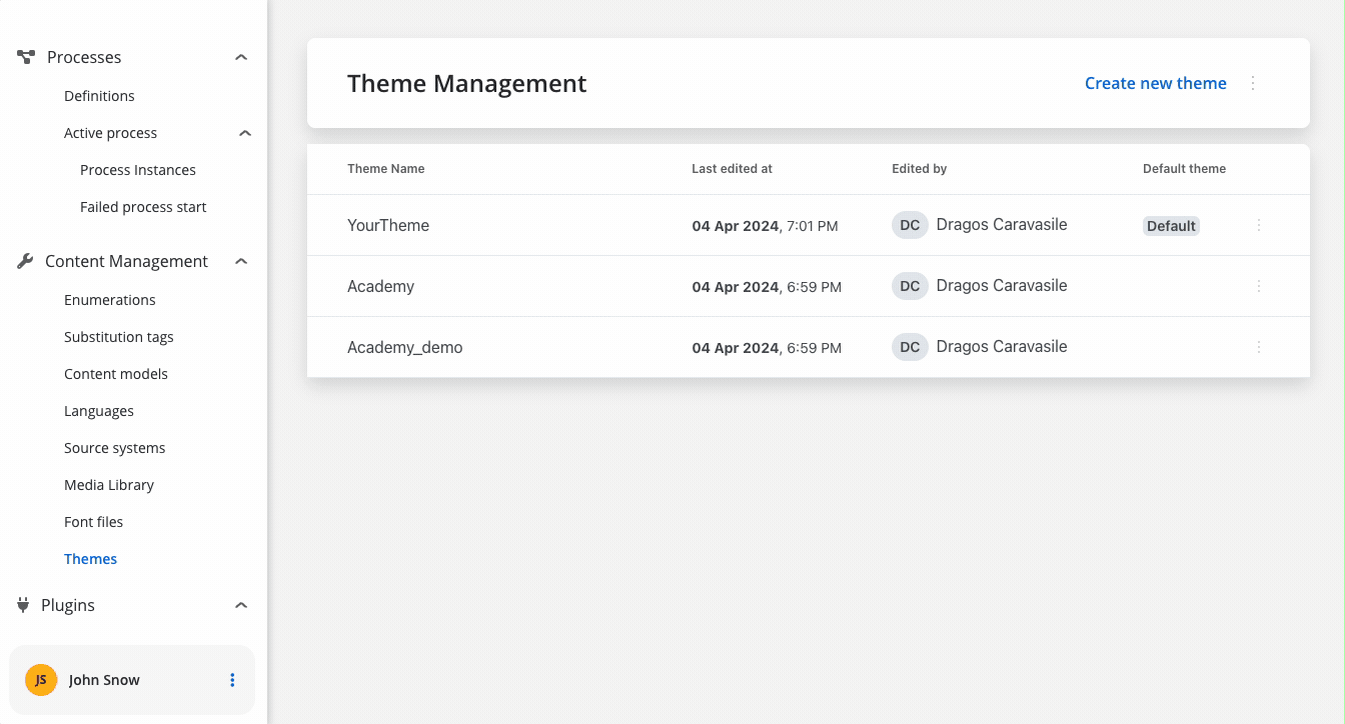
Component theming is done through the@flowx/ui-theme library. The theme id is a required input for the renderer SDK component and is used to fetch the theme configuration. The id can be obtained from the admin panel in the themes section.
Authorization
Every request from the FlowX renderer SDK will be made using the HttpClientModule of the client app, which means those requests will go through every interceptor you define here. This is most important to know when building the auth method as it will be the job of the client app to intercept and decorate the requests with the necessary auth info (eg.
Authorziation: Bearer ...).It’s the responsibility of the client app to implement the authorization flow (using the OpenID Connect standard). The renderer SDK will expect the authToken to be passed to the
flx-process-renderer as an input.withConfig() call is required in the application module where the process will be rendered. The withConfig() method accepts a config argument where you can pass extra config info, register a custom component, service, or custom validators.
Custom components will be referenced by name when creating the template config for a user task.
Custom validators will be referenced by name (currentOrLastYear) in the template config panel in the validators section of each generated form field.
<flx-process-renderer></flx-process-renderer> component. A list of accepted inputs is found below:
| Name | Description | Type | Mandatory | Default value | Example |
|---|---|---|---|---|---|
| apiUrl | Your base url | string | true | - | https://yourDomain.dev |
| processApiPath | Process subpath | string | true | - | onboarding |
| authToken | Authorization token | string | true | - | ‘eyJhbGciOiJSUzI1NiIsIn…‘ |
| themeId | Theme id used to style the process. Can be obtained from the themes section in the admin | string | true | - | ‘123-456-789’ |
| processName | Identifies a process | string | true | - | client_identification |
| processStartData | Data required to start the process | json | true | - | { "firstName": "John", "lastName": "Smith"} |
| debugLogs | When set to true this will print WS messages in the console | boolean | false | false | - |
| language | Language used to localize the application. | string | false | ro-RO | - |
| keepState | By default all process data is reset when the process renderer component gets destroyed. Setting this to true will keep process data even if the viewport gets destroyed | boolean | false | false | - |
| isDraft | When true allows starting a process in draft state. *Note that isDraft = true requires that processName be the id (number) of the process and NOT the name. | boolean | false | false | - |
| legacyHttpVersion | Set this to true only for HTTP versions < 2 in order for SSE to work properly. Can be omitted otherwise. | boolean | false | false | - |
| projectInfo | Information about the project that contains the process that is being run. | object | true | - | { projectId: '1234-5678-9012' } |
| locale | Locale used to localize the application. | string | false | en-US | ’en-US’ |
| cache | Caching of static resources | boolean | false | true | - |
Data and actions
Custom components will be hydrated with data through the $data input observable which must be defined in the custom component class.data -> actionsFn key.
Action names are configurable via the process editor.
Custom component validation
Custom components can validate their own status. We can inject theFLX_VALIDATOR_SERVICE service and use it to validate the component. Whe service exposes the following properties:
validate(isValid: boolean)- used to validate the componentsaveData(data: any)- used to save datavalidated$- used to monitor external submission from the process
Custom Interceptors
- Starting from the FlowX SDKs version 4.6, the Angular
HttpClientModuleis no longer use internally to make HTTP requests. Thus, we have a new mechanism that allows you to create custom interceptors for handling HTTP requests.
Request Interceptors
- Here is an example that illustrates how to create an interceptor that adds a custom header to all outgoing requests:
Response Interceptors
- Here is an example that illustrates how to create an interceptor that shows a message when a response errors out:
Interceptors that use Dependency injection
- If you need to use a service in your interceptor, you can use provider factories coupled with the
depsproperty to inject the service into the interceptor:
Interacting with the process
Data from the process is communicated via Server Send Event protocol under the following keys:| Name | Description | Example | |
|---|---|---|---|
| Data | data updates for process model bound to default/custom components | ||
| ProcessMetadata | updates about process metadata, ex: progress update, data about how to render components | ||
| RunAction | instructs the UI to perform the given action |
Task management component
Theflx-task-manager component is available in the FlxTaskManagementComponent. To use it, import the required module in your Angular project:
Usage
Include the component in your template:| Name | Description | Type | Mandatory | Example |
|---|---|---|---|---|
apiUrl | Endpoint where the tasks are available | string | ✅ | https://yourDomain.dev/tasks |
authToken | Authorization token | string | ✅ | (retrieved from local storage) |
appId | The application ID | string | ✅ | (retrieved dynamically) |
viewDefinitionId | The view configuration identifier | string | ✅ | (retrieved dynamically) |
themeId | The theme identifier | string | ❌ | (retrieved dynamically) |
language | The selected language | string | ❌ | (retrieved dynamically) |
locale | The localization setting | string | ❌ | (retrieved dynamically) |
buildId | The current build identifier | string | ❌ | (retrieved dynamically) |
staticAssetsPath | Path for static resources | string | ❌ | (set via environment) |