> ## Documentation Index
> Fetch the complete documentation index at: https://docs.flowx.ai/llms.txt
> Use this file to discover all available pages before exploring further.
# Proxy connections
> Create and manage reusable proxy connections to route data source traffic through HTTP or HTTPS proxy servers.
## Overview
Proxy connections let you route data source traffic through an intermediary proxy server. Instead of configuring proxy settings on each data source individually, you create reusable proxy connection resources in Integration Designer and attach them to one or more data sources.
This is useful in environments where outbound traffic must pass through a corporate proxy, or when you need to route API calls through a specific gateway for security or compliance reasons.
***
## Key features
Support for both HTTP and HTTPS proxy protocols
Optional user and password authentication for proxy servers that require credentials
Validate proxy configuration before saving with the built-in test function
Create a proxy once and attach it to multiple RESTful System data sources
***
## Managing proxy connections
Proxy connections are managed from the **Proxy Connections** section in Integration Designer.
To access the proxy list:
Open **FlowX Designer** and navigate to your project.
In the left sidebar, expand **Integrations**.
Click **Proxy Connections**.
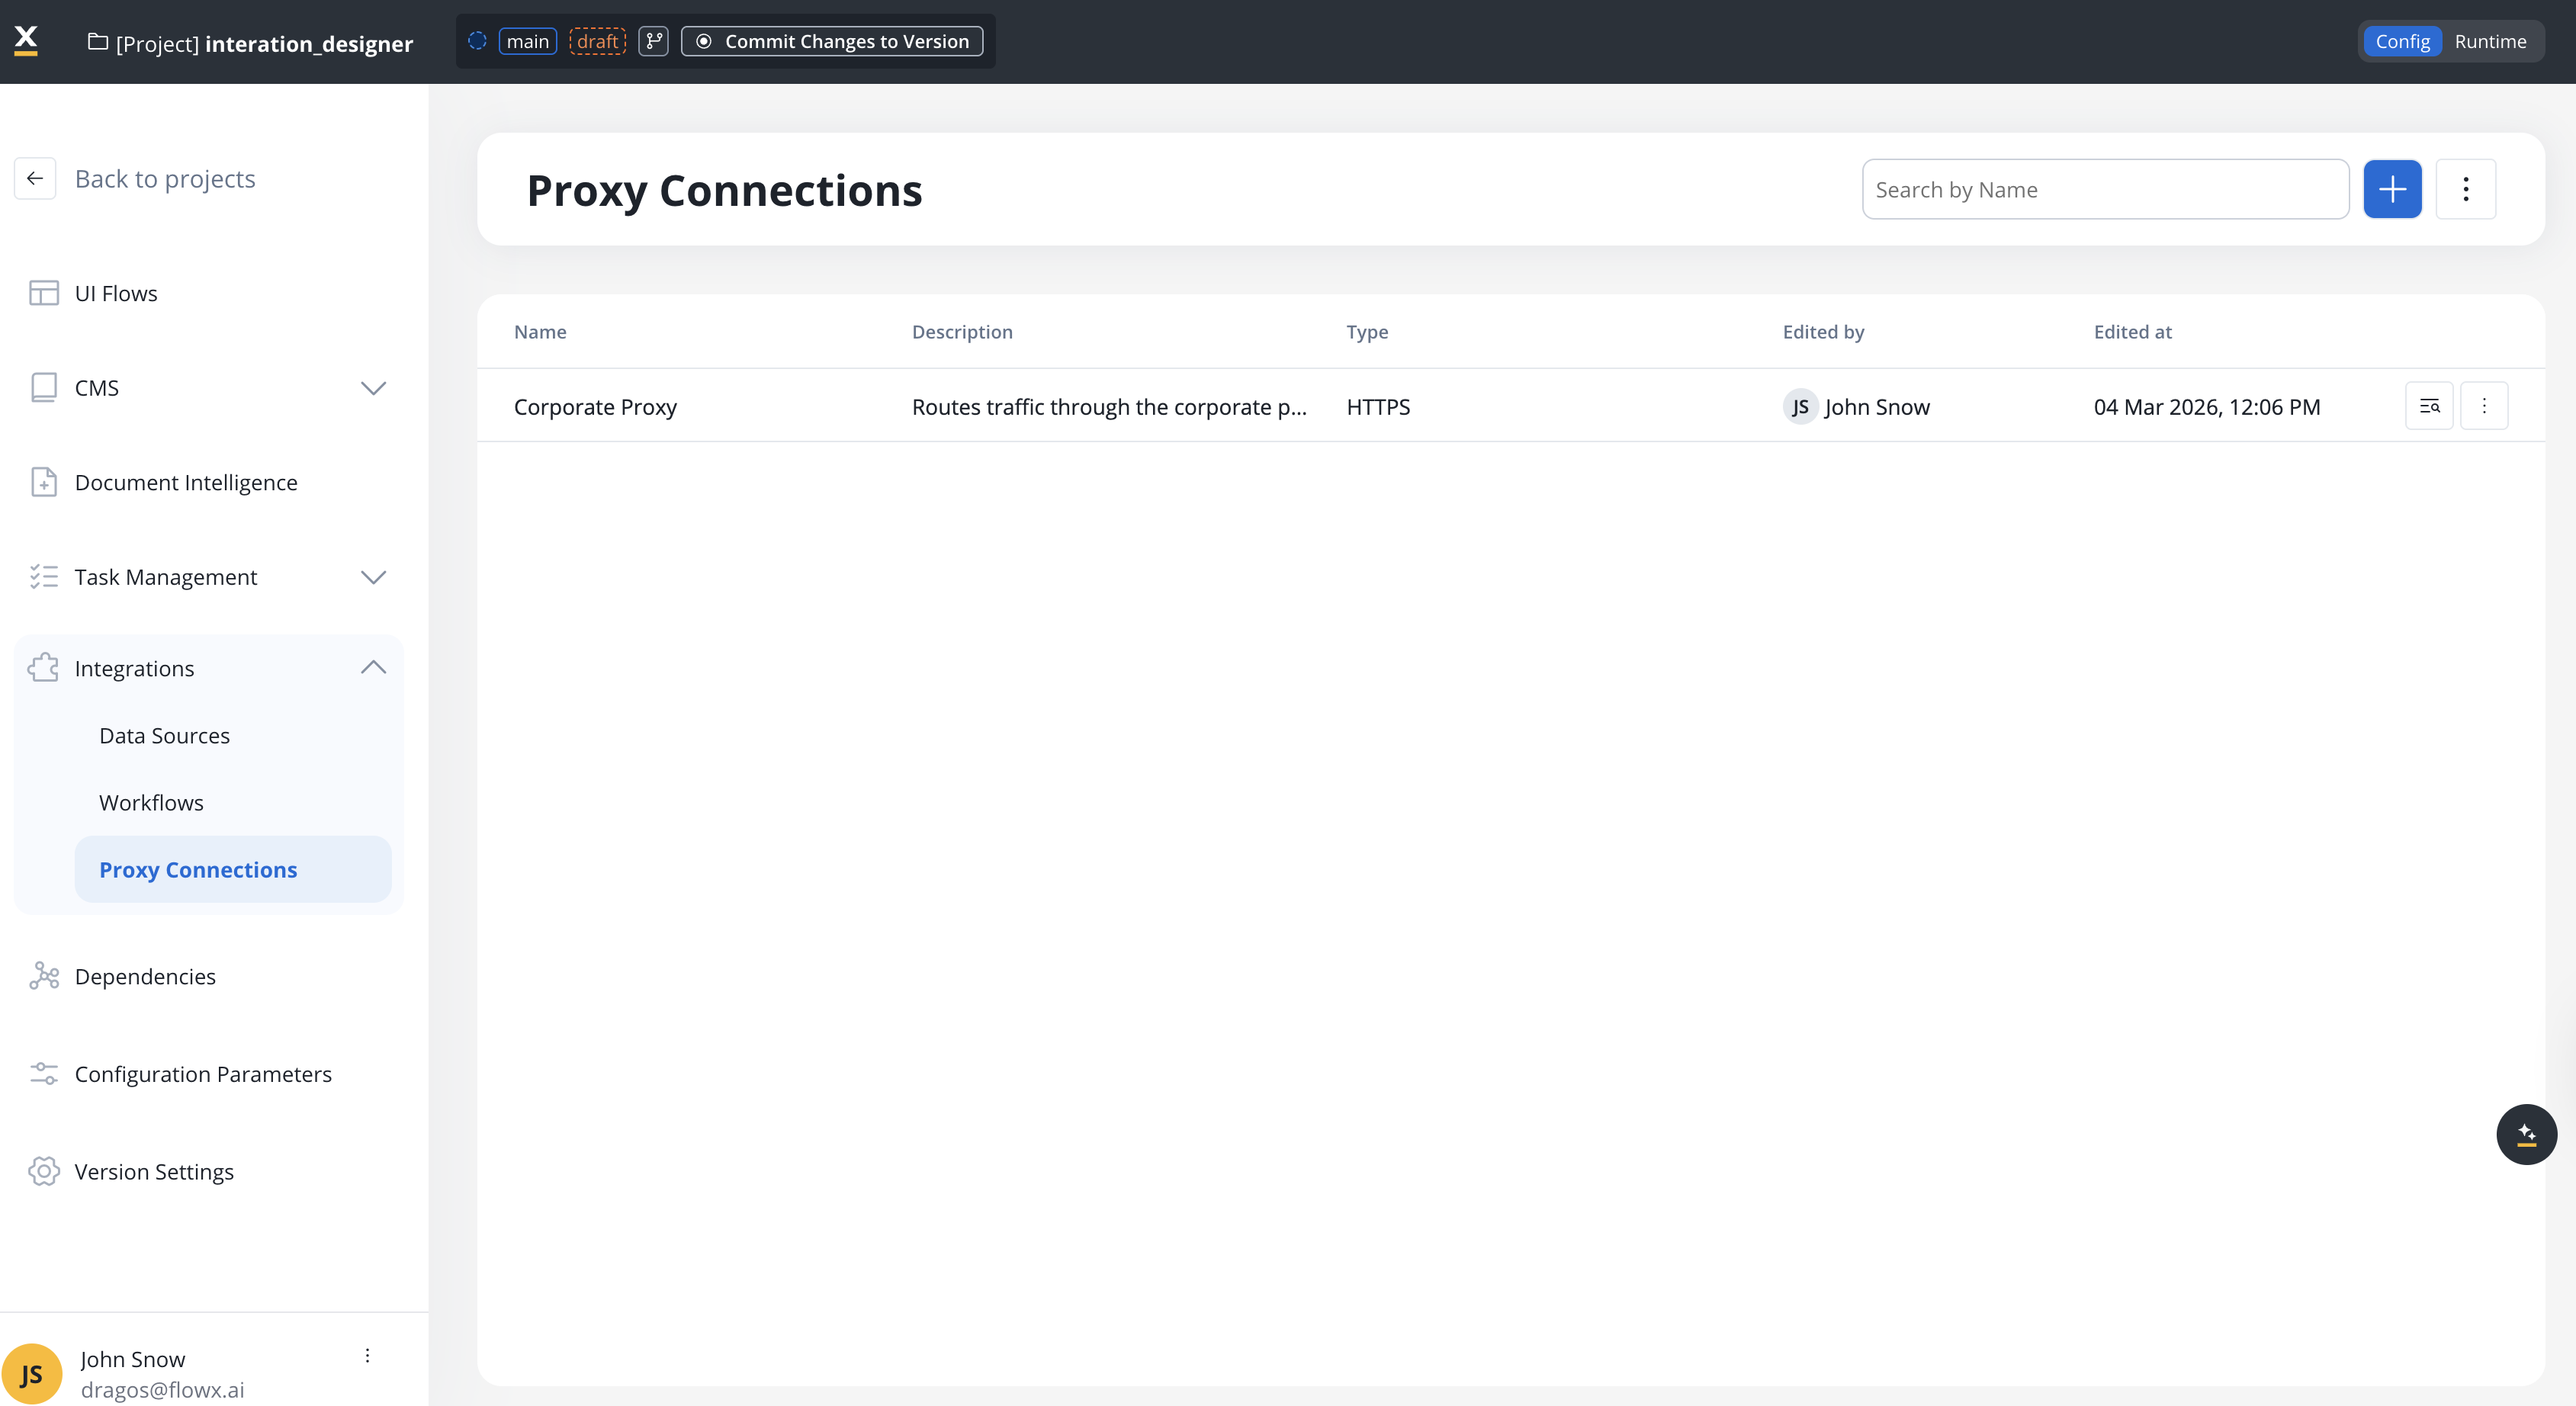
The list displays all configured proxy connections with the following information:
| Column | Description |
| --------------- | ------------------------------------------- |
| **Name** | The proxy connection name |
| **Description** | Optional description of the proxy's purpose |
| **Type** | HTTP or HTTPS |
| **Edited by** | User who last modified the proxy |
| **Edited at** | Date and time of last modification |
***
## Adding a proxy connection
From the **Proxy Connections** list, click the **+** button at the top of the page.
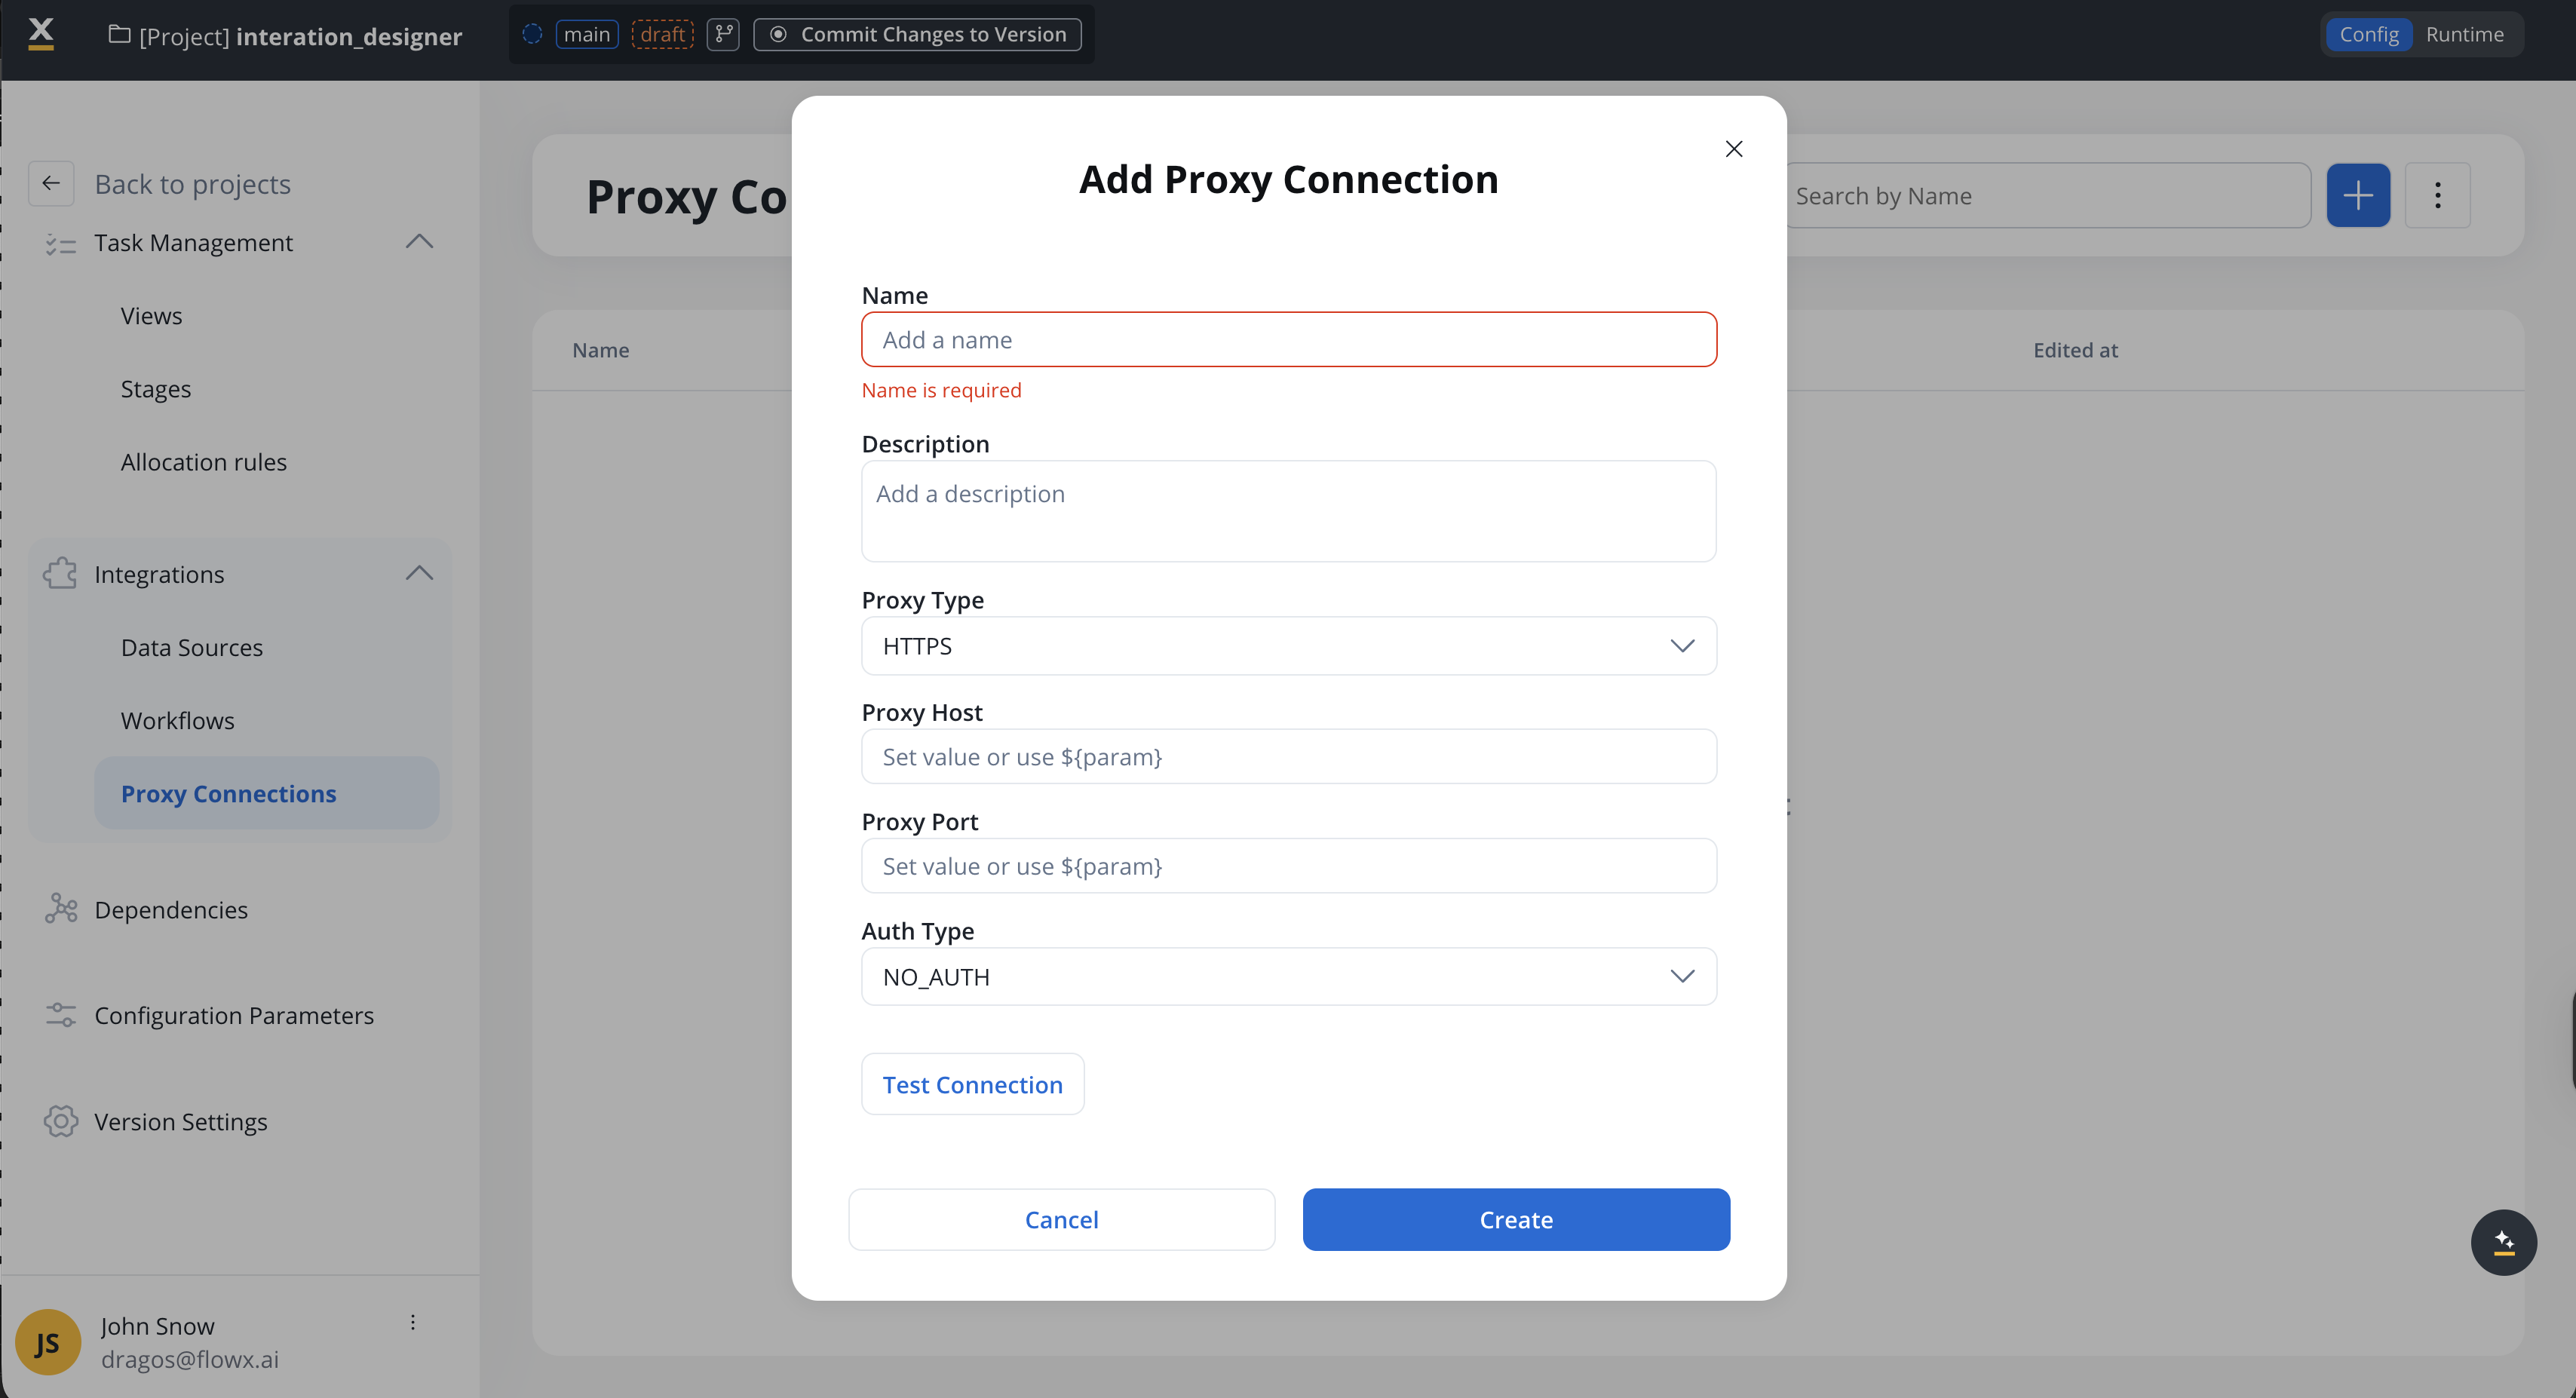
Fill in the following fields:
| Field | Required | Description |
| --------------- | -------- | ------------------------------------------------------------------------------------------ |
| **Name** | Yes | A unique name for the proxy connection |
| **Description** | No | Purpose or context for this proxy |
| **Proxy Type** | Yes | Select **HTTP** or **HTTPS** |
| **Proxy Host** | Yes | The proxy server hostname or IP address. Supports `${param}` for configuration parameters. |
| **Proxy Port** | Yes | The proxy server port number. Supports `${param}` for configuration parameters. |
Select an **Auth Type** from the dropdown:
No authentication required. The proxy accepts connections without credentials.
Username and password authentication for the proxy server.
**Required fields:**
The user for proxy authentication.
The password for proxy authentication. Stored securely.
Click **Test Connection** to validate the configuration. The system attempts to connect through the proxy and reports success or failure.
If the test succeeds, the proxy is ready to use. If it fails, verify the host, port, and credentials.
Click **Create** to save the proxy connection. It is now available for use with data sources.
***
## Using proxies with data sources
Proxy connections can be attached to **RESTful System** data sources. When a proxy is attached, all API calls made through that data source are routed through the proxy server.
### Attaching a proxy to a data source
Navigate to the data source configuration in Integration Designer. This works for both new and existing RESTful System data sources.
Toggle **Connect through Proxy** to **ON**. A new dropdown field appears.
Choose a proxy from the **Select Proxy Connection** dropdown. The list shows all available proxy connections in the current project.
If no proxies exist, the dropdown shows a **Create** option that takes you to the proxy creation form.
Save the data source configuration. All subsequent API calls through this data source will be routed through the selected proxy.
If you delete a proxy connection that is in use by a data source, the data source does **not** automatically switch back to a direct connection. You must manually update the data source configuration.
***
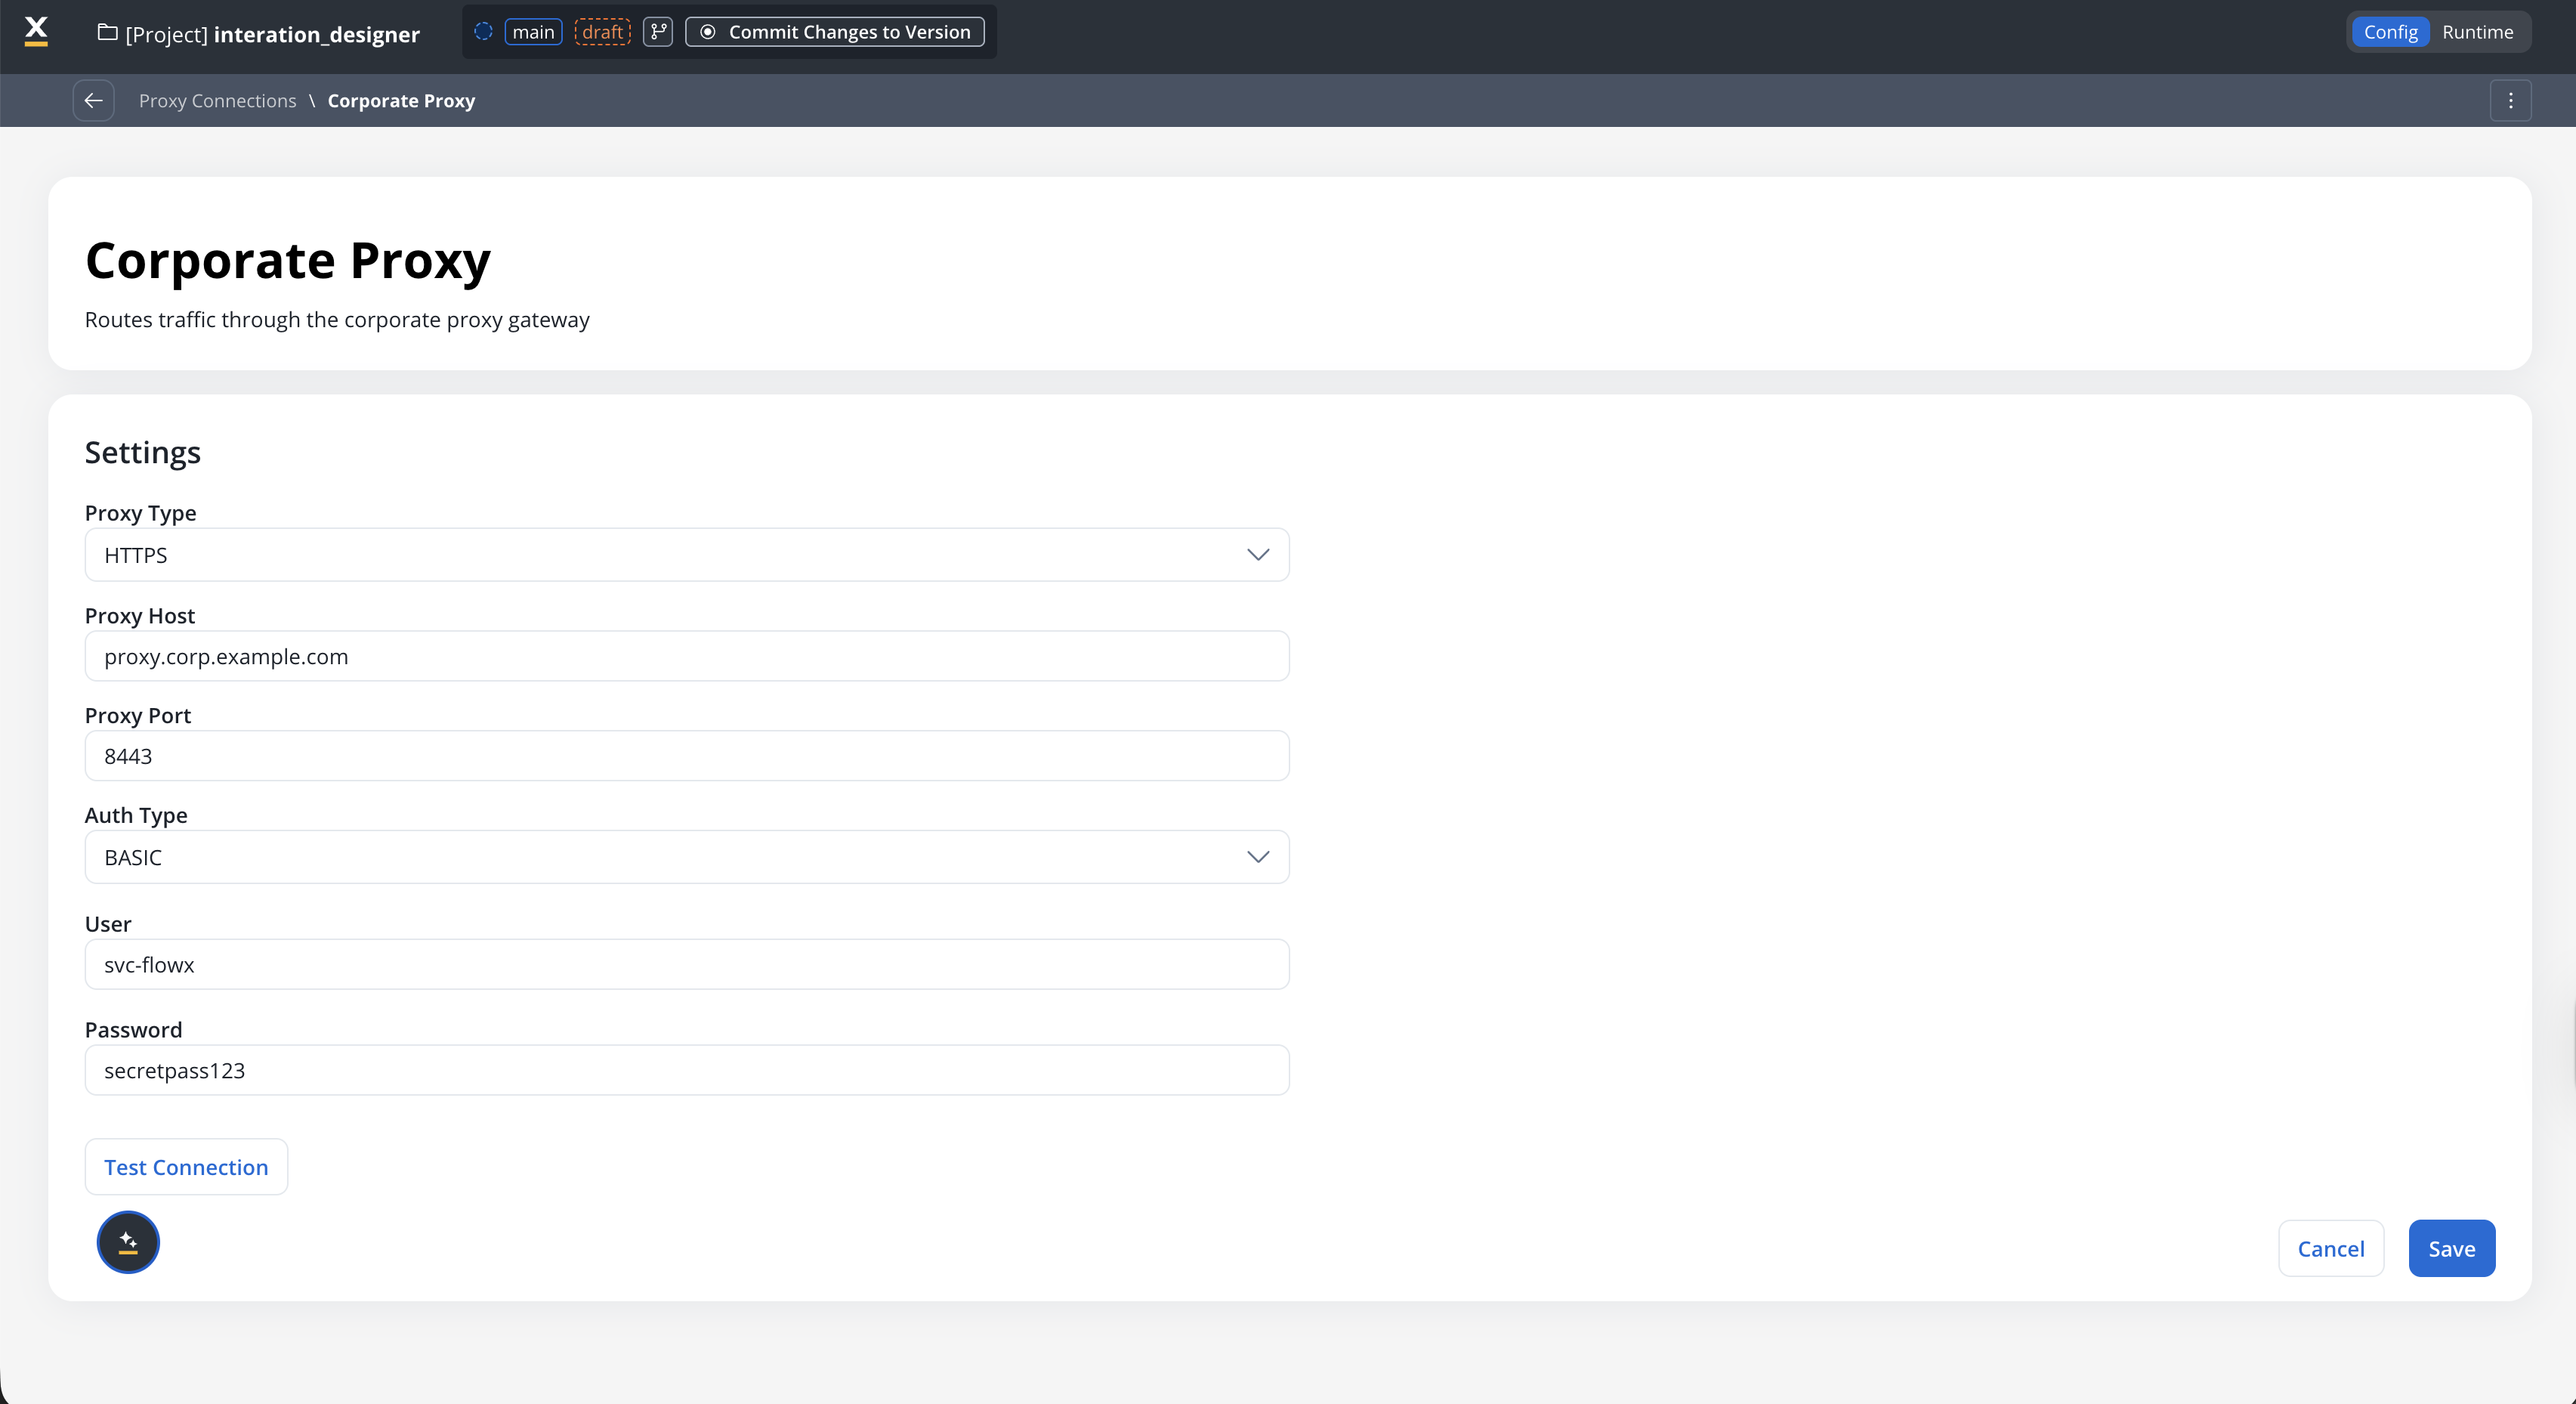
## Example: route a CRM integration through a corporate proxy
In this scenario, your organization requires all outbound API traffic to pass through a corporate proxy server before reaching external services. You have a RESTful System data source that connects to a CRM API and need to route its traffic through the proxy.
Go to **Integrations** → **Proxy Connections** and click **+**. Configure:
| Field | Value |
| --------------- | ---------------------------------------------------- |
| **Name** | `Corporate Proxy` |
| **Description** | `Routes traffic through the corporate proxy gateway` |
| **Proxy Type** | `HTTPS` |
| **Proxy Host** | `proxy.corp.example.com` |
| **Proxy Port** | `8443` |
| **Auth Type** | `BASIC` |
| **User** | `svc-flowx` |
| **Password** | `••••••••` |
Click **Test Connection** to verify, then click **Create**.
Use configuration parameters for values that change across environments, for example `${corp.proxy.host}` for the host and `${corp.proxy.port}` for the port. This way the same project works in dev, staging, and production with different proxy servers.
Go to **Integrations** → **Data Sources** and open your CRM data source (RESTful System type).
Toggle **Connect through Proxy** to **ON** and select **Corporate Proxy** from the dropdown. Save the data source.
Run a workflow that uses the CRM data source. In the runtime console, the cURL preview now reflects the proxy:
```bash theme={"system"}
curl --proxy https://proxy.corp.example.com:8443 --proxy-user svc-flowx:******** https://crm.example.com/api/v2/contacts
```
***
## Proxy in cURL commands
When a proxy is active on a RESTful System data source, the cURL command preview in the runtime console reflects the proxy configuration.
**Without proxy:**
```bash theme={"system"}
curl https://api.example.com/data
```
**With proxy (no auth):**
```bash theme={"system"}
curl --proxy http://proxy-host:8080 https://api.example.com/data
```
**With proxy (basic auth):**
```bash theme={"system"}
curl --proxy http://proxy-host:8080 --proxy-user user:password https://api.example.com/data
```
**With HTTPS proxy:**
```bash theme={"system"}
curl --proxy https://proxy-host:8443 https://api.example.com/data
```
***
## Configuration reference
| Property | Type | Required | Description |
| --------------- | -------------------- | ---------- | -------------------------------------------------------- |
| **Name** | `string` | Yes | Unique name for the proxy connection |
| **Description** | `string` | No | Optional description |
| **Proxy Type** | `HTTP` \| `HTTPS` | Yes | The proxy protocol |
| **Proxy Host** | `string` | Yes | Proxy server hostname or IP. Supports `${param}` syntax. |
| **Proxy Port** | `number` | Yes | Proxy server port. Supports `${param}` syntax. |
| **Auth Type** | `NO_AUTH` \| `BASIC` | Yes | Authentication method |
| **User** | `string` | When Basic | Proxy auth user |
| **Password** | `string` | When Basic | Proxy auth password |
***
## Limitations
The following proxy types and authentication methods are not supported in this release:
| Not supported | Notes |
| ----------------------- | -------------------------------------------------------------------------------------------------------------------- |
| SOCKS4 / SOCKS5 | Only HTTP and HTTPS proxy types are available |
| PAC URL | Proxy auto-configuration URLs are not supported |
| Client credentials auth | Only No Auth and Basic Authentication are available |
| mTLS | Mutual TLS authentication for proxy servers is not supported |
| MCP Server data sources | MCP connections use their own [inline proxy configuration](./mcp-integration/mcp-integration-overview#proxy-support) |
***
## Related resources
Data sources and workflow integrations
MCP server connections with separate proxy support