> ## Documentation Index
> Fetch the complete documentation index at: https://docs.flowx.ai/llms.txt
> Use this file to discover all available pages before exploring further.
# Using out of office records
> The Out-of-office feature allows you to register users availability to perform a task. It can be allocated manually or automatically.
Users with out-of-office status are excluded from the candidates for automatic task allocation list during the out-of-office period. For more information, see the [allocation rules documentation](./using-allocation-rules).
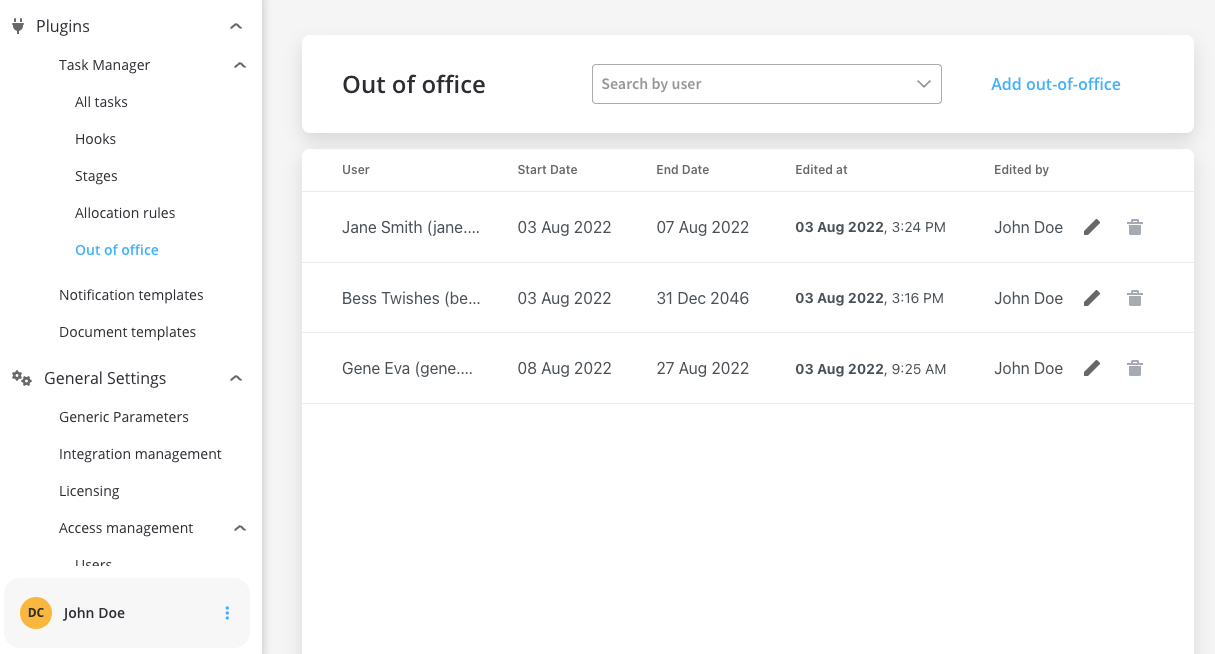
## Accessing out-of-office records
To add out-of-office records, follow the next steps:
1. Open **FlowX Designer**.
2. From the side menu, under **Task Management,** select the **Out office entry**.
## Adding out-of-office records
To add out-of-office records, follow the next steps:
1. Click **Add out-of-office** button, in the top-right corner.
2. Fill in the following mandatory details:
* Assignee - user single select
* Start Date (:exclamation:cannot be earlier than tomorrow)
* End Date (:exclamation:cannot be earlier than tomorrow)
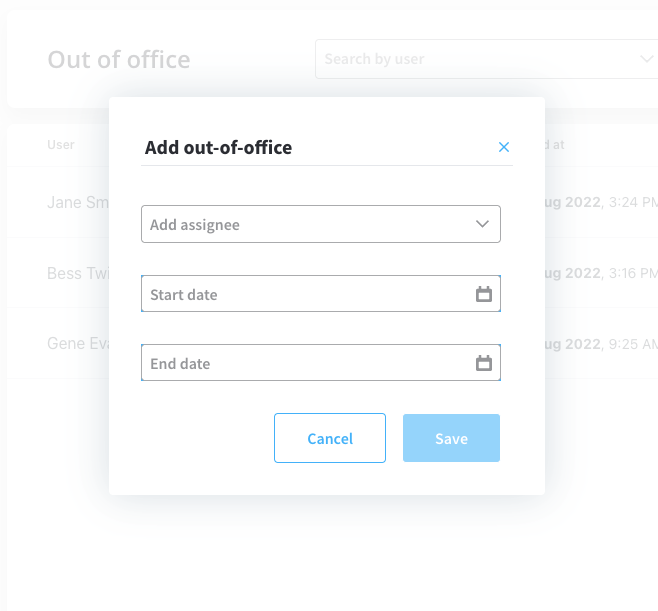
3. Click **Save**.
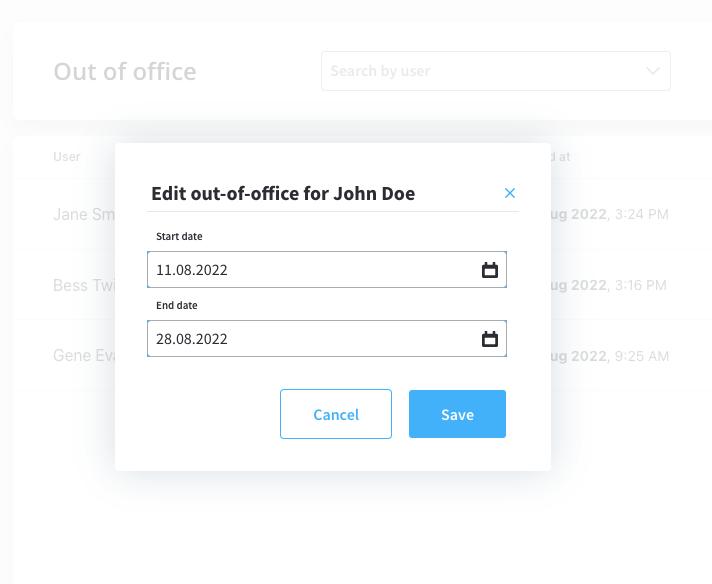
## Editing out-of-office records
To edit out-of-office records, follow the next steps:
1. Click **Edit** button.
2. Modify the dates (:exclamation:cannot be earlier than tomorrow).
3. Click **Save**.
## Deleting out-of-office records
To delete out-of-office records, follow the next steps:
1. From the **out-of-office list**, select a **record**.
2. Click **Delete** button. A pop-up message will be displayed: *"By deleting this out-of-office record, the user will become eligible to receive tasks in the selected period. Do you want to proceed?"*
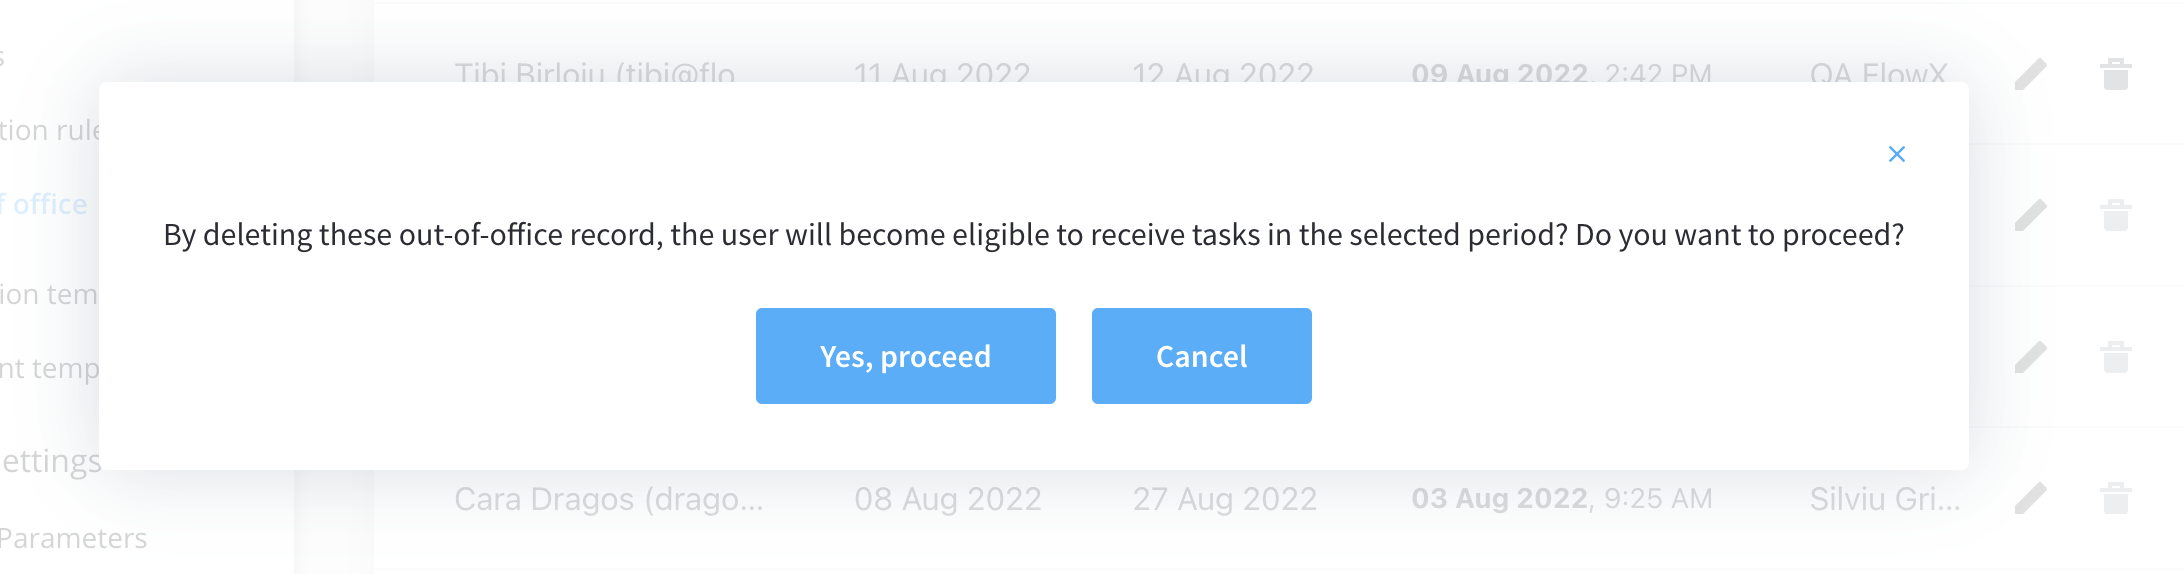
If you choose to delete an out-of-office record, the user is eligible to receive tasks allocation during the mentioned period. For more information, see the [automatic task allocation documentation](./using-allocation-rules).
3. Click **Yes, proceed** if you want to delete the record, click **Cancel** if you want to abort the deletion.
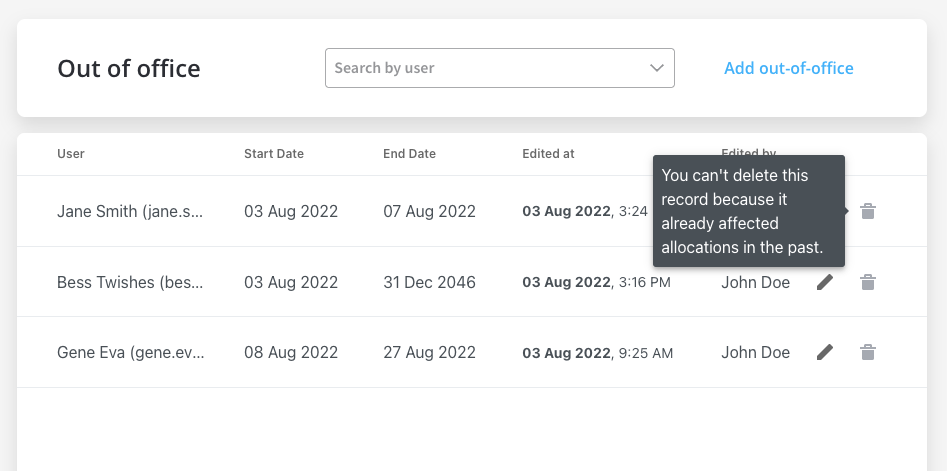
If the out-of-office period contains days selected in the past, the user cannot delete the record, the following message is displayed: *“You can’t delete this record because it already affected allocations in the past. Try to shorten the period, if it didn’t end.”*
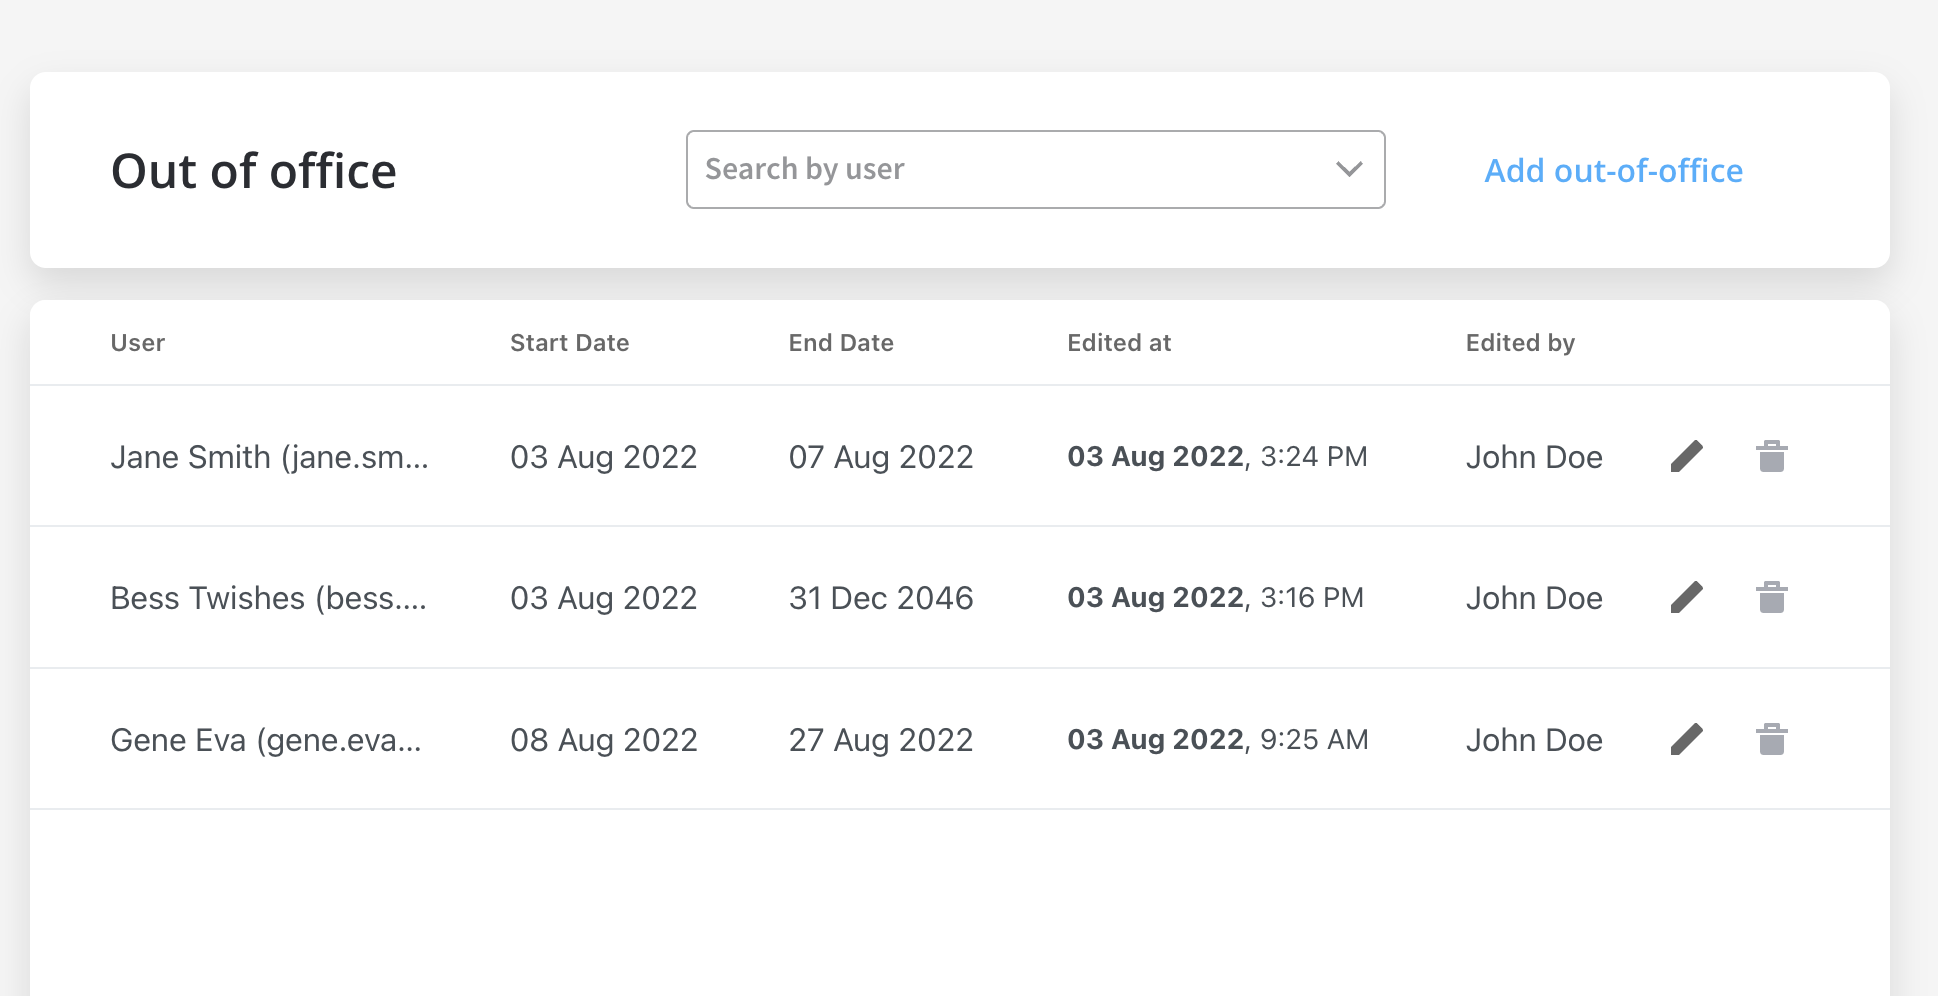
## Viewing out-of-office records
The out-of-office records list contains the following elements:
1. **User** - firstName, lastName, userName
2. **Start Date** - the date when the out-of-office period will be effective
3. **End Date** - the date when the out-of-office period will end
4. **Edited at** - the last time when an out-of-office record was edited
5. **Edited by** - the user who edited/created the out-of-office record
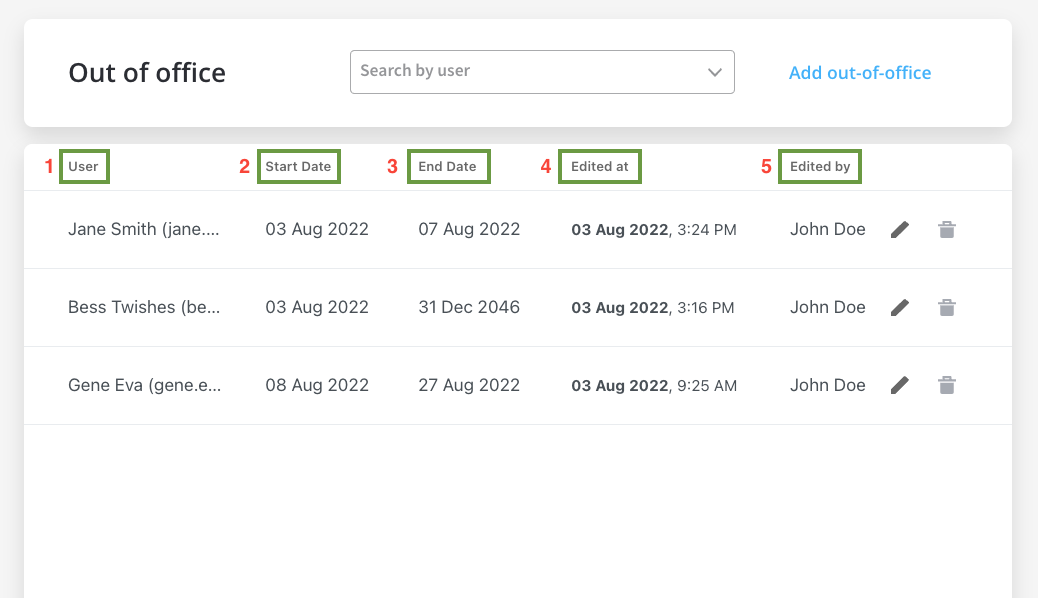
The list is sorted in reverse chronological order by "edited at" `dateTime` (newest added on top).
## Related resources
Learn about Task Management features and configuration
Localize Task Management UI in 34+ languages
Configure automatic task allocation rules