> ## Documentation Index
> Fetch the complete documentation index at: https://docs.flowx.ai/llms.txt
> Use this file to discover all available pages before exploring further.
# Managing notification templates
> You can create and manage notification templates using FlowX.AI Designer by accessing the dedicated section.
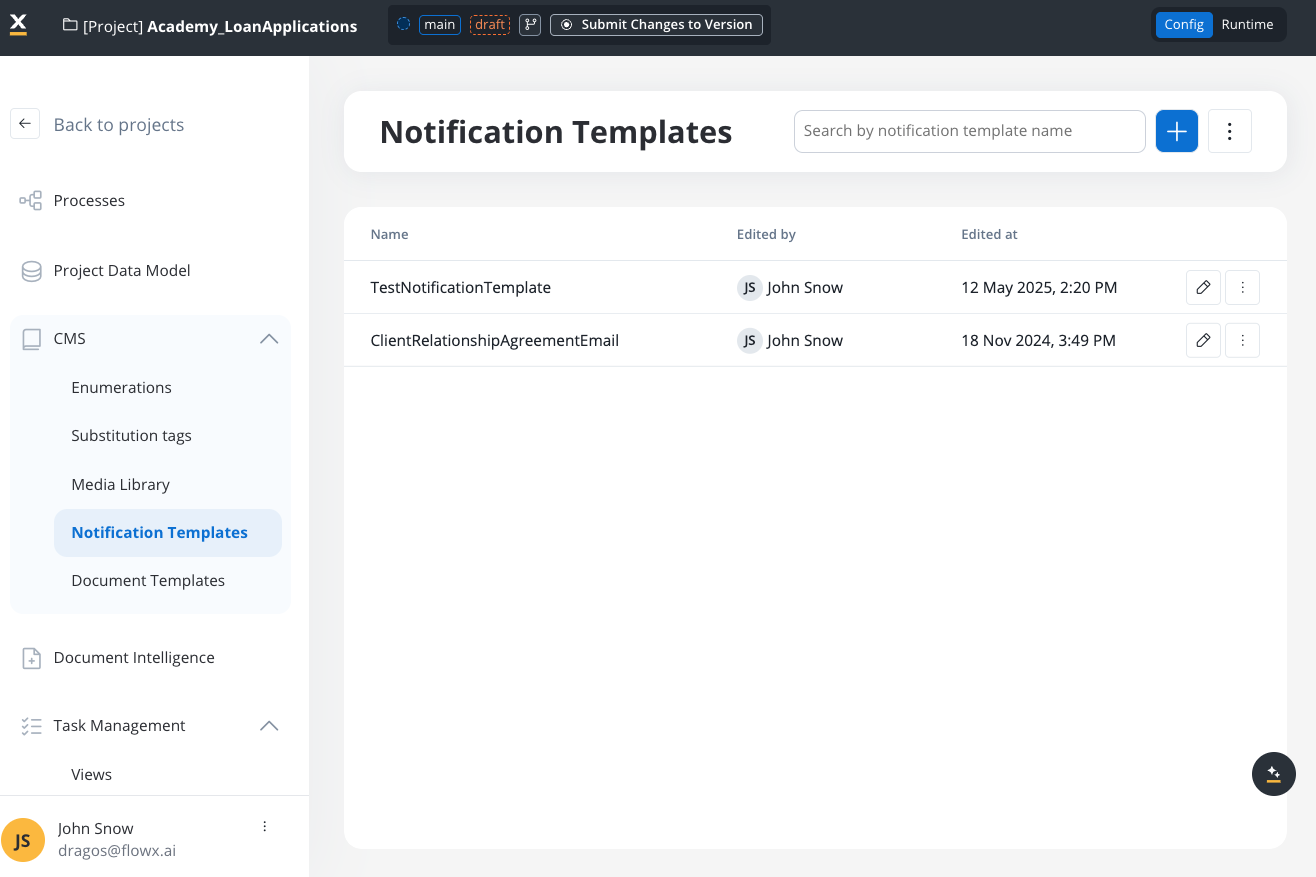
### Configuring a template
To configure a notification template, first, you need to select some information stored in the **Body**:
1. **Type** - could be either MAIL or SMS notifications
2. **Email Server** - select the email delivery method (available for MAIL type):
* **Predefined Email Connection** (default) - send emails directly through a configured SMTP server using the [Send Notification](../../../../building-blocks/actions/send-notification-action) action
* **Forward on Kafka** - forward the notification to Kafka for the Notifications Plugin or an [external adapter](./forwarding-notifications-to-an-external-system) to handle (this is mandatory for SMS notification templates)
3. **Email Sender** - displayed only when **Email Server** is set to **Predefined Email Connection**:
* **Default Server** (default) - uses the default SMTP connection configured at the environment level
* Or select a specific [Email Sender](../../../integrations/email-sender) data source configured in Integration Designer
4. **Language** - choose the language for your notification template
5. **Subject** - enter a subject
You can edit the content for each language you have defined in the project.
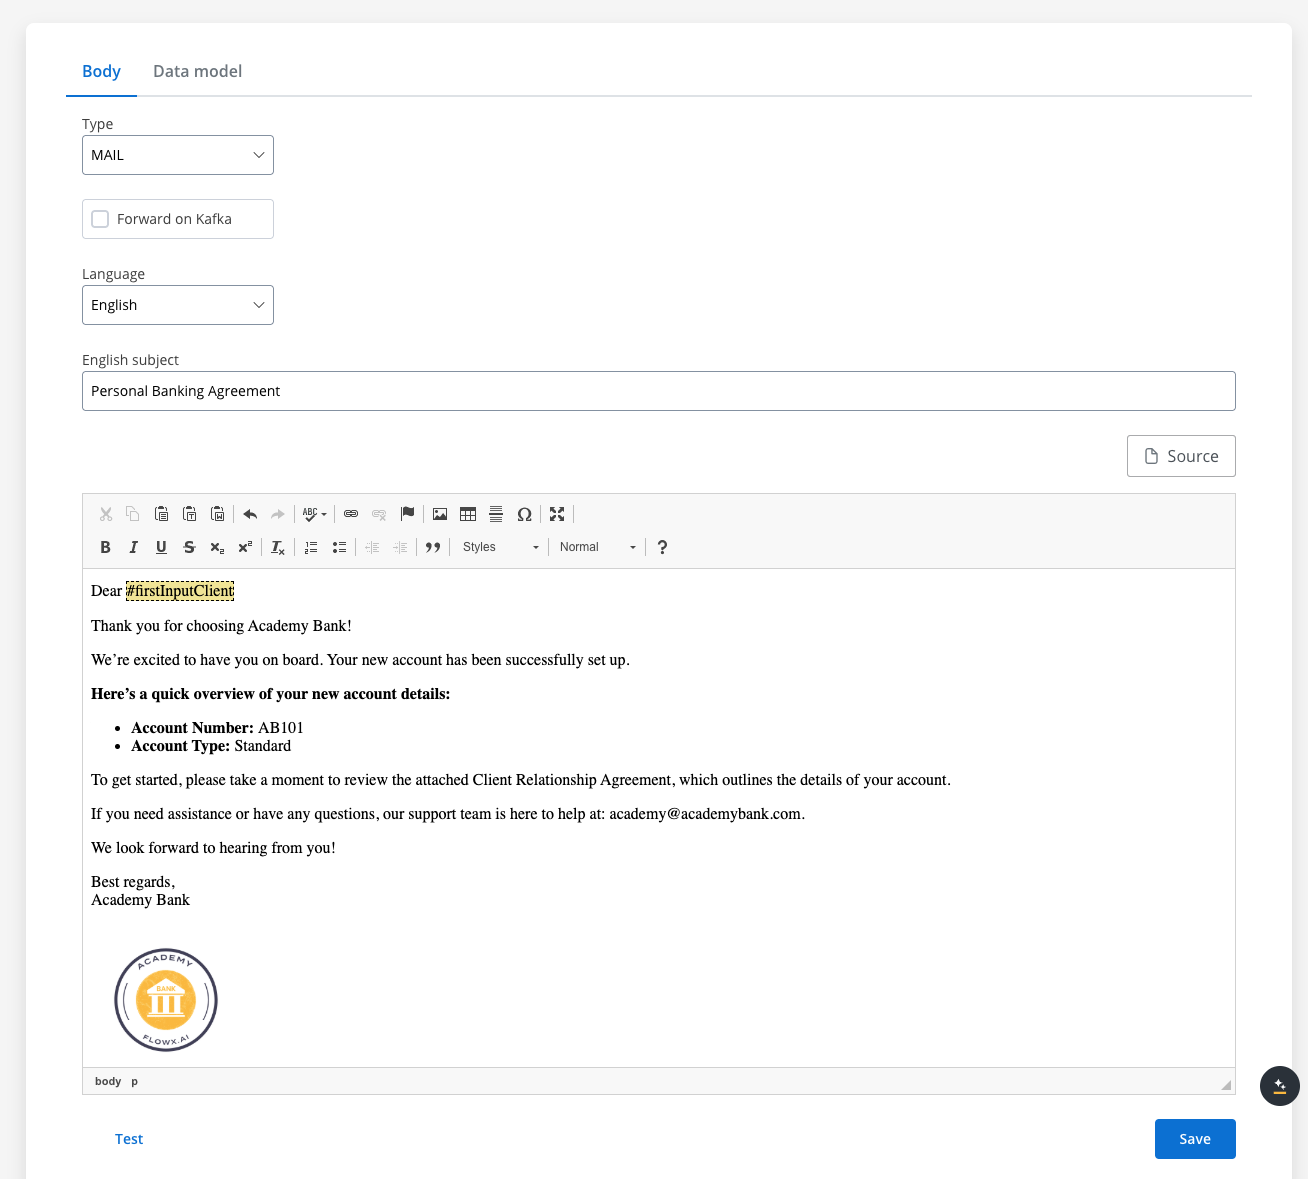
#### Editing the content
You can edit the content of a notification template by using the [WYSIWYG](../../wysiwyg) editor embedded in the body of the notification templates body.
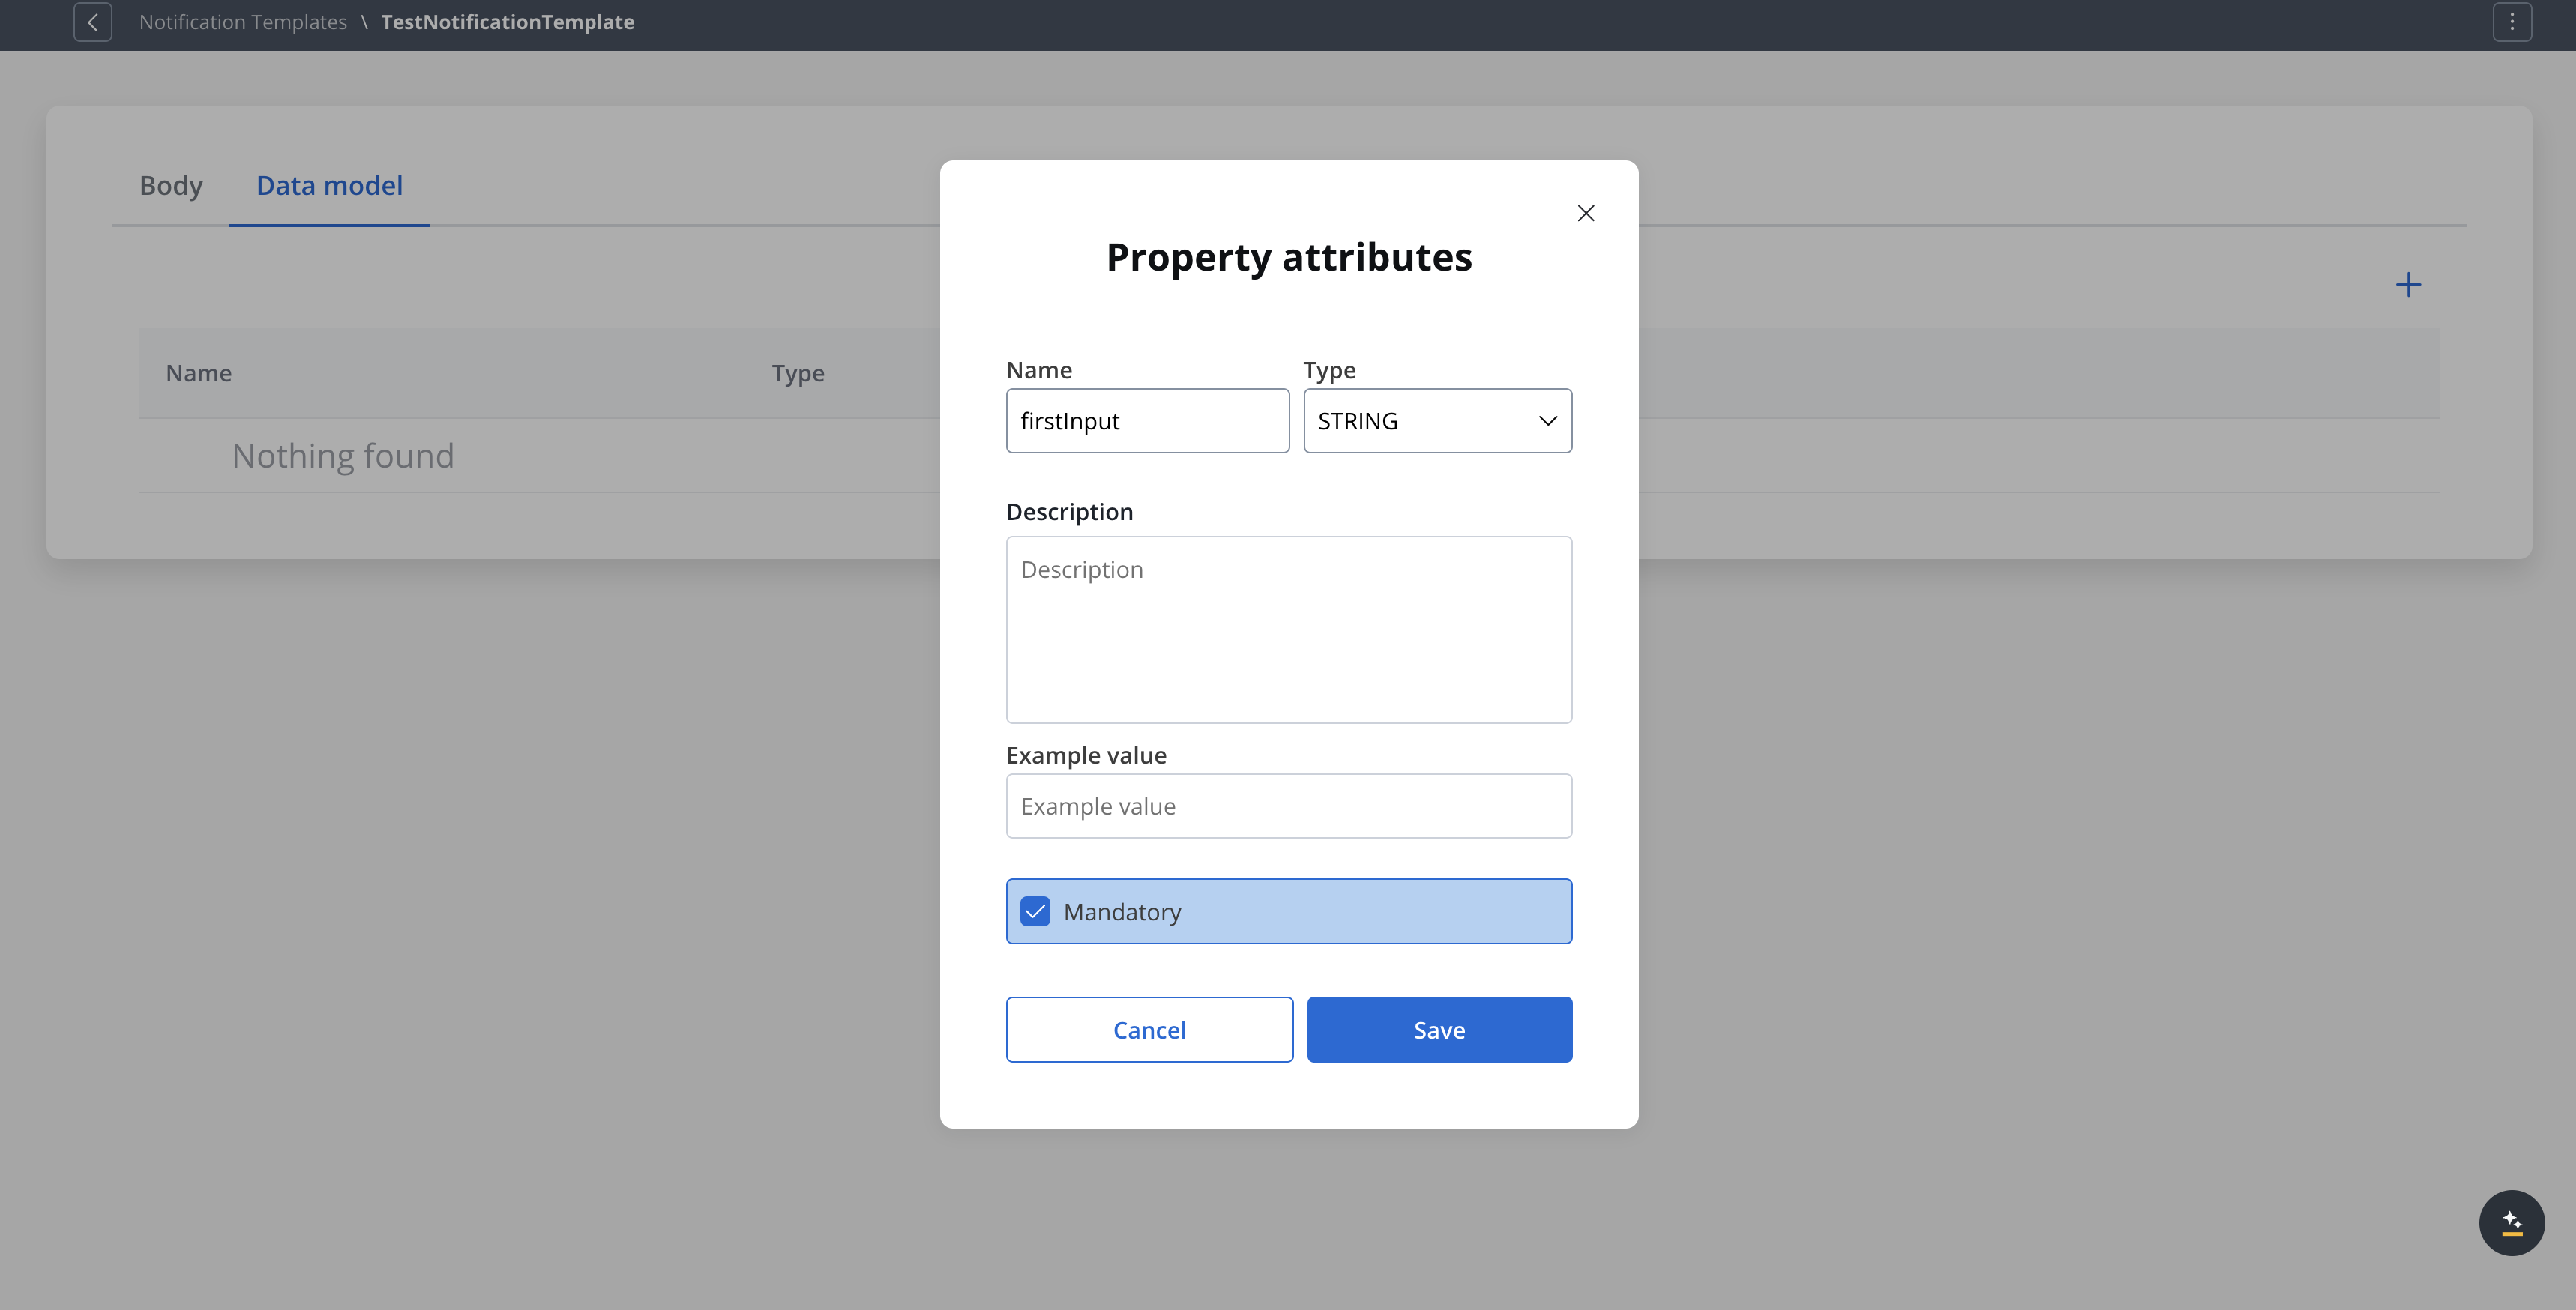
### Configuring the data model
Using the **Data model** tab, you can define key pair values (parameters) that will be displayed and reused in the editor. Multiple parameters can be added:
* STRING
* NUMBER
* BOOLEAN
* OBJECT
* OBJECT\_REF
* ARRAY
* ARRAY\_REF
* ENUM
After you defined some parameters in the **Data Model** tab, you can type "**#**" in the editor to trigger a dropdown where you can choose which one you want to use/reuse.
### Testing the template
You can use the test function to ensure that your template configuration is working as it should before publishing it.
The test modal includes the following fields:
* **Receivers emails** — recipient email addresses for the test
* **Language** — select the template language to test
* **Attachments** — upload files to test attachment handling
* **Template data** — provide values for template variables
* **Advanced** (hidden section) — **Sender Name** and **Sender Email** overrides
If some keys (marked as mandatory) are not used in the template, the test will not go through.
### Other actions
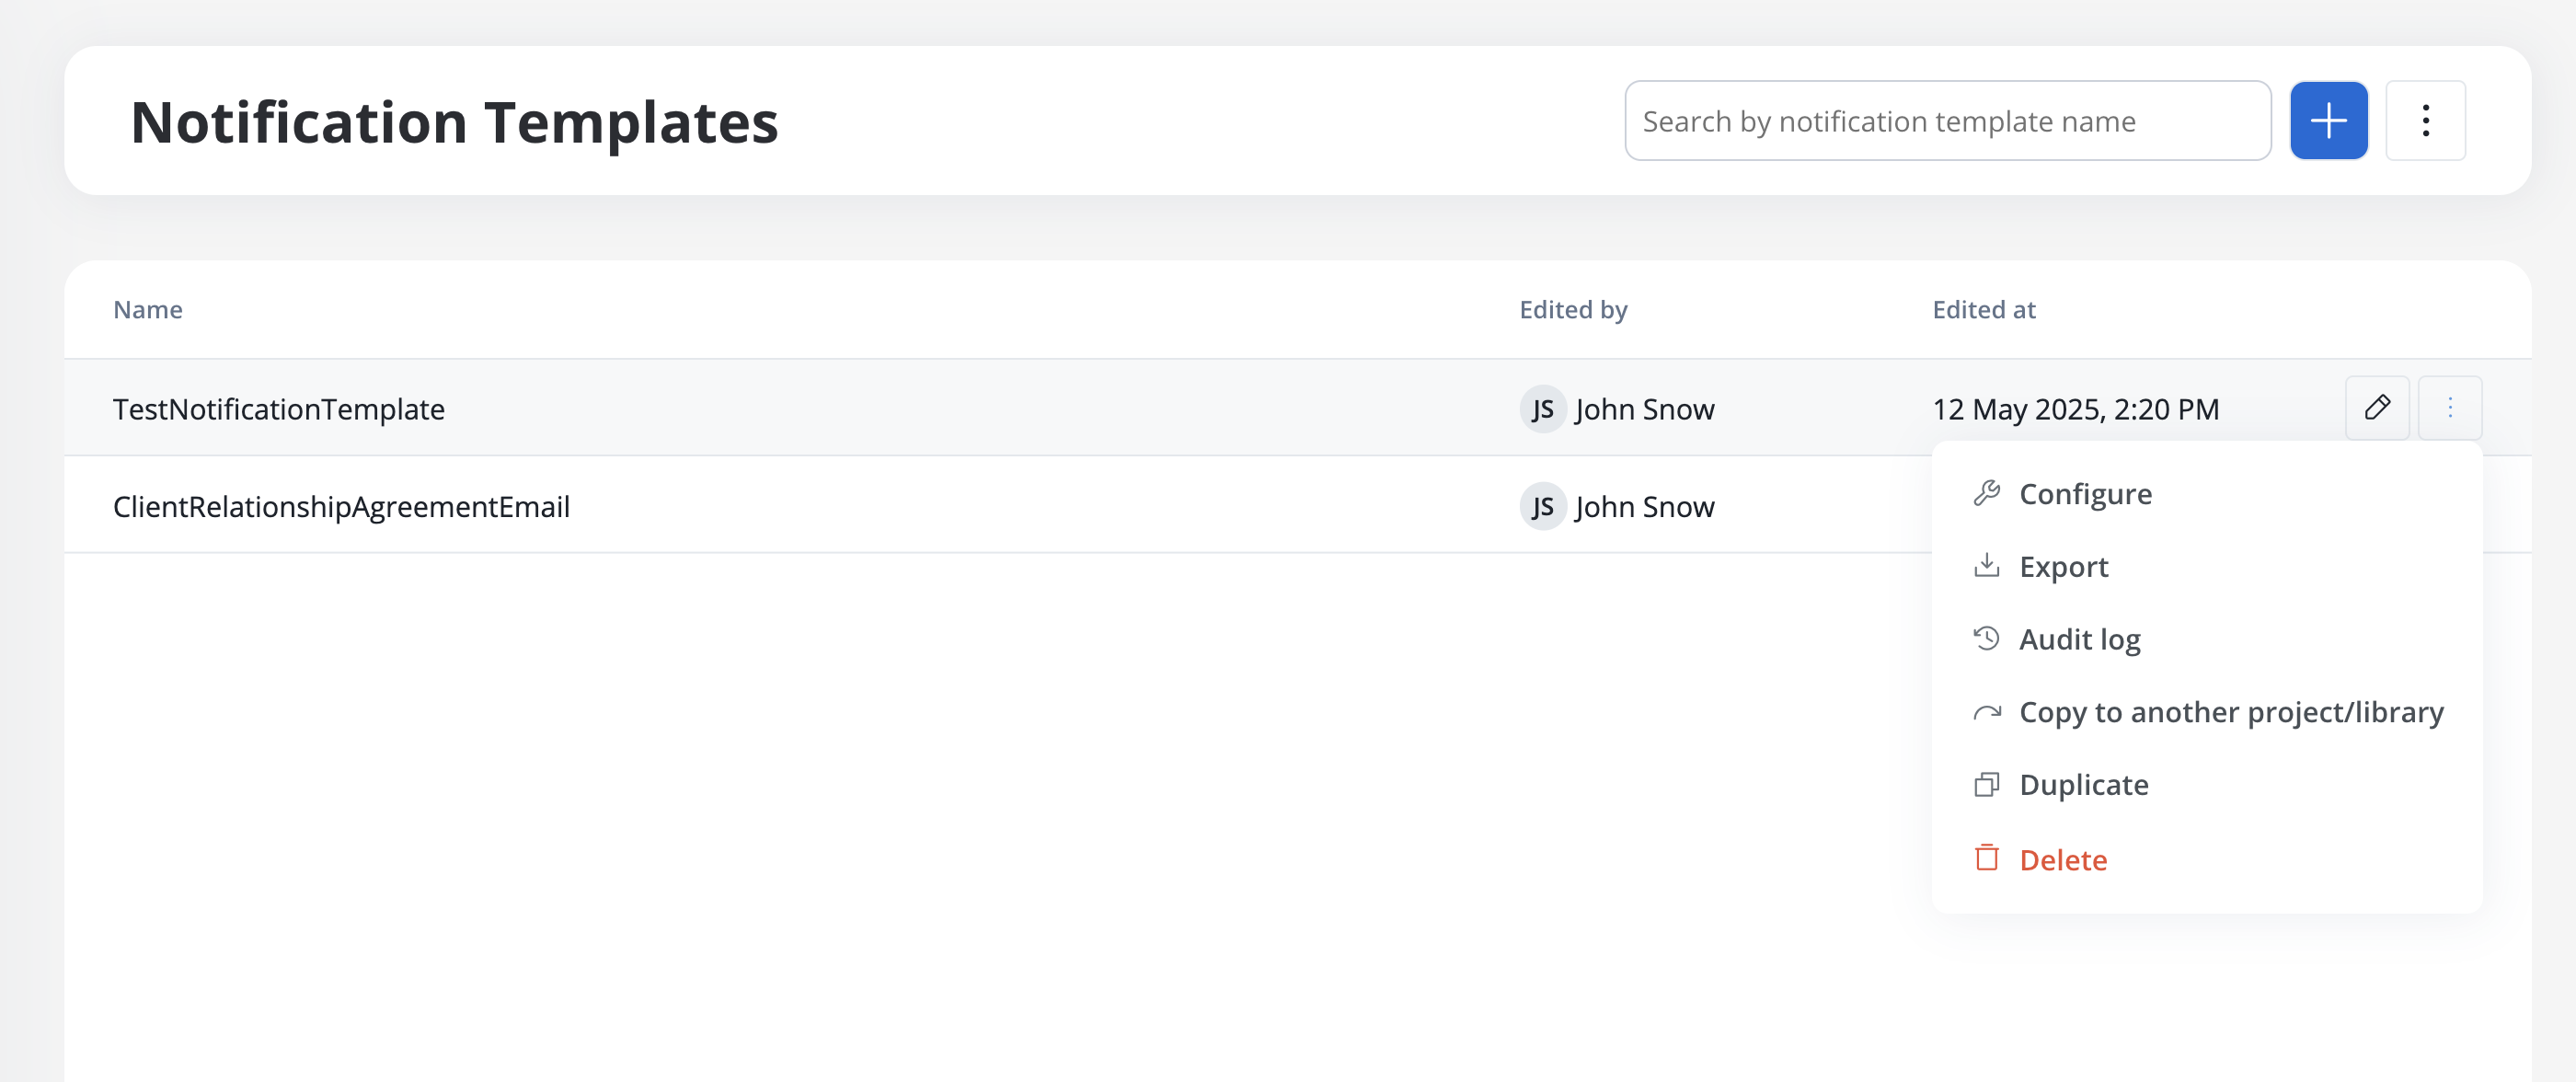
When opening the contextual menu (accessible by clicking on the breadcrumbs button), you have multiple actions to work with the notifications templates:
* **Configure** - edit the template
* **Export template** - export a template as a ZIP file
* **Audit log** - view the audit log
* **Copy to another project/library** - copy a template to another project/library
* **Duplicate** - duplicate a template
* **Delete** - delete a template
***
### Export and import
You can export and import notification templates to transfer them between projects or environments (for example, from development to UAT to production).
#### Exporting a template
To export a notification template:
1. Open the contextual menu (breadcrumbs button) for the template you want to export
2. Select **Export template**
3. The template is downloaded as a ZIP file
#### Importing templates
To import notification templates:
1. Navigate to the **Notification Templates** list
2. Open the context menu and select **Import from ZIP**
3. Select the ZIP file exported from another project or environment
4. If templates with the same identifiers already exist, a **Review Resource Identifiers Conflicts** modal appears
5. Choose a strategy for each conflicting template (or use **Apply to all**):
* **Keep both** - imports the template as a new copy alongside the existing one
* **Replace** - overwrites the existing template with the imported version
* **Skip this one** - keeps the existing template unchanged
6. Click **Continue** to complete the import
Importing is only available for work-in-progress (WIP) project versions. You cannot import into a committed version.